
Scientific Specimens Project
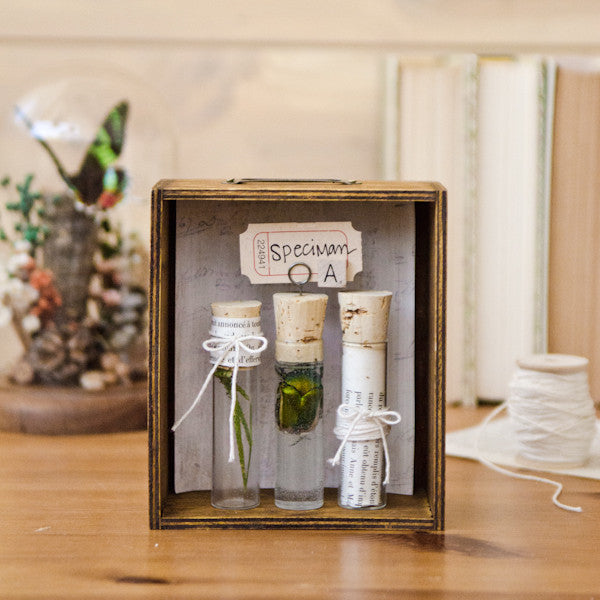
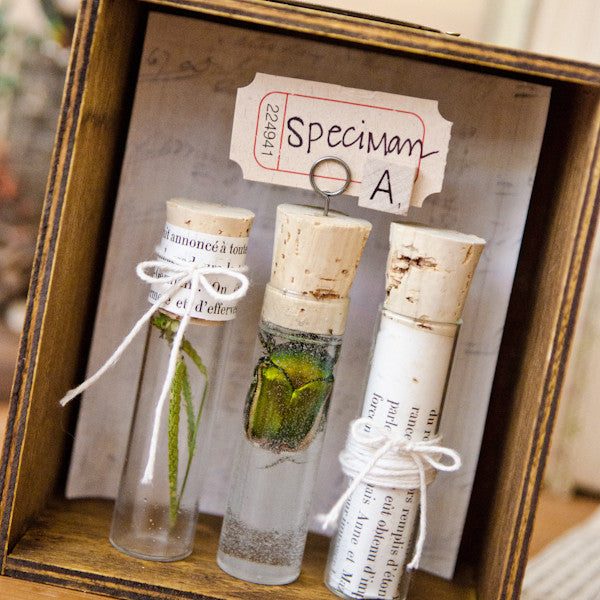
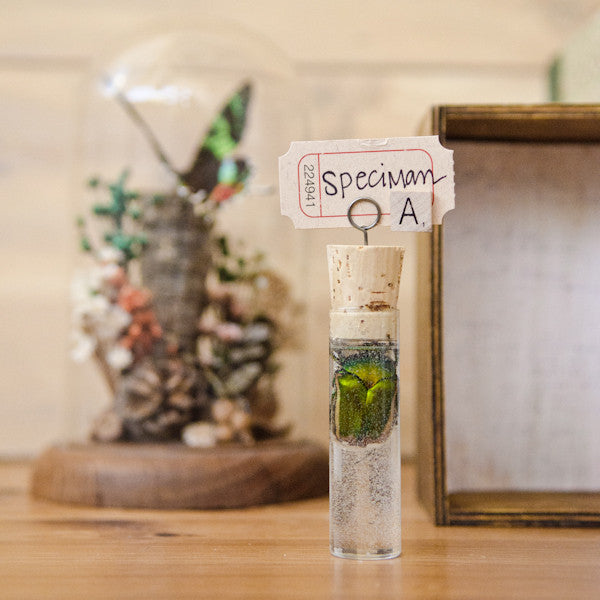
I will preface this project with the fact that “no bugs were harmed in the making of this project.” I swore I would never be one of those crafters who used anything and everything in their art. To me, finding a way to knit your old underwear into an area rug is just going too far. However, when I found this bug on the sidewalk during one of my walks, I was fascinated by the iridescent green color. It was dead and just lying there, but I still found it gross and cool at the same time. I didn’t have anything to scoop him up, so I just left him there on the pavement and kept walking. I was just about to turn around and head back when I saw a few pieces of paper on the ground — perfect bug-scooping material. I scooped up the bug quickly and brought him back to the office to see what I could do with him. The basis for this project is the beautiful green bug (I named him Fred). He has been preserved in resin so that he can be enjoyed for years to come.
Also, if you’re still squeamish about the bug, this project can also be accomplished with test tube vials of flowers, dried leaves, seeds, or other non-bug elements.
Scientific Specimens Project Directions:
First, place bug in corked vial and fill with resin. Resin should be mixed according to the package’s instructions and allowed to cure for 24 hours. The bug may try to float to the top. If this happens, insert a pin into the underside of the cork and cap the vial. The small pin will keep the bug in place.
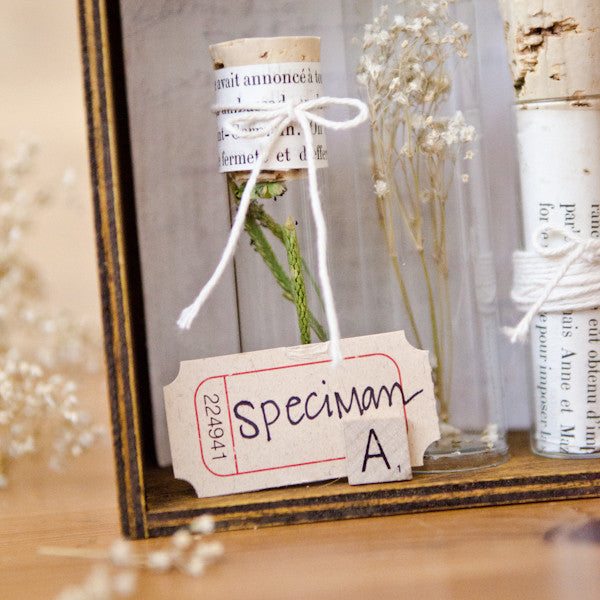
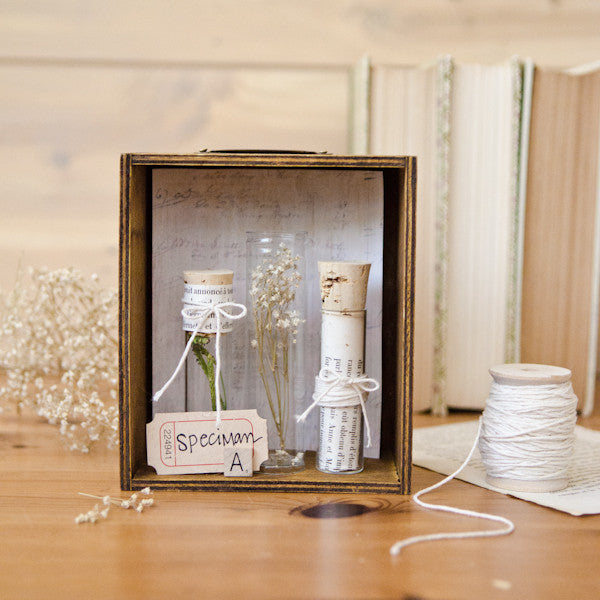
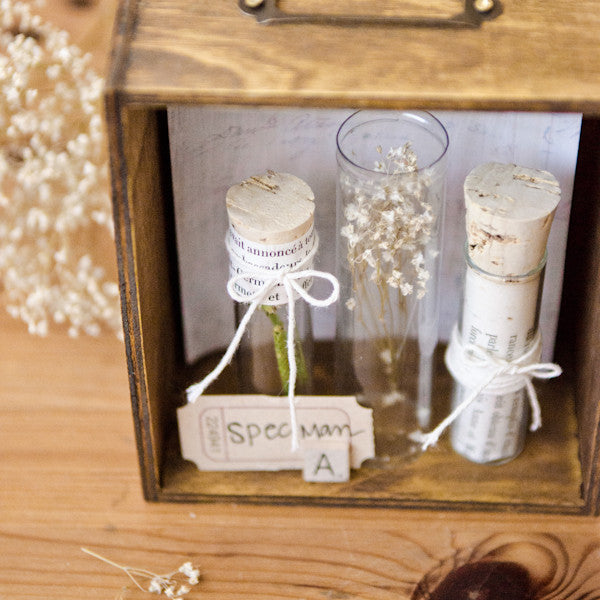
Insert a Tim Holtz Memo Clip into the top of the cork and attach a tag that says “Specimen A.”
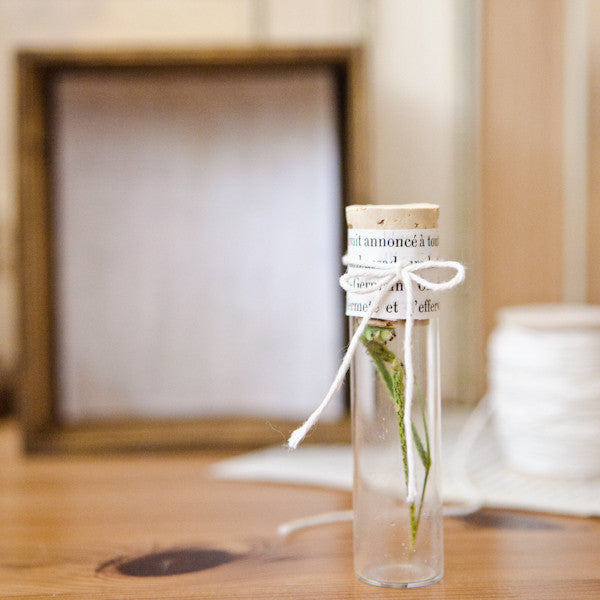
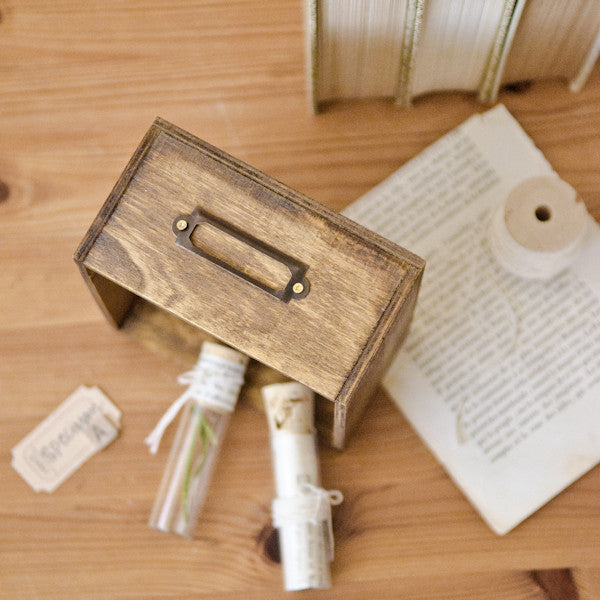
For the second vial, fill with leaves or sticks and cap with cork. Wrap a small strip of book text around the top and tie with twine.
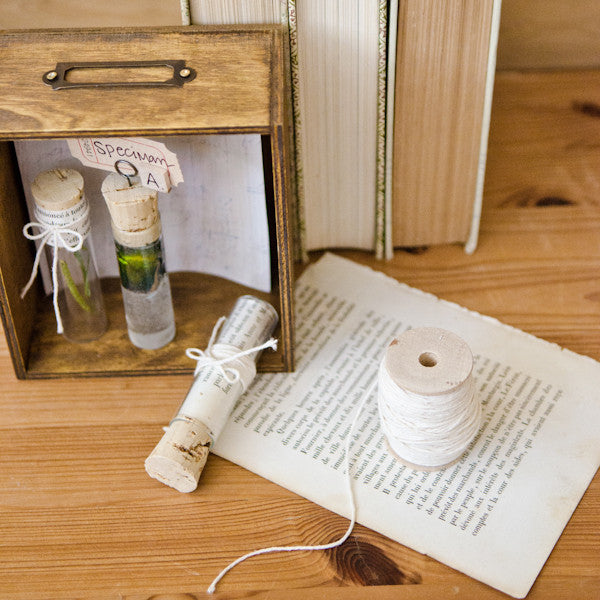
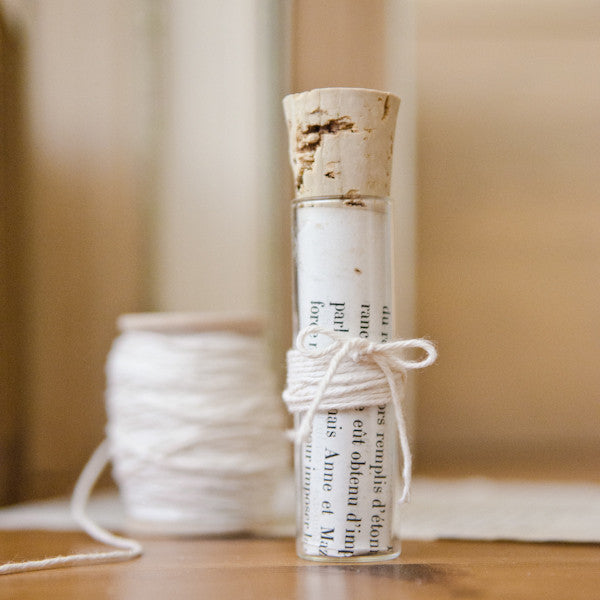
For the third vial, take a piece of book text and fold it to fit inside the vial. Wrap the middle of the vial with a length of twine.
Whitewash a piece of Artist Paper or old ledger paper and trim to the size of an old wooden desk organizer. Attach to the back of the box.
Free Shipping on Subscriptions
Easy 60 Day Returns
Friendly Customer
Support


Scientific Specimens Project
Frequently asked questions
Looking for a quick answer? Here are some of our customer’s most frequently asked questions to help you along the way.
Thanks for your interest in our magazines! We encourage you to visit our Calls & Challenges page to see what our editors are looking for.
Ready to begin? Here is where you can find our Submission Guidelines.
Our subscriptions ship directly from our printer in Wisconsin. For this reason, we need to be notified of your change of address at least two months before the next issue comes out, or it will be sent to the address we had on file and provided to our printer at the time it was due.
How to Notify Us About Your Change of Address
- Email the following to customerservice@stampington.com:
- The publication(s) you subscribe to
- Your name and new address
- Your old address
2. Call to inform us of your new mailing address:
- Toll-Free: 1-877-782-6737 or International: 1-949-380-7318
Mail Forwarded by the Post Office
If you forward mail to your new address through the Post Office, it won't apply to periodicals/your magazine subscription unfortunately. Also, since mail forwarding only lasts for a short time-frame, we request that you still notify us of your address change to prevent any service interruption to your subscription.
Stampington & Company cannot be held responsible for replacing "lost" issues from your subscription, if we did not receive your change of address request at least two months prior to your next issue's release date.
Subscription issues should arrive within the first week of the month your publication is released. Please add up to two weeks for international delivery.
If your magazine has not arrived by the 20th of the month, please contact our customer service department, so we can check to make sure nothing is amiss with your subscription, and see if you're eligible for a replacement copy. International subscribers can receive a digital version of the magazine as a replacement if one attempt has already been made to deliver the print edition to you.
Stampington & Company cannot be held responsible for postal delays or circumstances outside of our control, but we will make every effort to make it right.
We offer FREE shipping on all magazine subscriptions and instant download purchases to our customers. You can also take advantage of free U.S. shipping on select pre-orders of your favorite magazines (discounted International rates will apply). Browse our selection of Pre-Orders With Free U.S. Shipping here.
What are my shipping charges?
Shipping charges are calculated by weight, shipping destination, and speed. You will be able to choose the best delivery method for your needs at checkout.
To help keep your costs down, we offer a discounted rate of $5.95 to ship a single magazine to you (within the United States).
Need your order fast? We offer the following expedited shipping options:
- 3-day delivery
- 2-day delivery
*Please contact us if you have any questions or special instructions regarding your rush order.
What Carriers do You Use to Ship Items?


