


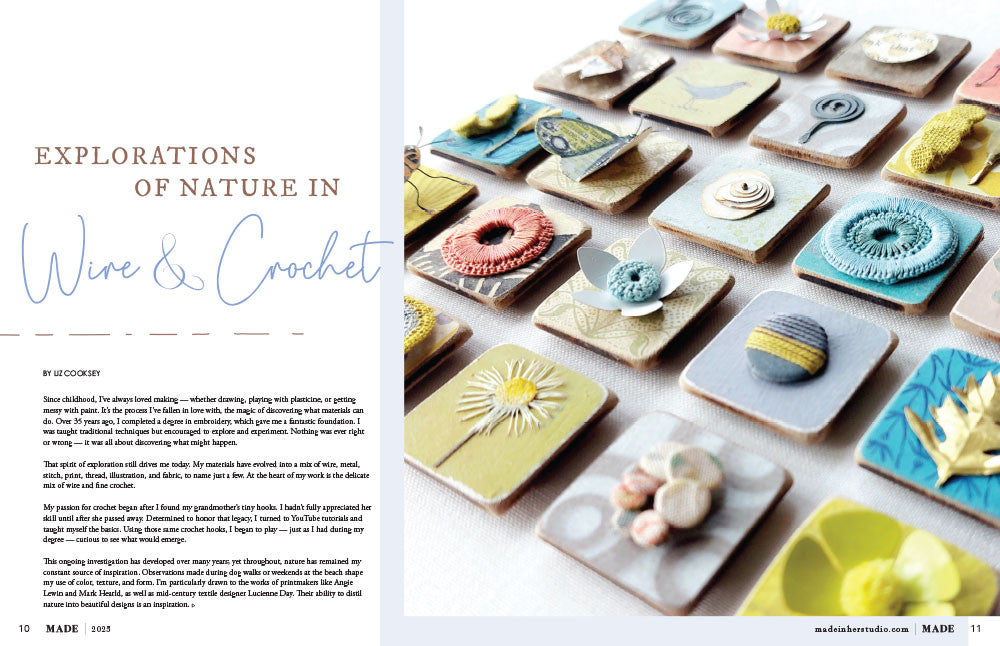
Deck the Halls: DIY Christmas Decorations for Your Home
The holidays are upon us, and what better way to celebrate than by adding a personal touch to your home with DIY Christmas decorations? While store-bought ornaments and decor are readily available, there's something undeniably special about crafting your own. From scented wax ornaments to frosted glass luminaries, discover in this blog unique holiday crafts that make your space merry and bright.

AMBER DEMIEN⎟ A SOMERSET HOLIDAY VOLUME 16
Christmas Craft: Scented Wax Ornaments
by Amber Demien
You Will Need
Dried natural decor • Essential oil • Oven mitt • Paper towels • Popsicle stick/Plastic utensil • Saucepan • Silicone mold • Tin can/Wax-melting pitcher • Toothpicks • Tweezers • Twine • Wax
Technique
Cover your work surface with paper towels to protect it from wax drips. Place the silicone mold on top of the paper towels, and place the other supplies within reach.
To melt the wax, you will need to use the double-boiler method. Fill a saucepan with about 1 inch of water and place it on the stove. Put wax pellets/chunks in a clean recycled tin can or a wax-melting pitcher and place it in the saucepan. Heat the saucepan over low heat, stirring the wax with a popsicle stick or plastic utensil until melted. Wearing an oven mitt, carefully remove the tin can from the pot; it will be hot.
Allow the wax to cool for a few moments but not set up; this step is crucial because high temperatures can weaken the scent. Stir in the desired amount of essential oil, using one scent or combining a few scents, and stir with the popsicle stick/plastic utensil. Pour the wax into the silicone mold.
Once the wax has cooled for about 30 minutes and has begun to set (it will look thicker and less translucent), you can add dried spices and herbs to decorate the ornaments. Using tweezers, gently place the decorations onto the wax and press lightly to embed them. Insert a toothpick where you add twine and leave it in place until the wax is more set. After about six hours, remove the ornaments from the mold and set them aside on a paper towel overnight. They're now ready to bring beauty and aroma to your holiday celebrations!
Read more about this DIY Christmas decor in A Somerset Holiday Volume 16.

KARI HAMMER⎟ A SOMERSET HOLIDAY VOLUME 15
Christmas Craft: Abstract Baubles
by Kari Hammer
You Will Need
Alcohol ink • Cotton swabs • Glass baubles: white, size of choice • Gloves • Hair dryer (optional) • Ink: Rich Gold • Isopropyl alcohol: 90% • Pipettes • UV protectant spray • Varnish (Krylon - Kamar)
Technique
Before using the alcohol ink, put on gloves. For these abstract-inspired ornaments, apply alcohol ink around the broadest part of the bauble first. Using a pipette, slowly add a small amount of isopropyl alcohol to the ink. Immediately begin spinning the bauble in the direction of the flowing ink (this is important!); keep doing so until the ink dries. The ink will set once the isopropyl alcohol evaporates. To speed up the drying process and create more defined lines, you can use a hair dryer or even your breath; just be careful with how forceful the air is because of how easily the ink moves.
When the base layer of ink is dry, you can add the metallic ink. (I prefer to add the metallic ink last because I want it to be front and center, but that can change depending on the look I am trying to achieve.) Use the same process to add the metallic ink. If you made any mistakes, remove them with isopropyl alcohol and a cotton swab. Once the bauble is to your liking, allow the ink to set for 24 hours.
Don't forget to seal the paint with varnish and a UV protectant to keep the ornament looking great for many years. Spray the varnish on the bauble in light coats. When dry, spray the UV protectant in light coats, following the manufacturer's instructions.
Find tips for this DIY Christmas decor in A Somerset Holiday Volume 15.

MAGS WOODCOCK⎟ A SOMERSET HOLIDAY VOLUME 17
Christmas Craft: Seaside Stars
by Mags Woodcock
You Will Need
Cheesecloth • Decoupage medium • Embellishments • Gesso • Heavy gel medium • Inkpad • MDF stars • Paintbrush • Papier-mâche stars • Rubber stamps • Tissue paper
Technique
Using a very stiff paintbrush and a small amount of white gesso, dry-brush the papier-mâché stars to create a distressed and weathered look and allow them to dry. Stamp some nature-themed quotes onto white tissue paper or a white napkin using black ink. Carefully tear out the quotes, leaving the edges of the paper uneven and ragged. Glue the quotes to the stars using a decoupage medium. Add more dry-brushed gesso if desired.
Arrange seashells, sea glass, small stones, and scraps of cheesecloth in a cluster on the stars; once happy with the placement, use a heavy gel medium to attach them. Use the gel medium to adhere some small MDF stars to the decorations. As the gel medium is still wet, sprinkle some sand and shake off the excess once everything is dry. To finish, make a small hole at the top of the star and add a twine hanging loop.
Read the full article about this DIY Christmas decor in A Somerset Holiday Volume 17.

DALIA NICOLE BLEVINS⎟ A SOMERSET HOLIDAY VOLUME 17
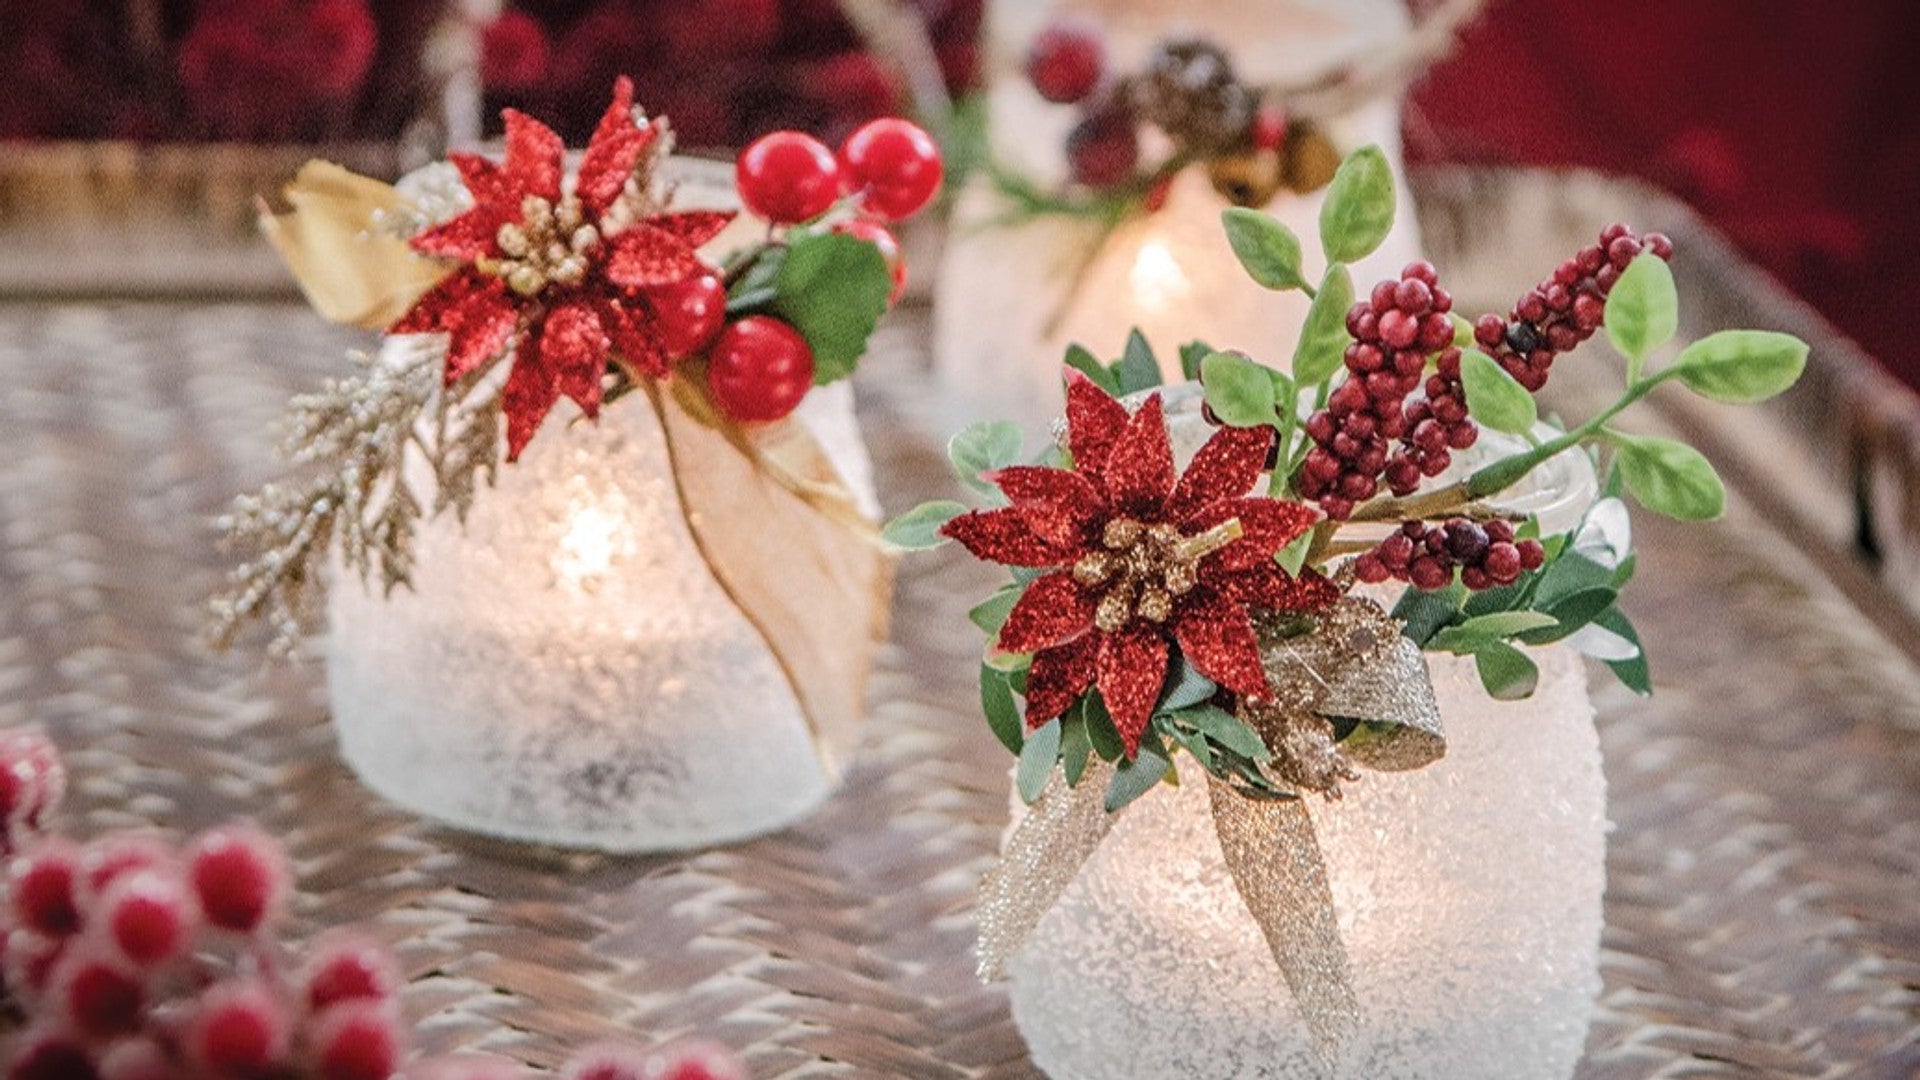
Christmas Craft: Frosted Glass Luminaries
by Dalia Nicole Blevins
You Will Need
Bowl • Cardboard/Paper bag • Embellishments • Epsom salt: 2 cups • 1" Paintbrush • Gloves (optional) • Glue • Picks: berries; greenery; leaves; poinsettias • Recycled jars • Ribbon/Twine • Spoon • Spray sealer • Battery operated tea light candles • Water • Wire cutter/Pliers
Technique
Place Epsom salt in a medium-sized bowl. Use the foam brush to apply water-based glue evenly onto the outside of the jar. Do not cover the bottom or the inside of the jar with glue. Work quickly so the glue doesn't dry before the next step.
Hold the jar over the bowl, and use a spoon to sprinkle the Epsom salt evenly over the glue-covered area of the jar. Set aside and allow to dry completely before moving on to the next step. If you do not like how the jar looks because of the unevenly spread glue or because there is more Epsom salt in some areas, you can wash the jar in warm, soapy water, dry it thoroughly, and try again. Spray the jar with sealer (you may want to wear gloves for this part of the project). Allow the jar to dry completely before touching it.
Decorate the jar with ribbon or twine. Deconstruct picks of greenery, berries, etc., and glue small pieces to the jar. Add any embellishments that make you smile, using stronghold glue to secure them. Place a battery-operated tea light inside the jar, and enjoy your luminary!
Find tips for this DIY Christmas decor in A Somerset Holiday Volume 17.
More Ideas for DIY Christmas Decorations
Whether crafting with family or flying solo, finding new ideas for DIY Christmas decorations can be exciting. And not only do these Christmas crafts reflect your style, but they also carry sentimental value.
Homemade Wreaths
Wreaths are a quintessential Christmas decoration. Begin your DIY adventure with a visit to local markets and nature reserves to gather materials. Try incorporating these elements into your wreaths:
- Rustic Pinecone Wreath
- Foraged Foliage Wreath
- Holly and Berries Wreath
- Upcycled Wreath
DIY Christmas Lights
Lighting is essential for an inviting and cozy atmosphere during the holidays. Add warmth to your home with these DIY Christmas decorations:
- Mason Jar Lanterns
- Fairy Light Canopy
- Twig Candle Holders
- Cupcake Liner String Lights
- Origami Lanterns
Personalized Tree Decorations
Turning your tree into a work of art with personalized ornaments is a delightful way to celebrate the season. Here are some ideas:
- Festive Felt Ornaments
- Bead and Wire Baubles
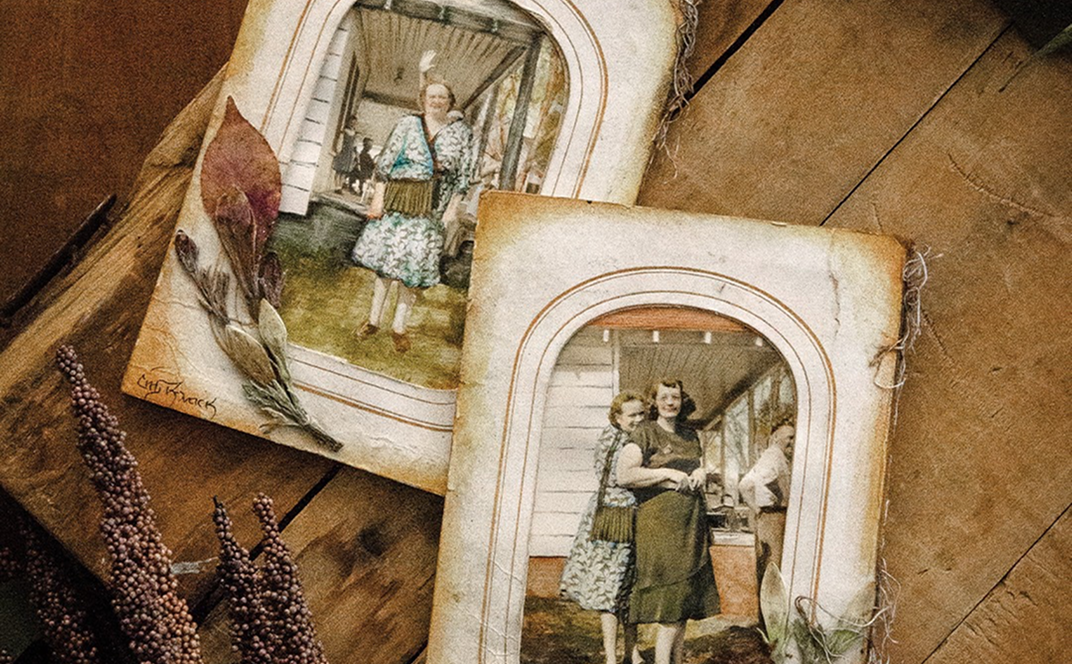
- Photo Memory Baubles
- Clay Creations
Related: A Winter Bucket List DIY Advent Calendar + FREE Printable
Tips for a Merry DIY Christmas
Plan Ahead
Start your DIY Christmas journey by planning early. Create a list of decorations you want to make, gather the necessary materials, and set aside dedicated crafting time. Planning ensures a smoother creative process and helps you avoid last-minute stress.
Embrace Imperfections
Remember, the beauty of DIY decorations lies in their handmade charm. Embrace imperfections and let the uniqueness of your creations shine through. Whether it's a slightly uneven ornament or a whimsy homemade wreath, these imperfections add character to your holiday decor.
Share the Joy
Consider hosting a DIY Christmas decoration party with friends or family. Sharing the creative process makes the crafting experience more enjoyable while allowing you to exchange ideas and inspiration. Plus, you'll have a collection of handmade decor to cherish for years.
If you’re looking for even more DIY Christmas decorations, check out A Somerset Holiday for ideas, instructions, and inspiration to make the season merry and bright.
Read more
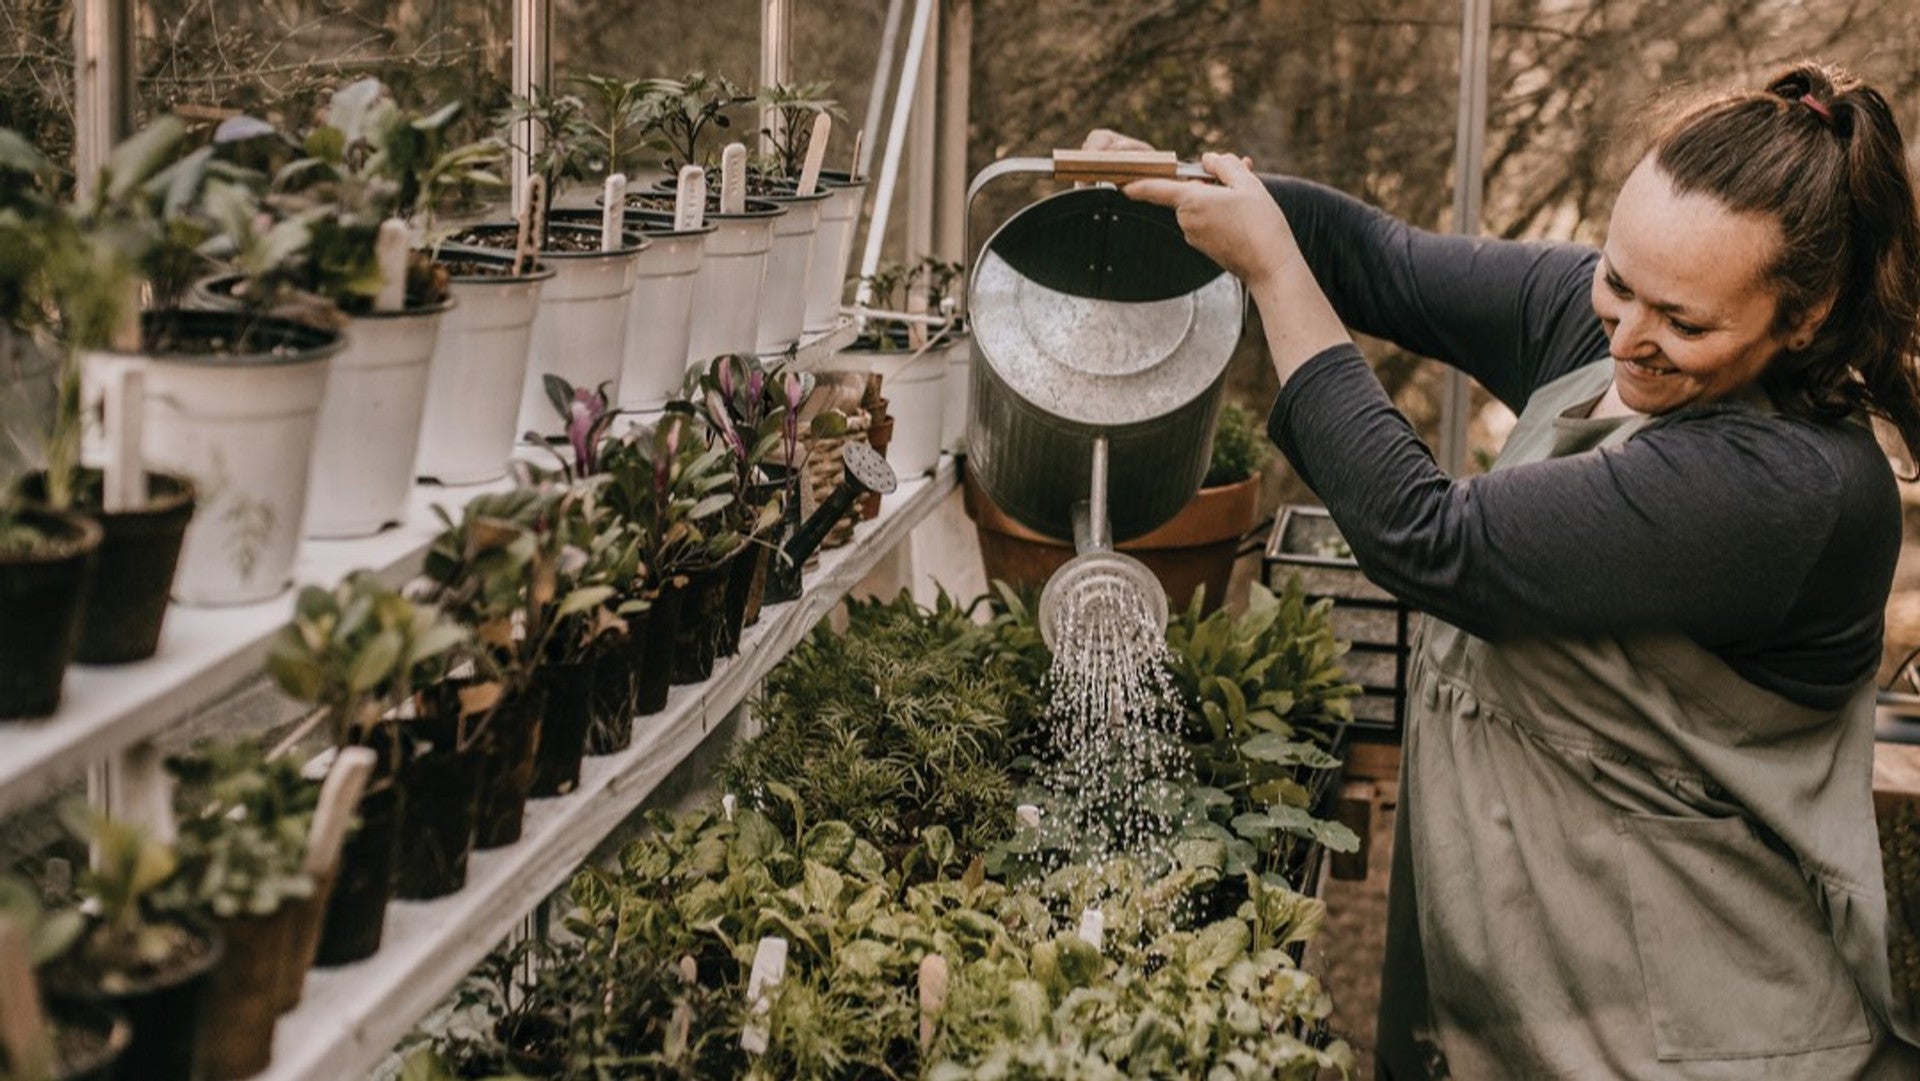
When the weather turns cold, and it’s time to prepare your garden for winter, don’t despair at losing your leafy-green and brightly bloomed friends — move your efforts indoors! We’ve collected some beautiful and inspiring space...
As the winter air turns brisk and delightful scents of cinnamon and evergreen linger, it's time to start crafting your Christmas celebration plans. To help spark your inspiration, we've gathered five festive Christmas party ide...

Leave a comment
All comments are moderated before being published.
This site is protected by hCaptcha and the hCaptcha Privacy Policy and Terms of Service apply.