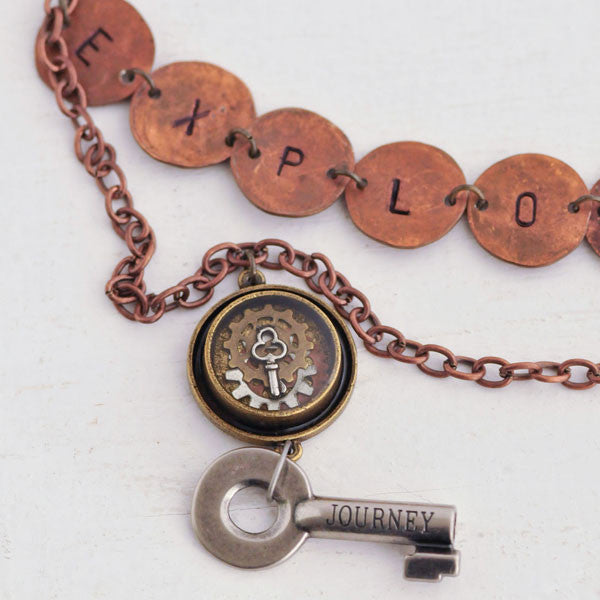
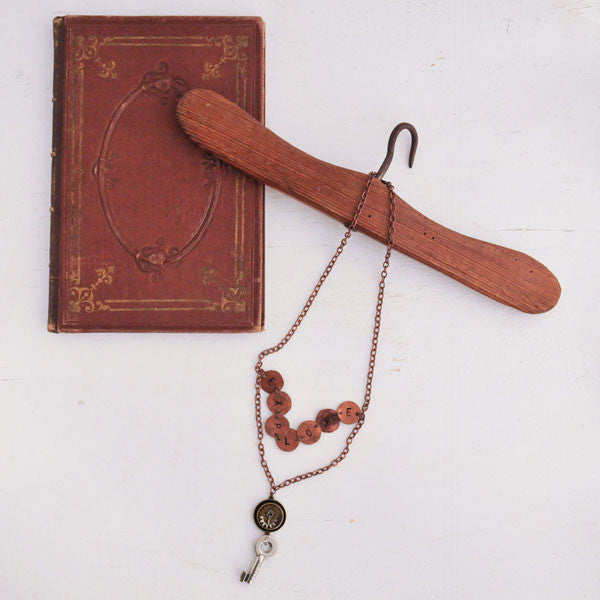
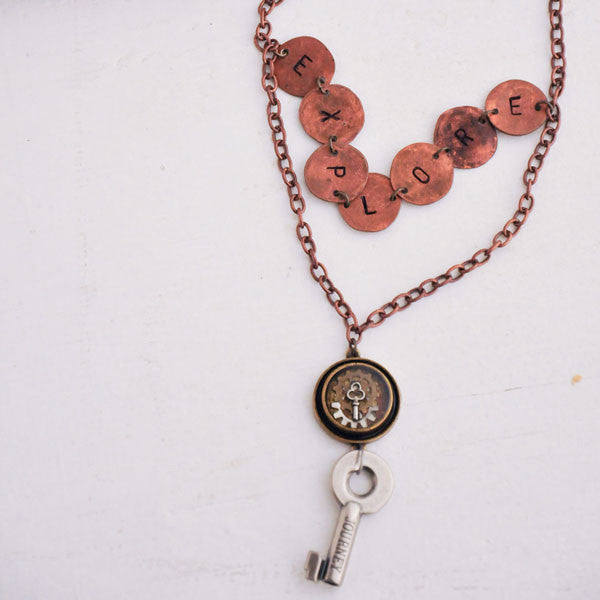
Explorer Necklace Project by Sarah Donawerth
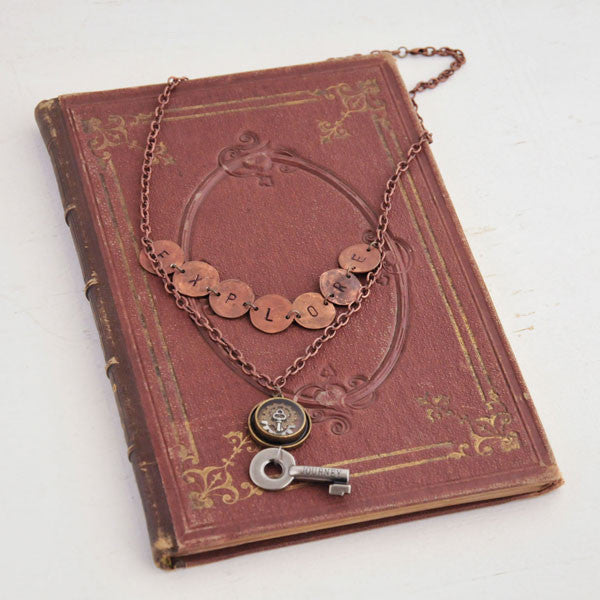
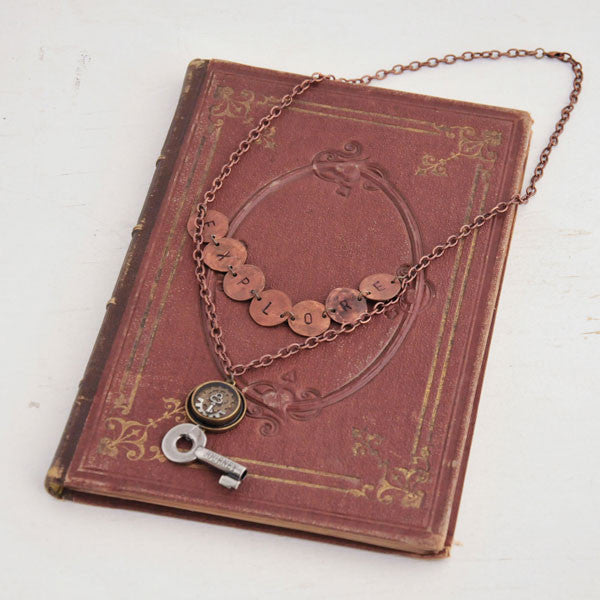
With a steampunk vibe and a wanderlust attitude, this necklace mixes metal-stamped details with traditional elements to create a piece of jewelry for adventurers only.
Explorer Necklace Project by Sarah Donawerth Directions:
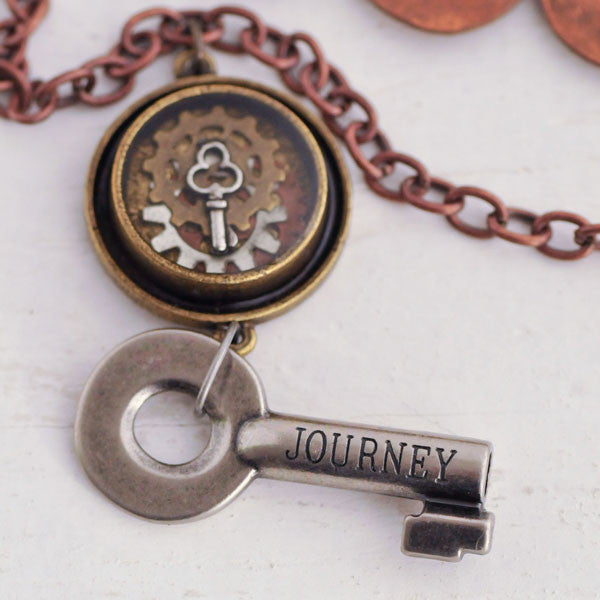
Beginning with the bezel, layer the Tim Holtz sprocket gears in the bottom of the bezel and add a small key or other detail to the top of the pile (Note: The bezels holes should be at the top and bottom.). Mix the resin according to the directions and fill in the bezel; set aside for 12 hours for the resin to harden.
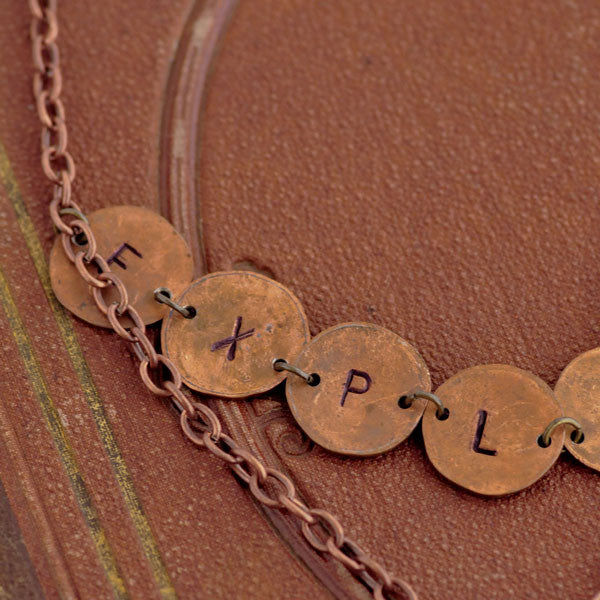
With a brass mallet or hammer and a dapping block, flatten 7 pennies. Use a ballpeen hammer to add some texture, if desired. If you are having trouble getting some of the design to disappear, try flipping the coin over and hammering again.
Hammer “EXPLORE” onto the pennies with the steel letter and number stamp set. Outline each letter with a black permanent marker, then gently wipe with a paper towel moistened with rubbing alcohol. This will leave the black ink in the impression and make the letters dark and striking.
Use a metal hole punch to create a hole on each side of the penny and connect them with jumprings.
Cut a 25” length of chain and attach the pieces of the clasp at each end. Fold the chain in half and attach the bezel with a jumpring at the halfway point. Attach a Tim Holtz key to the other hole of the bezel.
Measure 4” up the chain on either side of the bezel and attach the strip of pennies.
Free Shipping on Subscriptions
Easy 60 Day Returns
Friendly Customer
Support


Explorer Necklace Project by Sarah Donawerth
Frequently asked questions
Looking for a quick answer? Here are some of our customer’s most frequently asked questions to help you along the way.
Thanks for your interest in our magazines! We encourage you to visit our Calls & Challenges page to see what our editors are looking for.
Ready to begin? Here is where you can find our Submission Guidelines.
Our subscriptions ship directly from our printer in Wisconsin. For this reason, we need to be notified of your change of address at least two months before the next issue comes out, or it will be sent to the address we had on file and provided to our printer at the time it was due.
How to Notify Us About Your Change of Address
- Email the following to customerservice@stampington.com:
- The publication(s) you subscribe to
- Your name and new address
- Your old address
2. Call to inform us of your new mailing address:
- Toll-Free: 1-877-782-6737 or International: 1-949-380-7318
Mail Forwarded by the Post Office
If you forward mail to your new address through the Post Office, it won't apply to periodicals/your magazine subscription unfortunately. Also, since mail forwarding only lasts for a short time-frame, we request that you still notify us of your address change to prevent any service interruption to your subscription.
Stampington & Company cannot be held responsible for replacing "lost" issues from your subscription, if we did not receive your change of address request at least two months prior to your next issue's release date.
Subscription issues should arrive within the first week of the month your publication is released. Please add up to two weeks for international delivery.
If your magazine has not arrived by the 20th of the month, please contact our customer service department, so we can check to make sure nothing is amiss with your subscription, and see if you're eligible for a replacement copy. International subscribers can receive a digital version of the magazine as a replacement if one attempt has already been made to deliver the print edition to you.
Stampington & Company cannot be held responsible for postal delays or circumstances outside of our control, but we will make every effort to make it right.
We offer FREE shipping on all magazine subscriptions and instant download purchases to our customers. You can also take advantage of free U.S. shipping on select pre-orders of your favorite magazines (discounted International rates will apply). Browse our selection of Pre-Orders With Free U.S. Shipping here.
What are my shipping charges?
Shipping charges are calculated by weight, shipping destination, and speed. You will be able to choose the best delivery method for your needs at checkout.
To help keep your costs down, we offer a discounted rate of $5.95 to ship a single magazine to you (within the United States).
Need your order fast? We offer the following expedited shipping options:
- 3-day delivery
- 2-day delivery
*Please contact us if you have any questions or special instructions regarding your rush order.
What Carriers do You Use to Ship Items?


