


Watercolor Techniques: Wet on Dry vs. Wet on Wet
Watercolor painting holds a mesmerizing charm with its transformative nature. Artists, over time, have developed various methods to transform paint from a solid block into a graceful watery blend and eventually into a masterpiece. Among the methods, wet on wet and wet on dry are the most common.
So when you delve into watercolor techniques, these are terms bound to cross your path. But the question is: To wet or not to wet?
Whether you want an explainer or are new to watercolors, read on for a guide to the differences between wet on dry and wet on wet and how to incorporate them into your work.
Table of Contents
- Wet on Dry
- Wet on Wet
- Choosing Between Wet on Dry and Wet on Wet
- How to Speed up Watercolor Drying Time
Wet on Dry
Wet on dry is when you apply paint to a dry surface. You'd then allow each layer to dry before adding subsequent layers or details. This approach offers more control over the artwork. And if you seek precision and fine details in your paintings, this technique may be your favorite. Here are some key points to consider when using wet on dry:
- Layering and Blending: With each layer drying before the next application, you can build up your artwork progressively. This kind of technique creates depth and dimension. Also, you can achieve smooth transitions and subtle gradients by skillfully blending colors on the dry canvas.
- Precision and Detailing: Working on a dry surface enables you to render intricate details, textures, and fine lines. This meticulousness is advantageous, particularly for realistic and hyper-realistic styles where precision is paramount.
- Correcting Mistakes: When there are mistakes, the wet-on-dry technique offers a better opportunity for corrections. Painting layer by layer, it's easier for you to fix errors or adjust details in your artwork.
- Time Management: As the layers need time to dry, you must be mindful of your time management. Patience is essential, as rushing the process may result in undesired effects or blending issues.

JACQUELINE NEWBOLD ⎟ ART JOURNALING SPRING 2019
Exercises With Wet on Dry
Using wet on dry opens up a world of possibilities in watercolor painting. You can create shapes with a uniform, flat appearance or opt for variegated colors with changing hues and intensities. Meanwhile, graduated blending allows you to transition smoothly from dark to light tones.
Flat Wash With Wet on Dry
Try a flat wash exercise. Draw a rectangle on your paper. Load your brush generously to create a bead of excess fluid at the base of your brush stroke.
Work from top to bottom, allowing gravity to assist the paint's flow. Keep your brush wet and reload it when needed. Guide it down the paper within the rectangle's boundaries for a smooth finish.
If excess paint remains at the end of your wash, blot your brush to dry it. Then use it to soak up the surplus paint. This exercise hones both your brush control and paint application skills. Keep practicing to perfect your technique.

JACQUELINE NEWBOLD ⎟ SOMERSET STUDIO SPRING 2023
Variegated Blending With Wet on Dry
This technique involves glazing, where you apply paint over a dry layer, much like dry-on-dry graduated blending. To achieve variegated blending, start with a dried flat or graduated wash using one color.
Then, apply a second color with a graduated wash technique over the dried layer. Ensure the first coat is fully dry to avoid unintentional wet-on-wet blending. With practice, you'll master this method for beautiful color variations.
Graduated Blending With Wet on Dry
Painting on dry paper gives you well-defined forms and crisp edges. But sometimes, you need blending to soften those hard edges. That's when graduated blending comes in handy.
Start by mixing a large puddle of paint. Doing so lays the foundation for a smooth gradient of varying paint intensity from dark to light. Load your brush well and lay some watercolor at the top of the rectangle. Then stop about a third of the way down, leaving a bead at the base.
Avoid using a fully loaded brush, as it may create back runs that ruin the blend. Dilute the paint puddle with water and start a new brush stroke. Work quickly while the paint is wet, using about half-loaded brush strokes. Dilute the paint gradually until it resembles almost clear water. And you can finish the blended wash with clear water.
Wet on Wet
Wet on wet involves applying paint onto a wet surface, allowing the colors to blend and merge organically. Artists favor this approach for its spontaneity and ability to create fluid, soft, and atmospheric effects. Here are some key considerations when using the wet-on-wet technique:
- Expressive and Organic Effects: Wet-on-wet painting encourages a sense of fluidity and freedom. With this technique, you can create stunning washes, soft edges, and beautifully blended colors.
- Time-Saving: As the paint remains wet and workable for an extended period, you can complete your artwork quicker. This advantage makes it particularly useful for plein-air painting or capturing fleeting scenes.
- Texture Creation: Wet on wet is perfect for replicating soft textures like clouds, water reflections, and the illusion of natural light. Because of this, it can help enhance your artwork's visual and tactile appeal.
- Unpredictability and Creativity: Embracing the spontaneous nature of wet-on-wet painting can lead to happy accidents and unexpected results. This method can be a catalyst for creative experimentation and innovation.

PATRICIA J. MOSCA⎟ SOMERSET STUDIO AUTUMN 2022
Exercises with Wet on Wet
Artists specializing in wet-on-wet painting have keenly observed various stages of wetness. Each distinctively impacts the behavior of the paint. Ewa Karpinska refers to this as the water cycle. Meanwhile, Bruce MacEvoy, on his website, discusses the six stages of paper wetness.
The wetness levels include Completely Wet, Glossy, Satin, Moist, Matt, and Dry.
Understanding this and achieving the right wetness balance is crucial – on both the paper and the brush. This combination creates the best result in the paint's behavior on the surface. Mastering this balance is essential to creating captivating watercolor effects.
Variegated Blending With Wet on Wet
To start, draw a rectangle and apply clean water to moisten the paper. Then, lay down your chosen color. Alternatively, you can add more wet paint into an area that is still wet, known as charging.
Load your brush with one color and apply it to one side of the rectangle. Before the paper dries, load your brush with another color and paint it on the other side of the shape. Tilt the surface to aid the mixing process.
Watch as the colors elegantly mix and blend on the paper, creating a spontaneous blend of stunning hues. The pigments merge and create extraordinary new colors, making each piece a delightful surprise.
Graduated Blending With Wet on Wet
Draw a rectangle and wet the paper like before. Maintain a good level of wetness on the paper, avoiding excessive moisture or dryness for optimal results. Load your brush moderately and start by laying down a brush stroke at the top of the wet shape.
Without picking up more paint, continue applying brush strokes downward, covering about one-third of the rectangle. Tilt the paper to use gravity for downward paint flow.
Clean and blot your brush, then continue toward the base. Repeat this process if necessary. Observe how the pigments spread within the wet shape while staying within its boundaries. This technique allows you to achieve a smooth wash with precise control.

Choosing Between Wet on Dry and Wet on Wet
Both wet-on-dry and wet-on-wet techniques have their unique qualities and applications. Choosing between these techniques depends on your style, subject matter, and desired outcome.
The Dynamics of Water
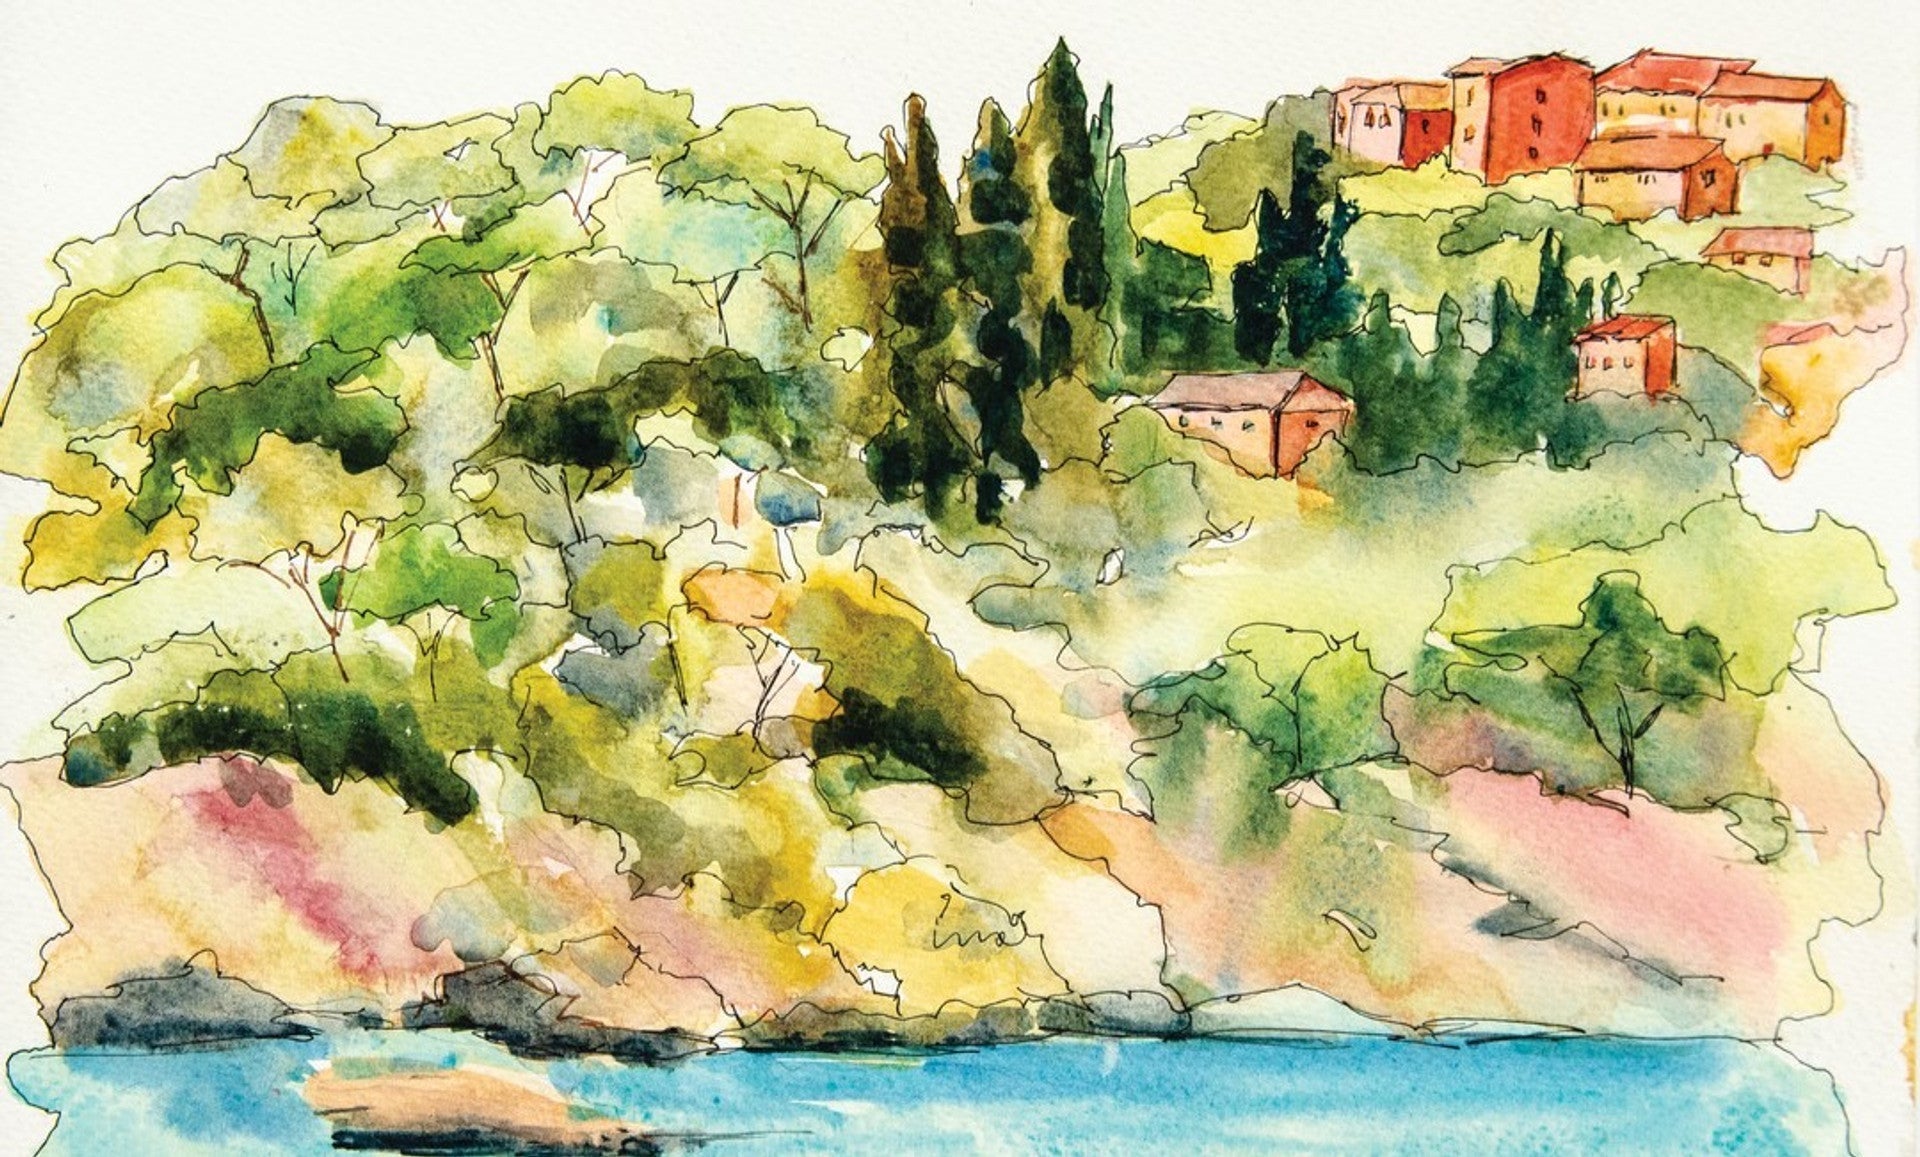
Watercolor, as the name suggests, is a water-based medium. Understanding the nature of water is crucial in grasping these two fundamental watercolor techniques. Comparing a drop of water on dry paper and one on wet paper can illustrate this.
The watery paint on dry paper remains contained and static, only extending its surface area when brushed. This happens with wet-on-dry painting, like when applying a flat wash.
Conversely, the paint on wet paper flows and follows the water's pull, moving towards the surface's lowest point. This is the essence of wet-on-wet painting.
Knowing how water behaves empowers you to control the outcome as the pigments follow the water's lead.

URSULA WOLLENBERG⎟ SOMERSET STUDIO AUTUMN 2022
Subject Matter and Style
Artists specializing in realism, portraiture, and highly detailed works often go for wet on dry. It allows for intricate detailing and controlled layering, essential in capturing precise features and textures.
On the other hand, impressionists, landscape painters, and artists seeking to convey emotion and atmosphere prefer wet on wet. The soft, blended effects from wet-on-wet painting lend themselves beautifully to landscapes, seascapes, and abstract art.
Control vs. Spontaneity
The wet-on-dry technique offers more control over your paintings. This control is beneficial when working on complex subjects or striving for photorealistic renditions. However, this control may also limit the potential for creative spontaneity and experimentation.
Conversely, the wet-on-wet technique embraces unpredictability and encourages you to relinquish some control. This technique often yields unexpected and visually engaging results, adding an element of surprise to the painting process.

LYNNE MONCRIEFF⎟ ART JOURNALING WINTER 2021
Blending and Color Mixing
Both techniques offer distinct ways of blending and color mixing. Wet on dry relies on your ability to mix colors and apply them in carefully planned layers. On the other hand, wet on wet allows colors to blend and interact on the canvas naturally. So it results in more unique and subtle color harmonies.
How to Speed up Watercolor Drying Time
Watercolor painting is a beautiful and versatile medium, but its characteristics entail a relatively slow drying time. This attribute allows for blending and layering. Nevertheless, it can be challenging if you desire a faster workflow. Fortunately, there are several ways to speed up watercolor drying time without compromising the quality of your paintings:
- Use a Hairdryer: Gently blow-dry your watercolor artwork with a hairdryer on its lowest setting. Keep the dryer at a reasonable distance from the paper to prevent overheating or warping.
- Opt for Watercolor Mediums: Some watercolors, such as drying accelerators, are designed to speed up drying time. Mix these in your paintings or apply them to the paper before painting.
- Select Quick-Drying Pigments: Certain pigments dry faster than others. For quicker results, choose colors that tend to dry rapidly, like cadmium colors or some synthetic organic ones.
- Use Hot Press Paper: Hot press watercolor paper has a smoother surface. As a result, this surface allows the paint to dry quicker than cold-press paper.
- Work in a Well-Ventilated Area: Good ventilation helps to evaporate the water from your artwork faster. A well-ventilated workspace will make the watercolor dry more efficiently.
- Reduce Humidity: High humidity can prolong drying time. Work in a less humid space or use a dehumidifier to create an optimal environment for faster drying.
- Dry in Sunlight: Place your watercolor artwork in direct sunlight to accelerate drying. However, avoid excessive exposure to sunlight, as it may fade the pigments over time.
Tip: While speeding up drying time can sometimes be advantageous, don't rush the creative process. Take the time needed to enjoy the art of watercolor painting and let the medium work its magic.
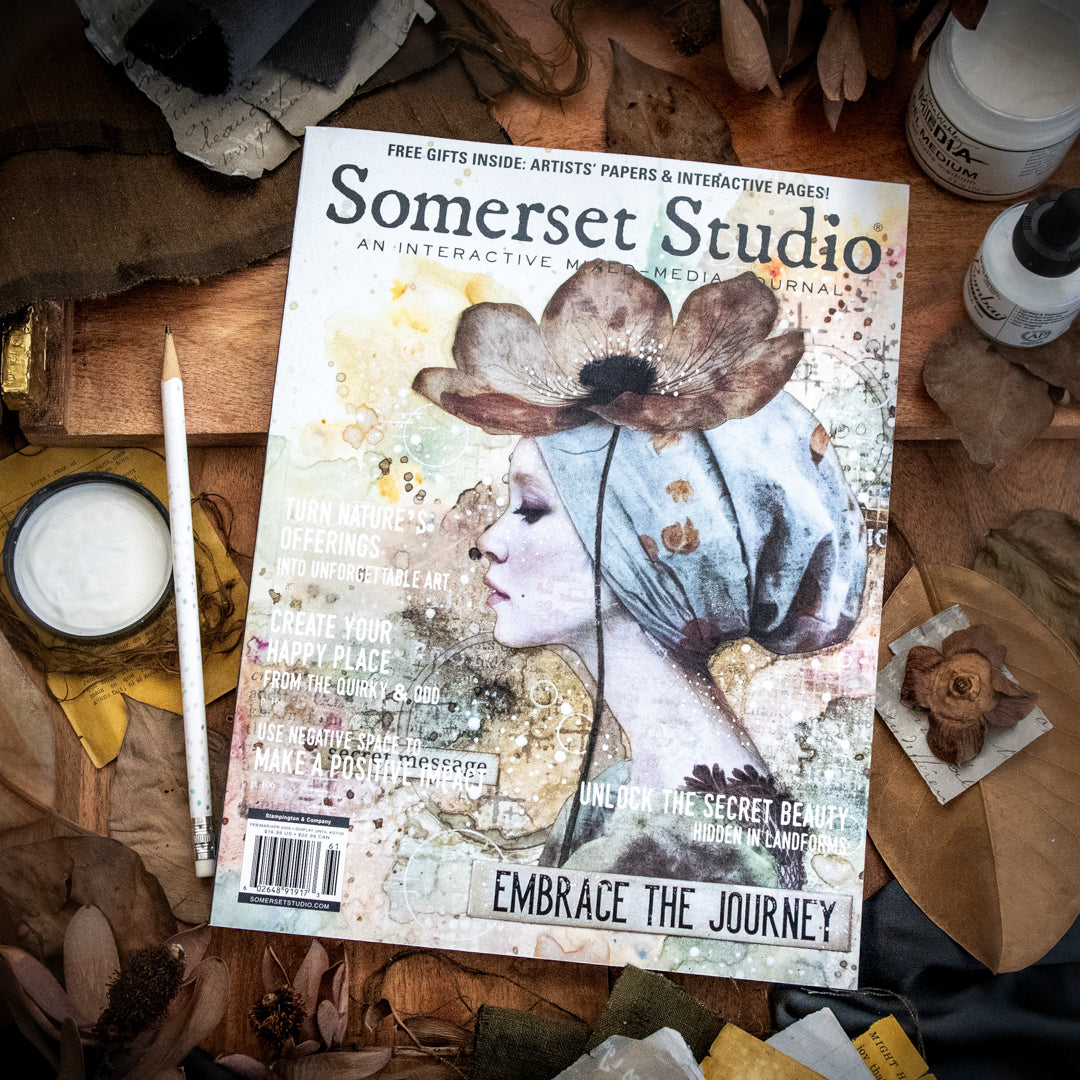
As you delve into watercolor painting, remember that your consistent effort will pave the way to mastery. And if you find this information helpful, check out our Somerset Studio magazine. Peek inside, and you'll find 176 pages filled with tips, techniques, on-trend projects, and artistic prompts.
Read more
You may know canvas is a widely used base for mixed-media art. But as this art form encourages experimentation, what other surfaces can you use to bring your artistic vision to life? And which one is most suitable for your art ...
Art Journaling magazine always contains a wealth of advice from the artists who generously share their work within its pages. From practical tips to inspiring ideas and even motivational messages, these pieces of advice can hel...

Leave a comment
All comments are moderated before being published.
This site is protected by hCaptcha and the hCaptcha Privacy Policy and Terms of Service apply.