


Jars of Goodness Mixed-Media Tutorial
Brush off your paintbrushes and get ready to take a Somerset Workshop from the comfort of your very own home! Today, we're sharing a step-by-step tutorial by Junelle Jacobsen from her, "Whimsical Mixings of All Mediums" installment.
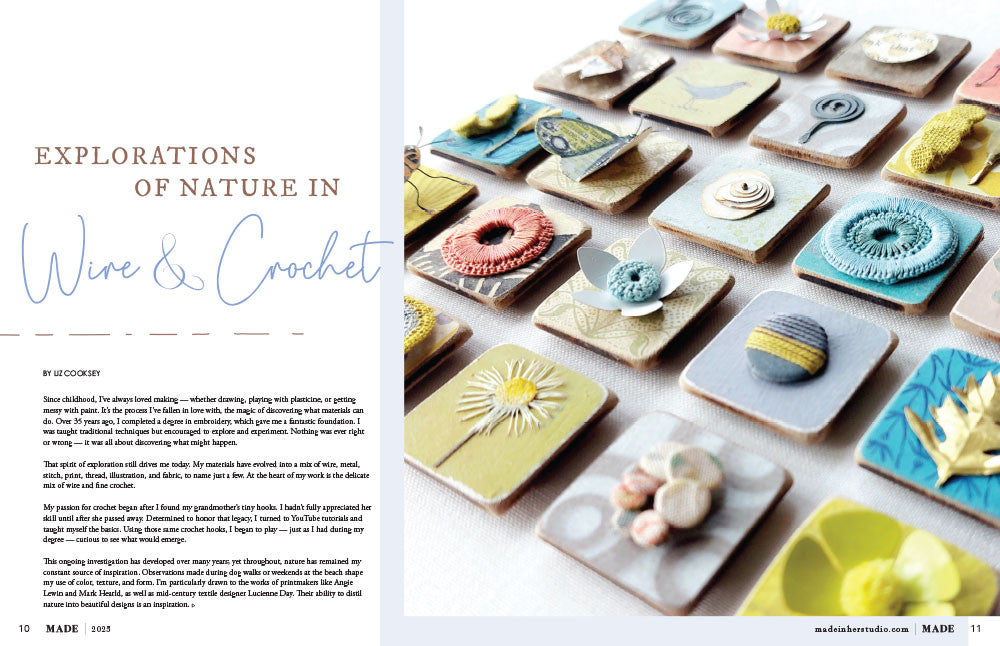
Do you get all silly at the antique fairs, too? I love the wonderful collections of history and treasures found at those fairs. I always have a few favorites to look for – one being really old blue Ball mason jars.
This project began with simple sketches – a mix of large and small jars, some with flowers and labels added, and some lined up on a pantry shelf; I ultimately decided to go with a mix of all of them. Using book paper and pretty colored lids, I decided how I wanted the canvases to look. I love the way book paper looks, and will probably go back to my original idea in another piece; but being in a painterly mood, I pushed on to create a couple canvases full of messy layers.

Finishing the project, I realized I was nurturing the idea of having all of these vessels of goodness, mercy and hope in my heart. I loved the idea of not seeing if they were empty or full so I could question my heart when I saw them. The two canvases are interesting when displayed on a shelf for others to see and experience as well.
Regardless of the original starting point, our art reflects so much of our daily experience, what we are thinking of, and hopes for what lies ahead.
STEP-BY-STEP INSTRUCTIONS:
|
|
|
|
|
|


|
|
|
|
|
|


|
|
|
|
|
|


|
|
|
|
|
|


|
|
|
|
|
|


|
|
|
|
|


TOOLS & MATERIALS:
- Acrylic paint: assorted colors
- Artist crayons: brown/gray (Caran d’Ache - Neo-color II)
- Canvases: 8”x 8” & 8”x10” (2)
- Chalk pastel: white
- Colored marking pencil: black (Stabilo)
- Decoupage medium: matte
- Gesso
- Light modeling paste
- Paintbrushes: old, small (2)
- Paper scraps: assorted
- Sandpaper
- Scissors
- Sketchbook & pencil
- Stain: thin brown paint/ink
- Straight pin
- Texture tools: palette knife, plastic card, punchinella
- Vintage book pages
- Wire: thin
- Wooden Skewer
- Work strips
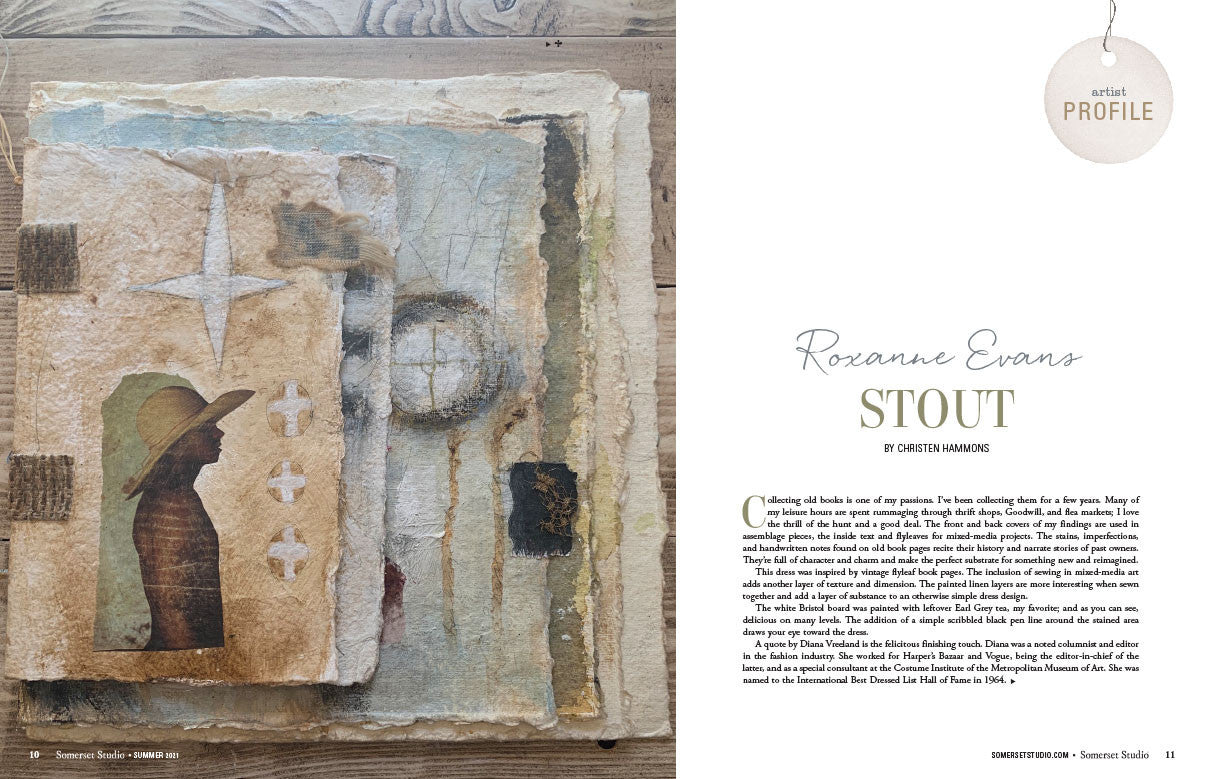
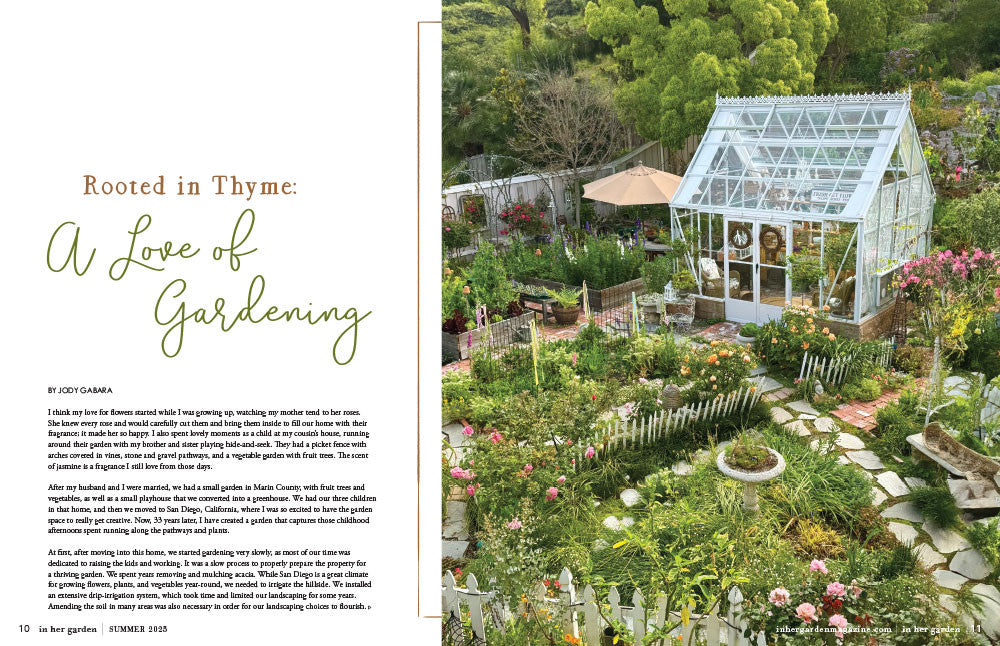
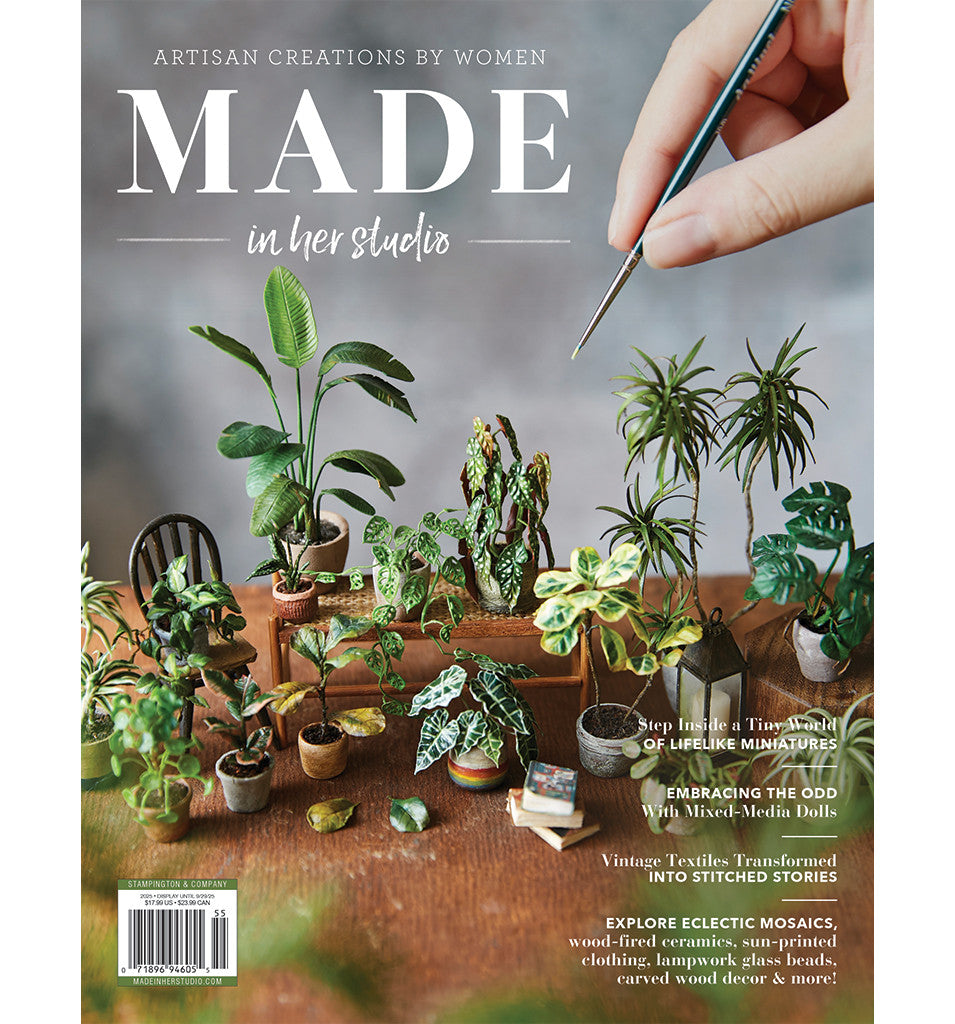
We hope you enjoyed this detailed tutorial! For even more inspiration, we recommend these Mixed-Media Magazines to help get those creative juices flowing.

Read more

As much as I try to stay on top of things during the holidays, I always find myself in need of some simple last-minute gifts. What could be easier than something you don’t even have to leave the house to purchase? Depending on ...
Something that we find fascinating about the submissions we receive is the amount of thought that goes into each and every piece. At first glance, the artwork is gorgeous, but when you take a closer look, you see that the beaut...

4 comments
This was great!’ Thank you. On my list of art to make!
Rochelle
I am so excited to see Junelle’s work of art. She is fantastic! Thanks so much for sharing your talents and gifts. Will Def be making this project soon!
Lucie Hale
Ready to create this wonderful project!!! So happy to see Junelle’s name, and know that she is alive and well, and still creating her wonderful art!!! Hi, Junelle!!!! How are the sheep???
Trudy Honeycutt
love this!!!
Beth Brady
Leave a comment
All comments are moderated before being published.
This site is protected by hCaptcha and the hCaptcha Privacy Policy and Terms of Service apply.