Personalize Your Weekly Planner Project
I love buying a new planner at the beginning of the year, so when I saw the latest collection of Papaya Art’s weekly planner, I knew that I had to get one for myself!
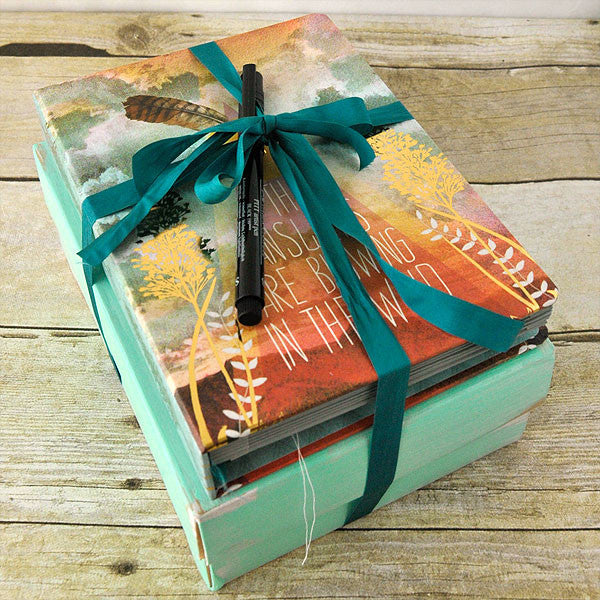
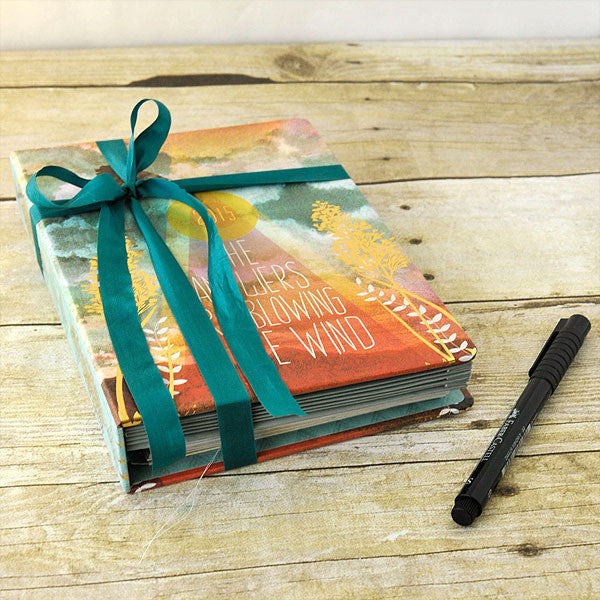
One of my favorite things to do to planners, like any artist, is to put my own personal touch on it. However, I found it a bit challenging to alter an already beautiful piece of art. So for this project, I decided to keep it simple. By adding just a few things, like a couple of photos, an envelope, and some ribbon, I customized the planner for my needs. Also, keep in mind that Papaya Art’s weekly planners make a great gift for an artsy friend. Create the perfect present by pairing one of the planners with a journaling pen or a set of art supplies, and wrapping it in some pretty ribbon tied in a bow
Personalize Your Weekly Planner Instructions:
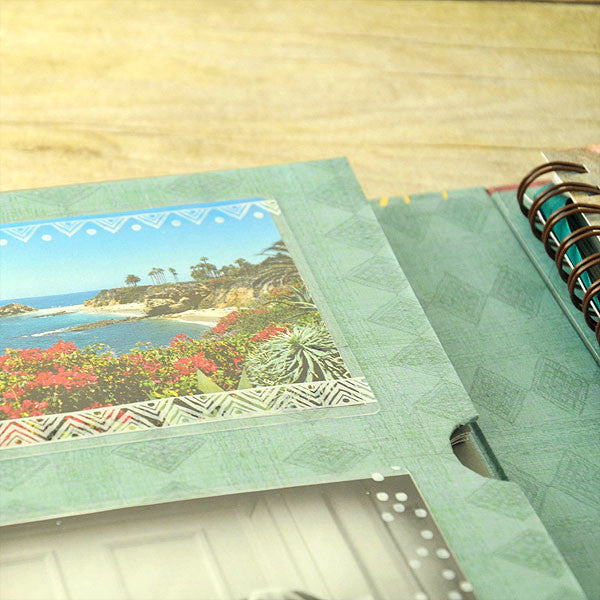
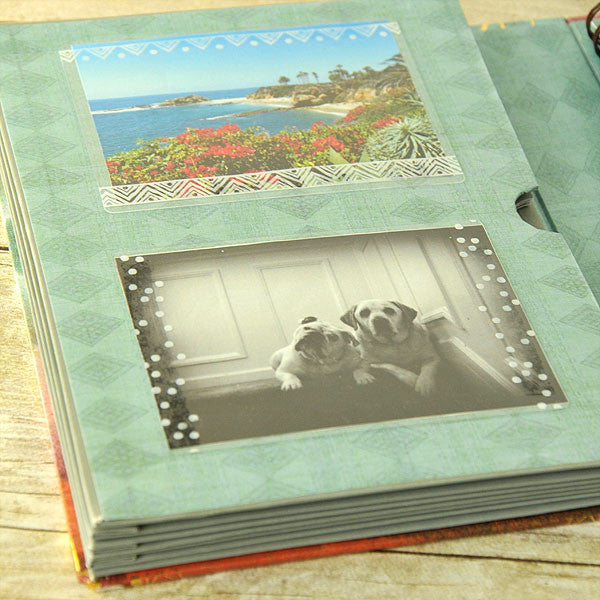
First, select some of your favorite photos, and then edit and crop them to the correct size. Print, trim, and glue the photos onto the inside cover of the weekly planner, and adhere a Prima Marketing Insta-scrap Transparencies over the photos.
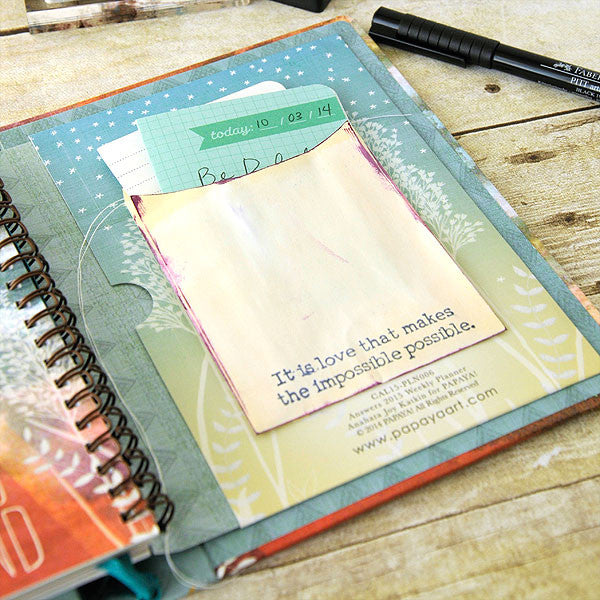
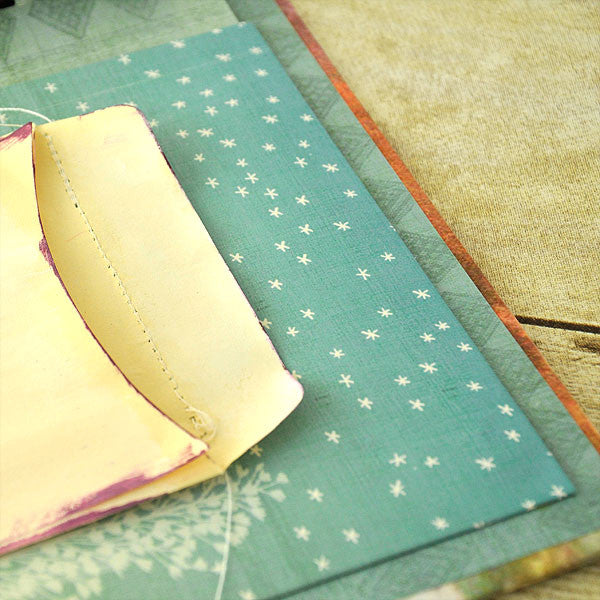
Embellish an envelope with a light stitch using white thread. Dry brush on a light layer of gesso over the front of the envelope and edge with Seedless Preserves Distress Ink mini; let dry. Next, stamp the envelope with a sentiment using permanent black ink.
When you’re done with your envelope, fill it with a handful of Project Life title cards. Use your favorite pen to doodle, write notes, or to jot down a favorite quote onto the cards.
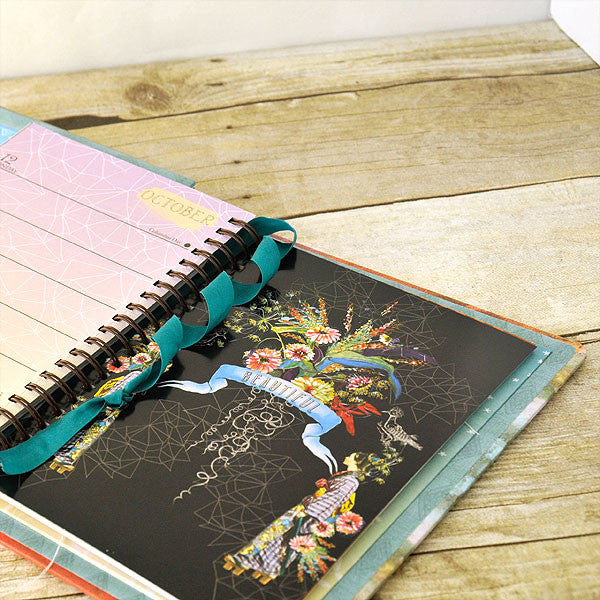
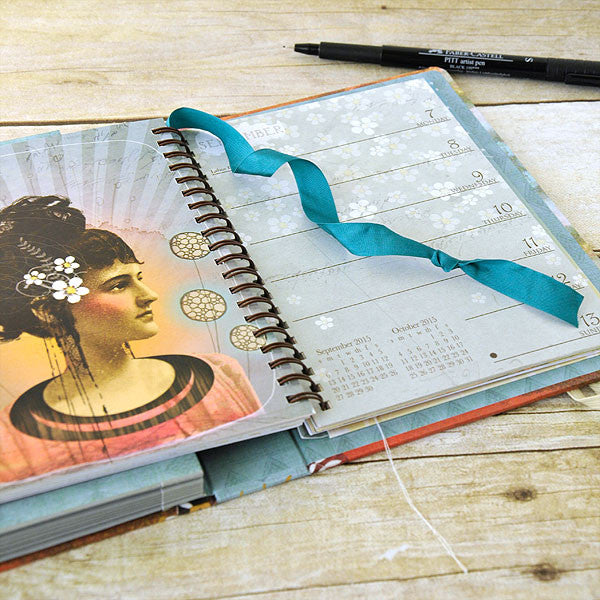
Finally, thread some ribbon through the binding, making it long enough to hang down and use as a bookmark or place holder.
Free Shipping on Subscriptions
Easy 60 Day Returns
Friendly Customer
Support


Personalize Your Weekly Planner Project
Frequently asked questions
Looking for a quick answer? Here are some of our customer’s most frequently asked questions to help you along the way.
Thanks for your interest in our magazines! We encourage you to visit our Calls & Challenges page to see what our editors are looking for.
Ready to begin? Here is where you can find our Submission Guidelines.
Our subscriptions ship directly from our printer in Wisconsin. For this reason, we need to be notified of your change of address at least two months before the next issue comes out, or it will be sent to the address we had on file and provided to our printer at the time it was due.
How to Notify Us About Your Change of Address
- Email the following to customerservice@stampington.com:
- The publication(s) you subscribe to
- Your name and new address
- Your old address
2. Call to inform us of your new mailing address:
- Toll-Free: 1-877-782-6737 or International: 1-949-380-7318
Mail Forwarded by the Post Office
If you forward mail to your new address through the Post Office, it won't apply to periodicals/your magazine subscription unfortunately. Also, since mail forwarding only lasts for a short time-frame, we request that you still notify us of your address change to prevent any service interruption to your subscription.
Stampington & Company cannot be held responsible for replacing "lost" issues from your subscription, if we did not receive your change of address request at least two months prior to your next issue's release date.
Subscription issues should arrive within the first week of the month your publication is released. Please add up to two weeks for international delivery.
If your magazine has not arrived by the 20th of the month, please contact our customer service department, so we can check to make sure nothing is amiss with your subscription, and see if you're eligible for a replacement copy. International subscribers can receive a digital version of the magazine as a replacement if one attempt has already been made to deliver the print edition to you.
Stampington & Company cannot be held responsible for postal delays or circumstances outside of our control, but we will make every effort to make it right.
We offer FREE shipping on all magazine subscriptions and instant download purchases to our customers. You can also take advantage of free U.S. shipping on select pre-orders of your favorite magazines (discounted International rates will apply). Browse our selection of Pre-Orders With Free U.S. Shipping here.
What are my shipping charges?
Shipping charges are calculated by weight, shipping destination, and speed. You will be able to choose the best delivery method for your needs at checkout.
To help keep your costs down, we offer a discounted rate of $5.95 to ship a single magazine to you (within the United States).
Need your order fast? We offer the following expedited shipping options:
- 3-day delivery
- 2-day delivery
*Please contact us if you have any questions or special instructions regarding your rush order.
What Carriers do You Use to Ship Items?


