


Creative Storage Ideas with a Shabby Chic Twist
Every spring season, we fall in love with shabby chic decor all over again. As you spring clean your space this season, add a dash of shabby chic style with these storage solutions! From desktop storage to memo boards, each one will bring a hint of dreaminess to your studio.
Creative Storage Ideas with a Shabby Chic Twist
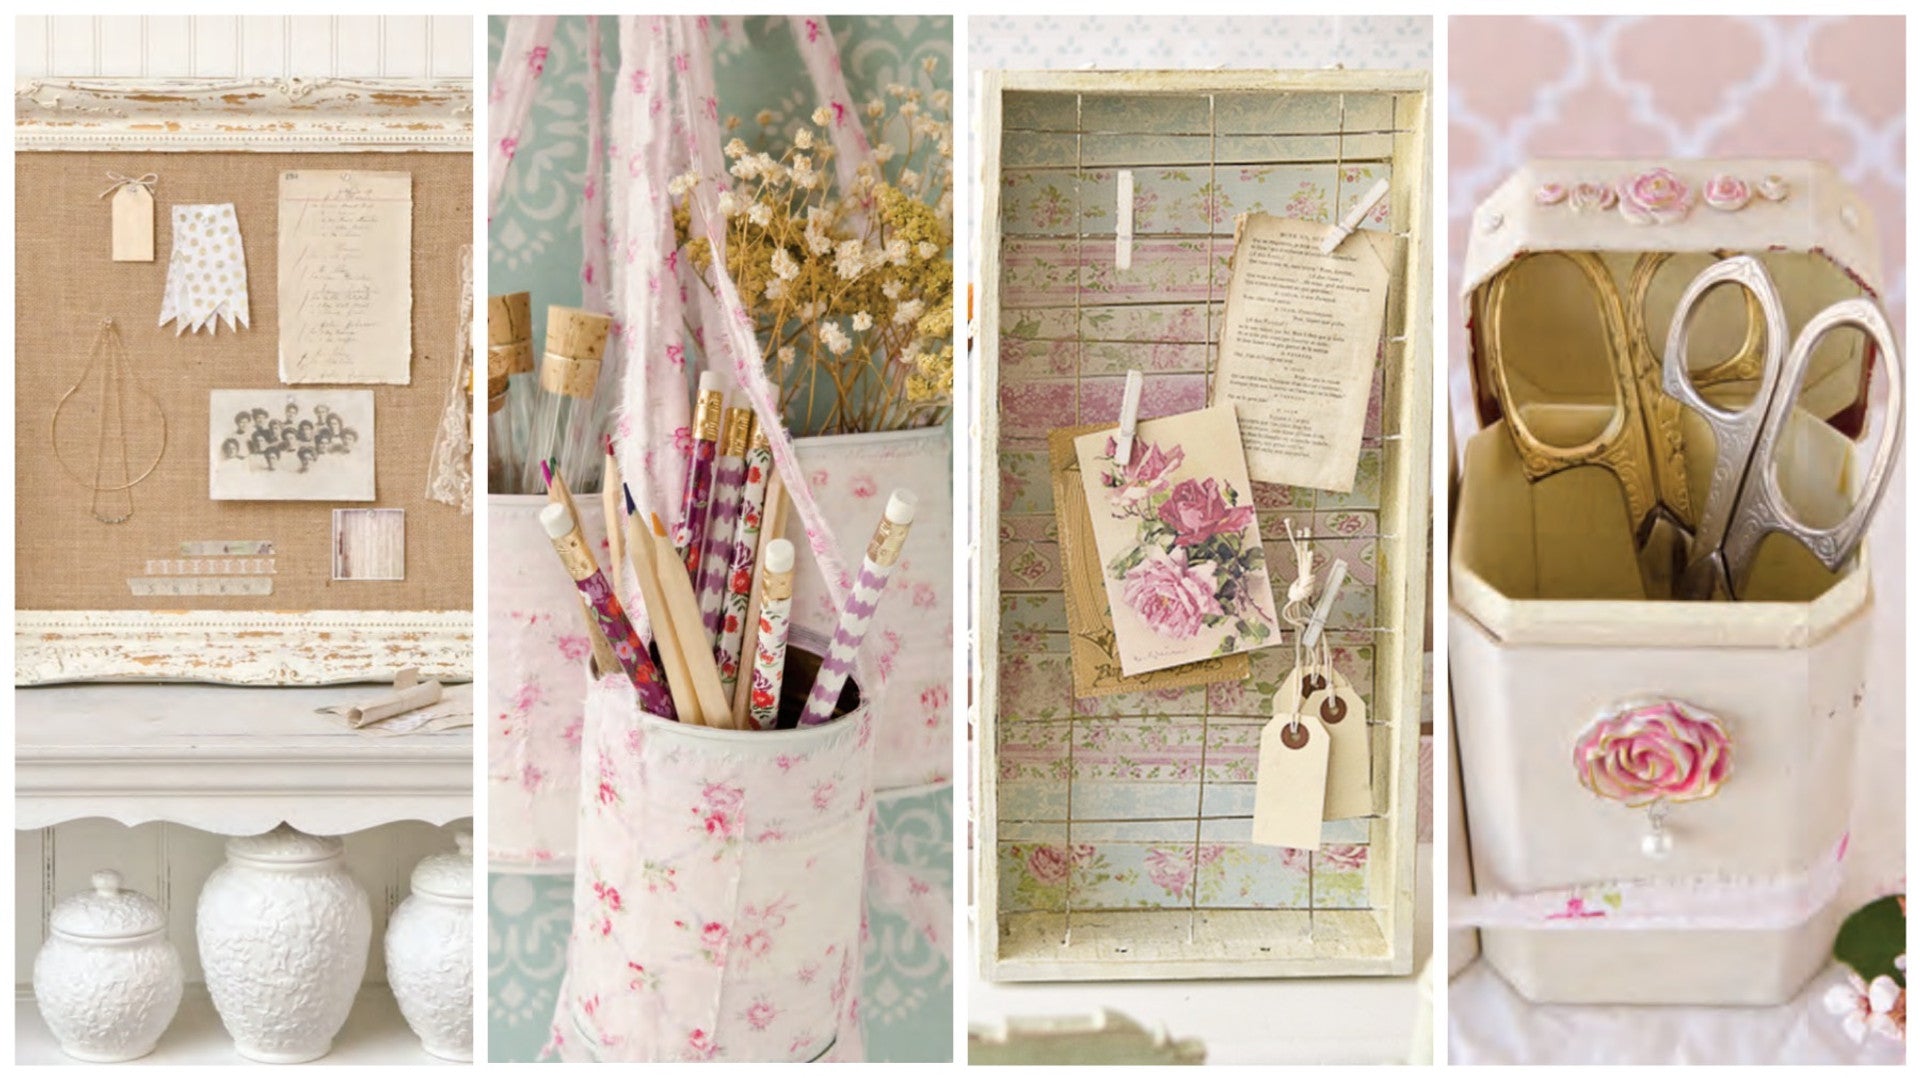
1. Memo Board

To begin, spray a plant box with a clear acrylic sealer. This will keep the stain from floating to the surface after you paint it white.
Paint entire box with Dylusions White Linen Paint. We opted not to remove the wire grid while painting because it is fairly difficult to get reassembled, but found that the white paint rubbed off easily with a little sandpaper if it got into the wrong place.
With scrap wood or paint stir sticks, cut strips of floral patterned paper to fit the width of the interior of the vintage plant box.
Glue strips to the wood strips with gel medium. Trim away excess paper. Allow gel medium to dry, then use sandpaper to distress the edges and surface of the paper. We used a medium grit sandpaper and it took the brightness off the paper strips really well and gave it a lovely distressed look.
Slide distressed wood strips under the wire of the box and adhere to the back of the box with gel medium. Repeat until the entire back is covered.
Distress white clothespins with sandpaper for hanging your memos on the board.
2. Desktop Storage with Mason Jars

Begin by pushing White Sand texture paste through the an art deco wallpaper stencil with a palette knife onto a wooden ledge. Allow each side to dry completely before moving on. Seal entire ledge with a clear acrylic sealer so that the moisture from the next steps does not saturate the texture paste and cause it to move.
Blend chalkboard paint with some white acrylic paint until the desired shade of pink is achieved. Paint entire ledge pink, using 1-2 coats of paint to get a nice, solid finish.
Water down Dylusions White Linen paint with water and blend until the consistency is like water. Brush white wash over entire surface, allowing it to pool in some areas. This will make the texture paste design really pop and stand out. Use a heat gun to speed drying process.
Cut strips of floral patterned paper and apply a layer of white wash solution to the patterned paper. Adhere to the Mason jars with gel medium and wrap a length of white jute trim around the center.
3. Decorative Containers

Project by by Niki Meiners featured in Somerset Home August 2018
Supplies:
Acrylic chalk paint: Lace (DecoArt - Americana)Acrylic paint: Peony Pink, Pink Chiffon, Baby Pink (DecoArt - Americana)Cigar boxesClay mold maker: (Sculpey)Clay-conditioning machineCornstarchCovered work surfaceCraft knife/Tissue bladeFabric: floralGlue: Zip-Dry, 527 Multi-Use (Beacon)HeadpinJewelry boxMetal/Glass surface: oven-safePaintbrushesPearls: adhesivePolymer clay: Robin‘s Egg, White (Sculpey - Soufflé)Rhinestone crystalsScissorsVintage rosettesWax medium: Gold Rush, Champagne Ice (DecoArt - Metallic Lustre)Technique:
To make the mold for the rosette, pinch off a piece of clay and roll into a ball. Flatten the ball, creating a piece large enough to accept the vintage rosette. Dust the rosette with cornstarch. Press the rosette into the mold and then remove. Bake the mold according to the manufacturer’s instructions. Allow the piece to cool before handling.
Next, condition the polymer clay by rolling it in your hands or running it through a clay-conditioning machine. Press clay into mold to make roses. Bake them on oven-proof glass or metal surface following the manufacturer’s instructions. After allowing them to cool, apply the paint in layers by adding different colors in different sections of the flowers. Start with the darkest color as the base coat and add the lighter colors as accents. Once the paint has dried, add more detail with the gold paint. For an additional layer of color, use your finger to apply metallic wax medium, and allow the rosette to dry.
While the flowers are baking or drying, paint the exterior of the cigar boxes with Lace chalk paint. The nice thing about chalk paint is it generally takes one coat to achieve good coverage and you do not have to prep or prime the surface you are painting. If needed, apply a second coat and allow to dry. For added detail, apply gold paint to all the edges of the containers along with more metallic wax medium. Once the containers are dry, glue them together and tie the floral fabric around the containers.
Affix the rhinestones, pearls, and rosettes. Use a headpin to attach the pearls to the rosettes. The vintage rosettes have eye pins already attached — if you want to add them to your piece, it is easiest to do before baking the polymer clay.
4. Pretty Hanging Cans

Project by Elyse Major featured in Somerset Home August 2017
Supplies:
Fabric: cottonDecoupage medium: (Plaid - Mod Podge)Duct tape/Electrical tape (optional)Foam brushGlueHammerSpray paint: white/Spray primer (optional)ScissorsTin canTechnique:
Begin with an empty and thoroughly washed and dried tin can. Cans opened using a can opener will generally leave behind a pointed inner edge; hammer the sharp point down or cover with duct or electrical tape to protect your fingers. When using a can with a flip-top opening (like most Progresso soups), you should still be careful of the inside lip. If desired, spray-paint the can’s exterior and allow to dry following the manufacturer’s instructions for the best and safest results.
Snip and carefully tear three long, thin strips from the fabric. Lay the strips out together on a flat surface and knot together toward the bottom, leaving about 2 inches to form a tassel; set aside. Make a collage of fabric scraps directly on the can by applying decoupage medium with a foam brush to the fabric and pressing it to the can to secure. Continue to cover the exterior of the can to your liking. When you deem this step complete, apply a coat of decoupage medium to seal the fabric; allow to dry and repeat as you like (this will not create a waterproof seal). Position the tied strips centered over the knot. Arrange the strips equally in thirds to nest the can. Once done, secure fabric in place with glue.
5. Elegant Corkboard

Project by Andrea Vigh featured in Somerset Home August 2016
Supplies:
BurlapChalk-finish paint: Antique WhiteClean rag & waterCorkboardD-ring hangersDrillFurniture wax: clearMetallic paint: goldMulti-purpose spray adhesivePaint brushesScrewsWooden frame: ornate; 29 3⁄4" x 25 3⁄4"/desired sizeTechnique:
Paint the frame gold and let it completely dry. Then, paint Antique White chalk paint over the gold paint. Just as the chalk paint becomes tacky, right before drying, take a clean, wet rag and rub areas of the frame in a consistent motion until reaching the desired distressed look. Of course, the more distressed you want the frame, the more you rub. Then wait for the paint to dry completely, coat the frame with a clear furniture wax, and let dry. At that point the frame is done and set to the side so you can begin with the center corkboard section.
For the center section, begin by cutting a 24" x 20" piece of corkboard (or a piece that matches the size of your frame) as well as a piece of natural burlap the same size. Spray the corkboard with adhesive, and immediately lay and smooth out the natural burlap over the top until they are adhered together with no air pockets or wrinkles. Set it aside until fully dry.
To assemble the frame corkboard, place the frame upside down and place the center piece with the natural burlap side facedown. Drill screws sideways into the frame so they hold the center part in and does not fall out. Once done, attach the D-ring for either horizontal or vertical hanging.
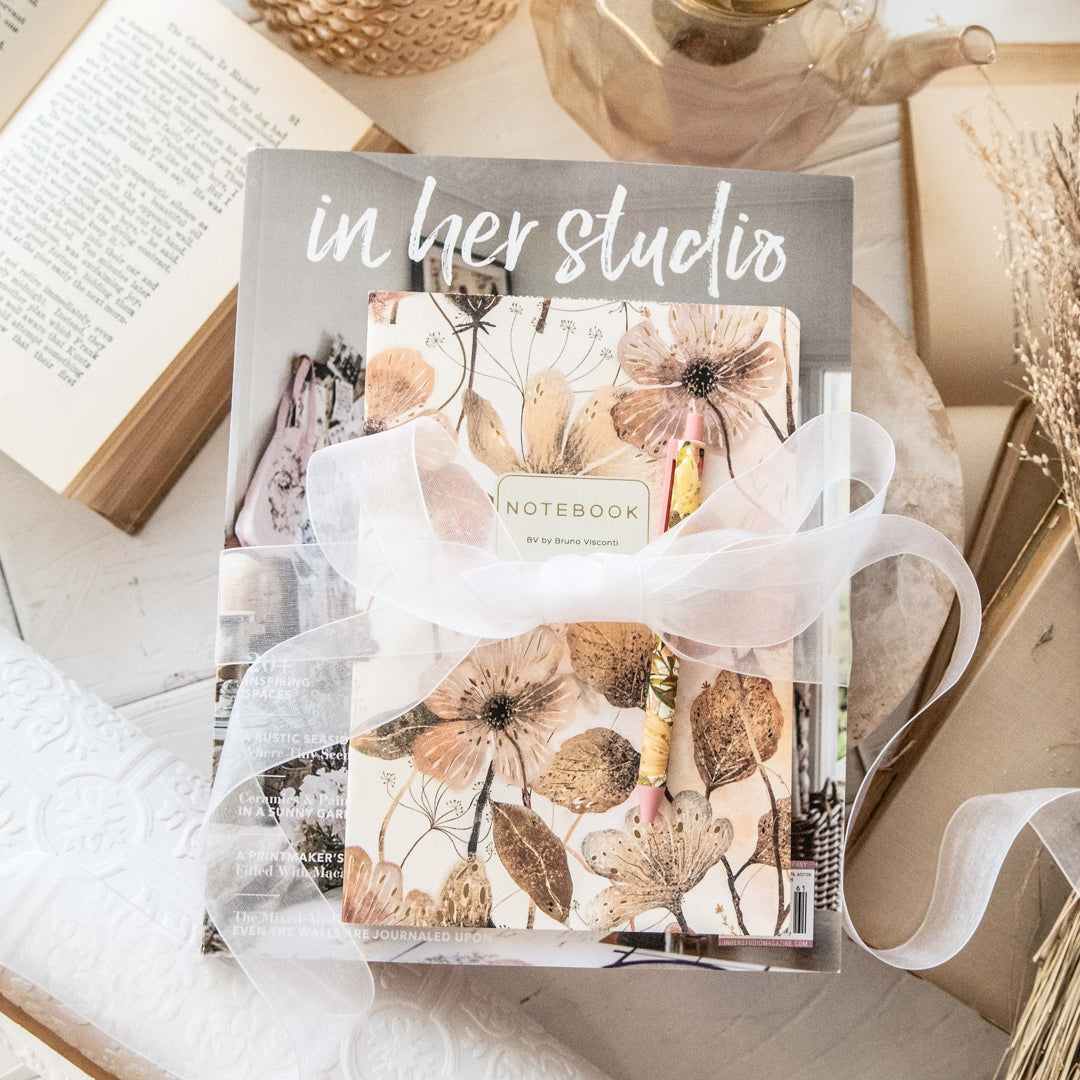
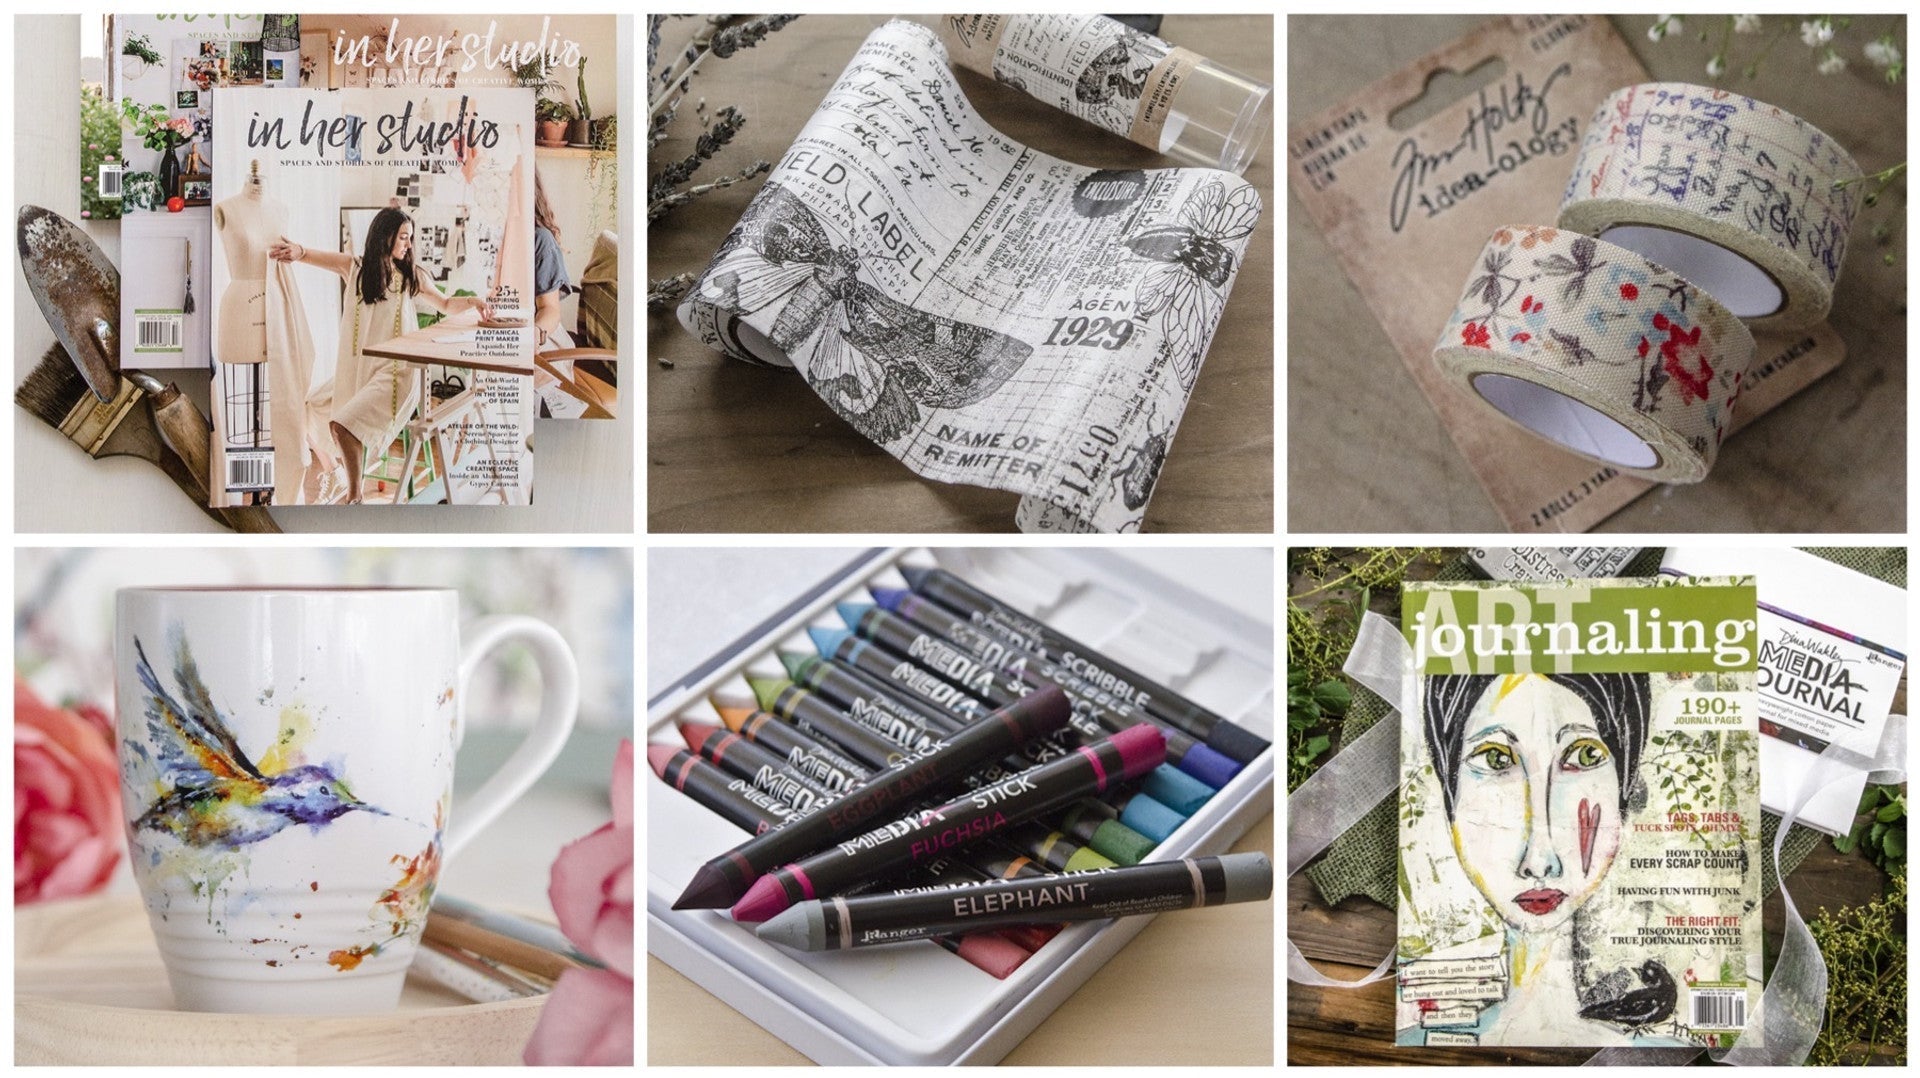
For more ideas to spruce up your creative space, take a peek inside In Her Studio magazine!
Read more
It's nearly inevitable to get stuck in a creative rut every now and then. The next time you feel stuck while working on a project, reference this inspiring list of ways to enhance creative flow. 10 Ways to Enhance Creat...
Do you have a friend who is constantly covered in paint, and proudly shows off her ink-smudged hands? Give the artistic women in your life the gift of creativity with items that will inspire her to try a new craft or add to her...

Leave a comment
All comments are moderated before being published.
This site is protected by hCaptcha and the hCaptcha Privacy Policy and Terms of Service apply.