


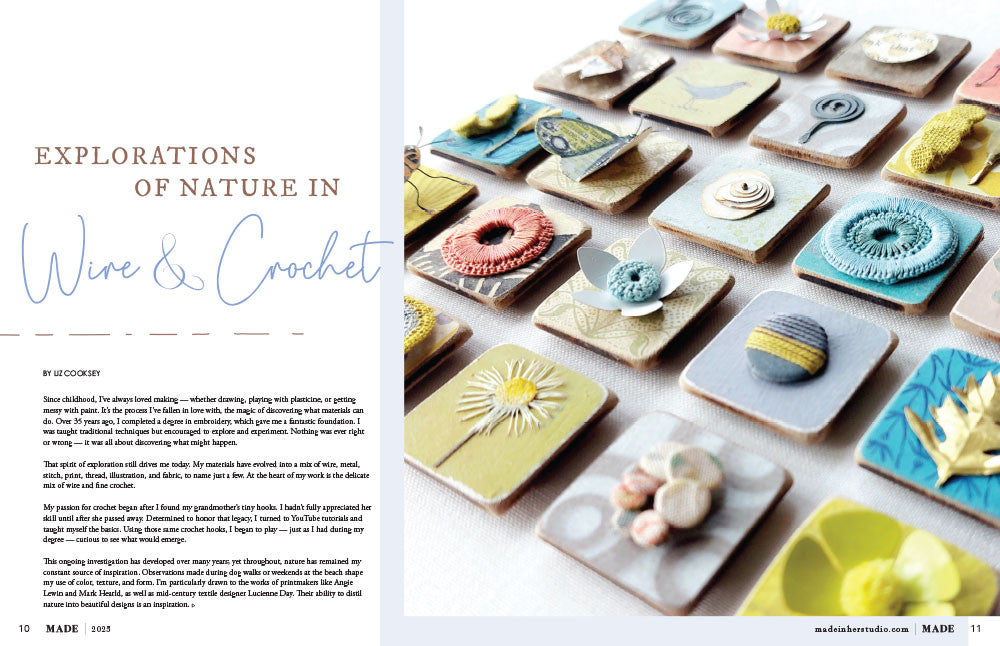
How to Construct and Deconstruct a Cardboard Journal with Guest Artist Michelle Ward
We have a very special guest artist visiting Somerset Place! Please join us in welcoming to our blog the incredibly talented Michelle Ward. A gifted instructor, rubber stamp and stencil designer, and a regular contributor to our publications, Michelle has graciously agreed to give us a personal step-by-step tutorial on how to create an upcycled journal!
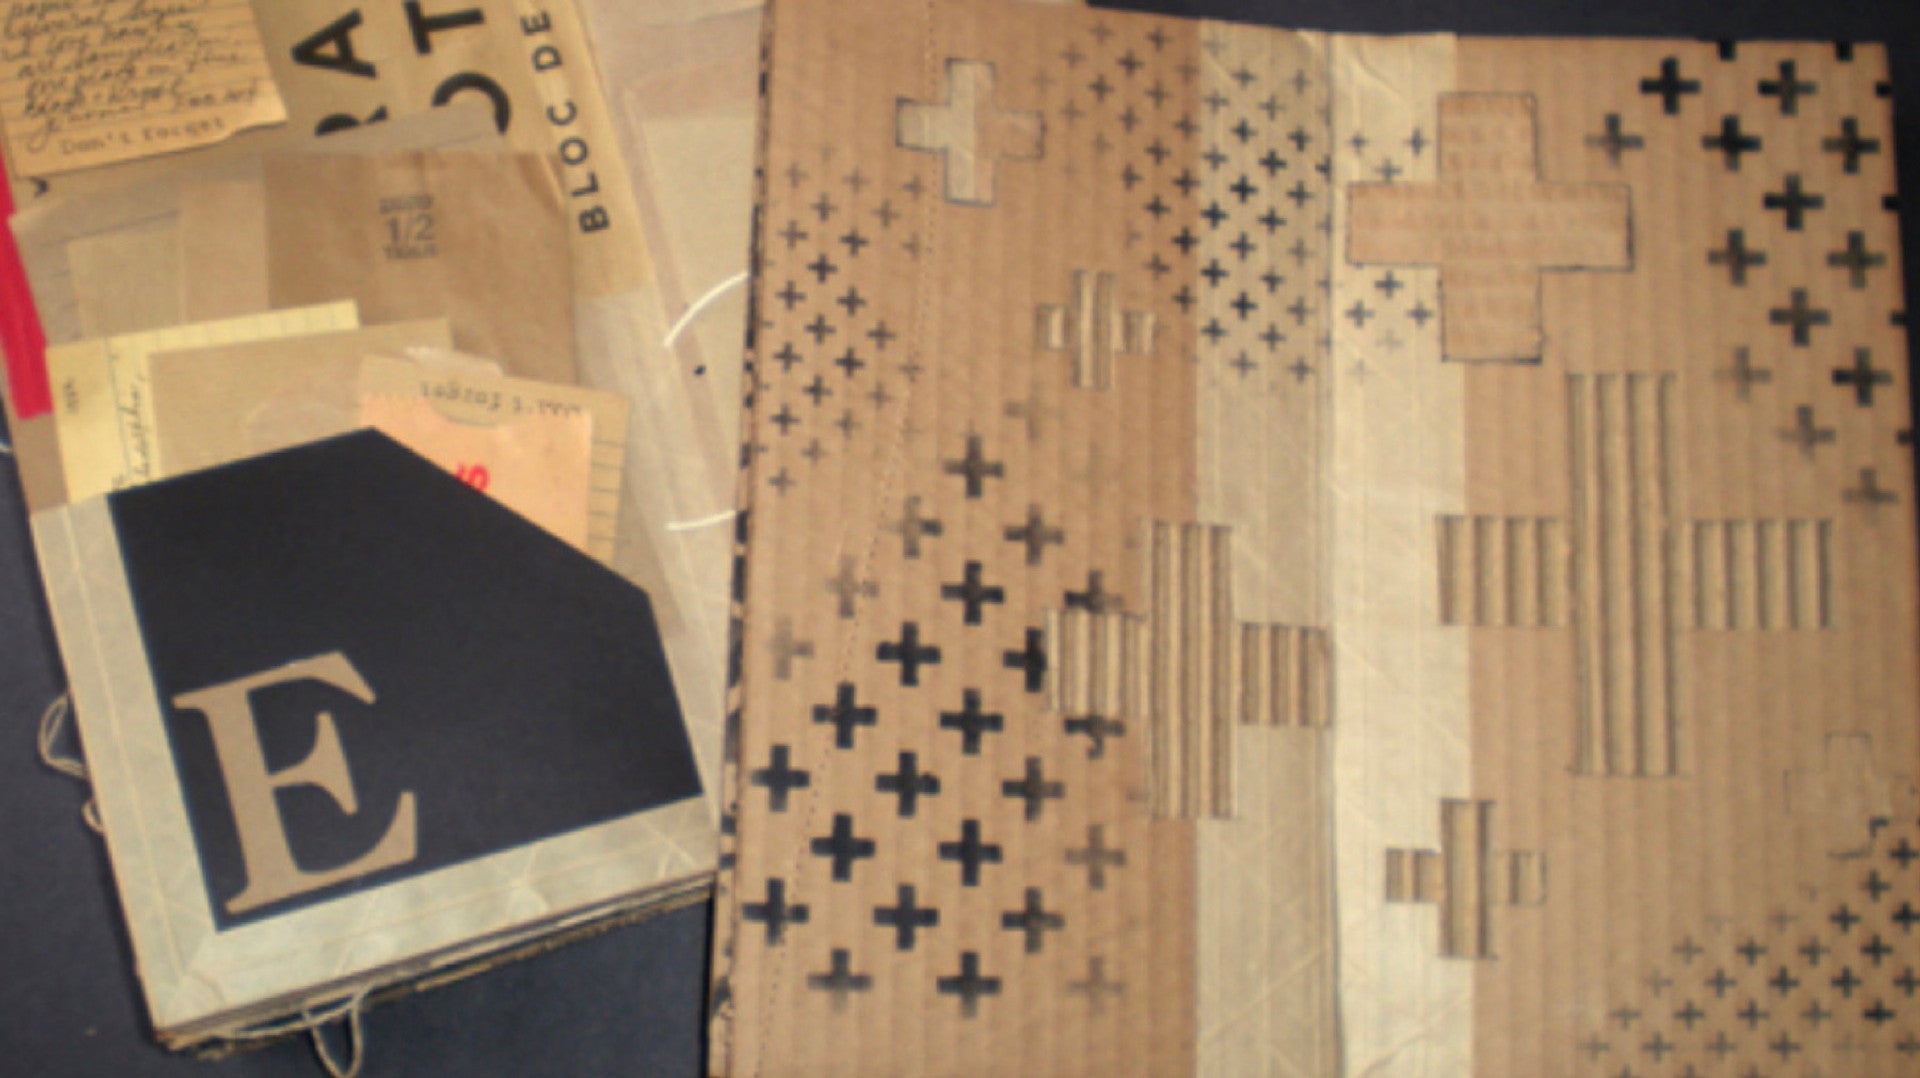
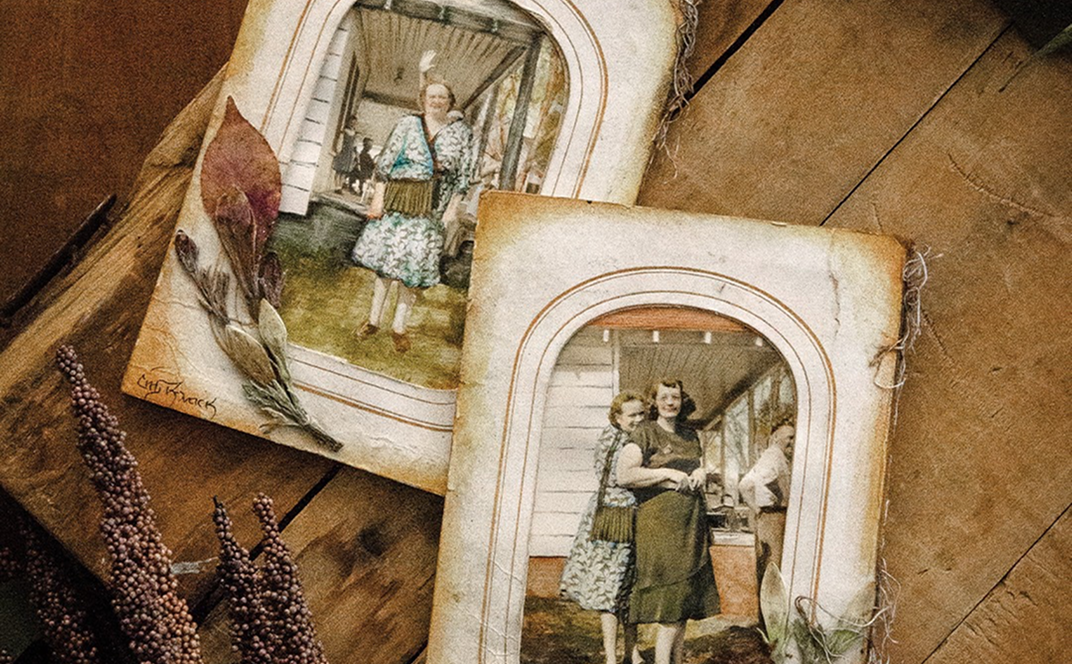
An afternoon with a box from Amazon can become a cool journal. With minimal supplies and no special skills, an ordinary cardboard carton is easily transformed into a unique book following the steps illustrated here. I love upcycling the non-precious material, as its properties allow for interesting deconstruction experiments that can’t be performed on any other surface. If you don’t have access to the packaging tape shown, you could adhere tyvek strips cut from a repurposed envelope, or try a similar heavy-duty tape.

Materials for Michelle Ward’s Debris Journal:
Cutting mat
Paint
Paint brush
Utility knife
Black pen
Metal edge ruler
Stamps
Stencils
Cardboard Box Cut Down into 5 x 10” Panels (10 pieces, or size + quantity as desired)
Pre-gummed kraft packaging tape (I found mine at Staples)
Michelle Ward’s Step-by-Step Instructions:
- Cut tape into 10” lengths, fold in half with gummed side on the exterior.
- With water & brush, wet one half of the folded tape to activate the adhesive.
- Place tape onto panel, aligning fold with vertical edge.
- Fold over remaining tape, wet with brush, and place a second panel on top.
- Before completely dry, be sure the two panels can open flat.
- Continue adding panels by applying tape along interior gutters. Check for consistent and even alignment.
- Complete binding should resemble a stack of cardboard.
- Your cardboard journal is now ready for adding personal content, or better yet – DeConstructing!

Michelle Ward’s Step-by-Step Instructions for Deconstructing Your Debris Journal
- Using a wood skewer (or an awl), insert into channels of corrugation to separate the kraft lamination.
- Tear away portions of the surface for random deconstruction.
- Make marks in the surface with pattern tracing wheel or awl. Cut and peel away surface to enhance your markings.
- Carefully cut away a portion and re-apply as a collage element.
- Further enhance your markings with additions of stencils and black pen.
- Apply cut-out as a collage layer. Draw in repeating shapes and enhance with piercing.
- Consider other options for creating marks on the surface before you begin applying paint, collage or journaling.
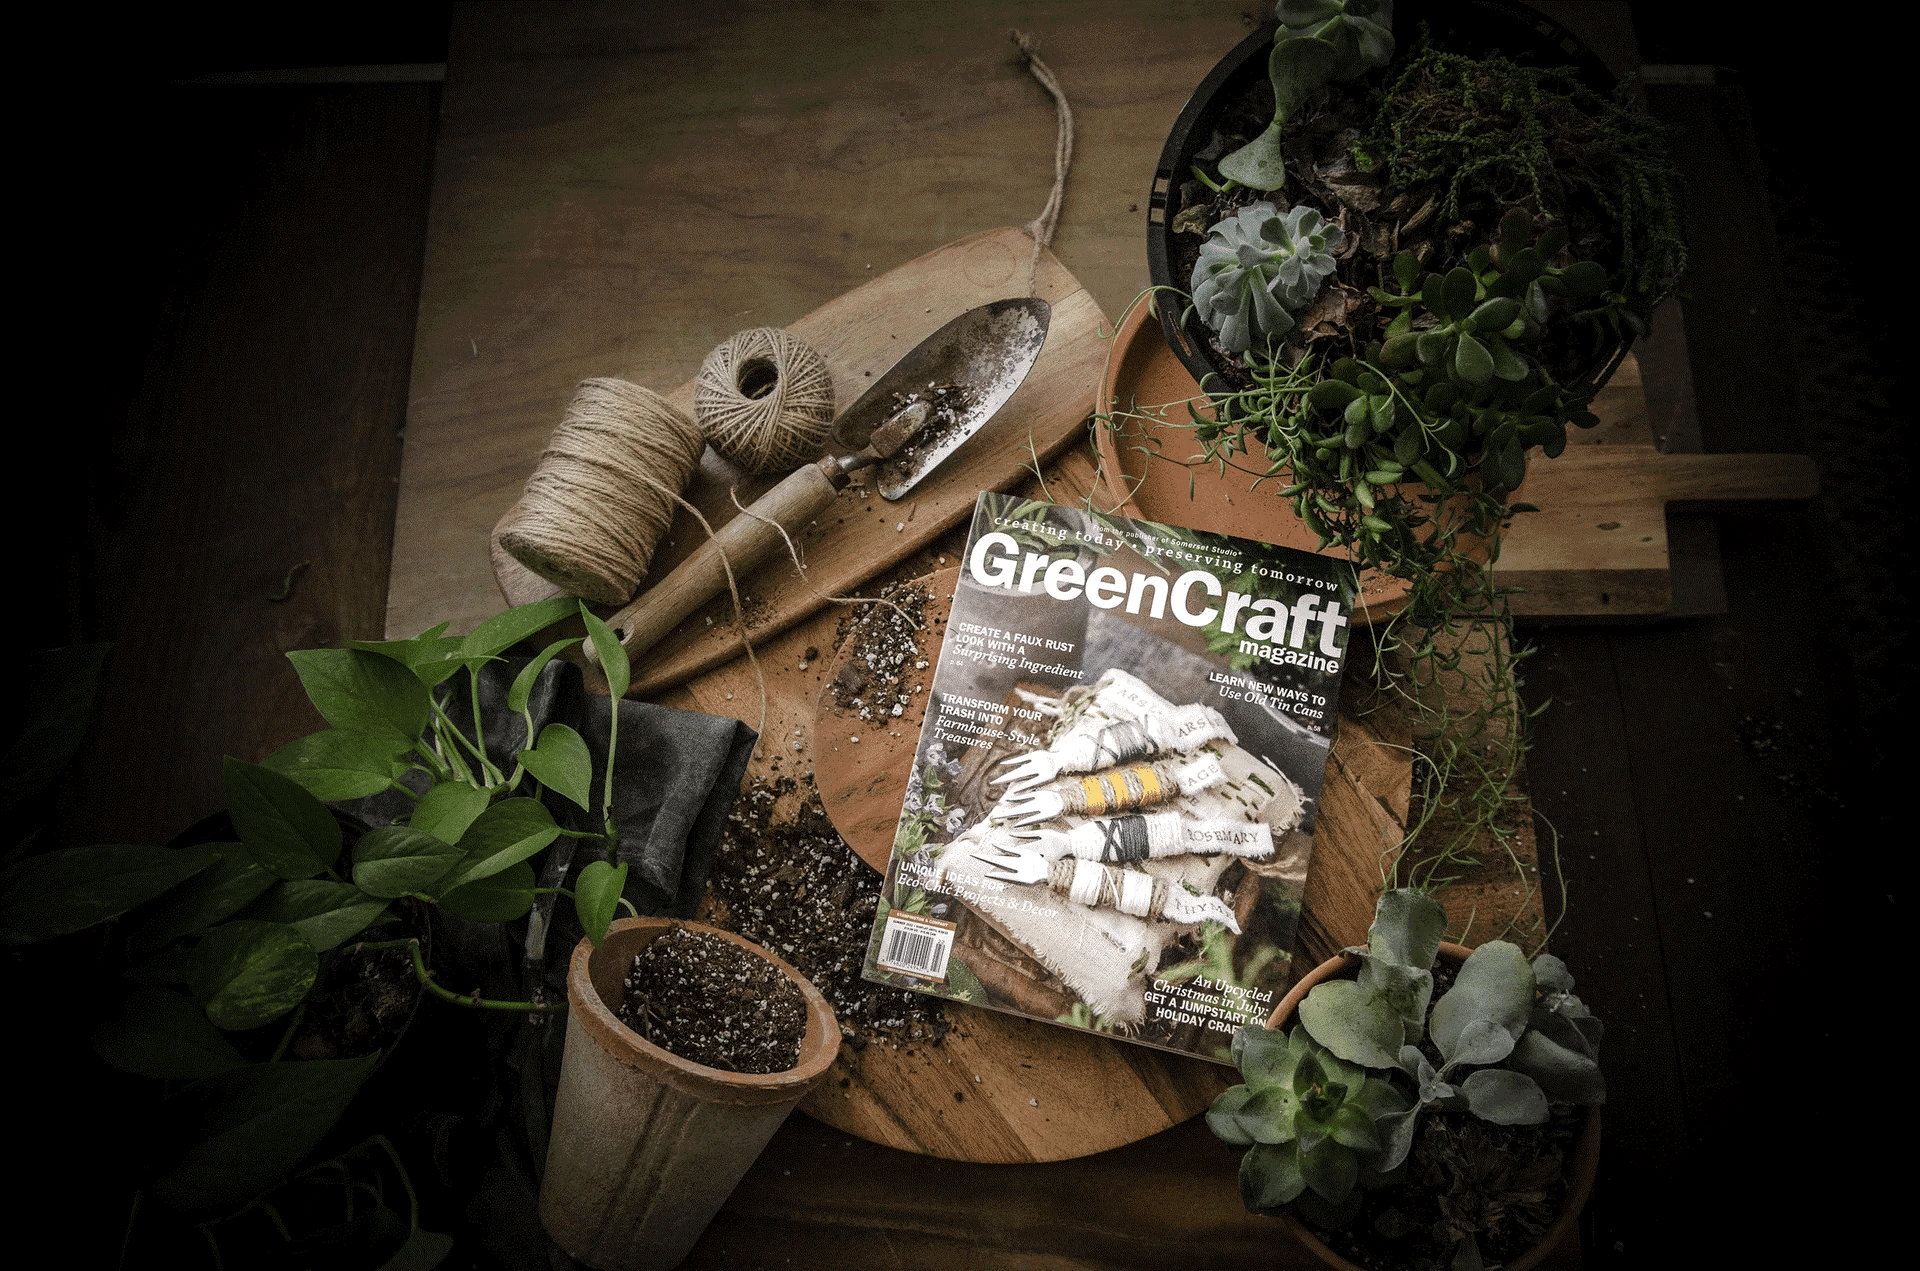
For more upcycled projects, be sure to peek inside the new and improved GreenCraft Magazine which contains 144 pages of stylish and sustainable DIY craft projects. From paper crafts and wearable arts to home decor and more, you'll discover hundreds of creative uses for old items and Earth-friendly materials!
Michelle Ward is a regular contributor to Stampington publications including recent issues of Somerset Studio. To see her full line of rubber stamps, stencils, and stencil/mask sets, visit her website: www.GreenPepperPress.com
Read more
Whether it's quilting, art journaling, jewelry-making or anything in-between, here at Stampington, we are all about celebrating creativity. One of our favorite publications is Belle Armoire Jewelry, a 144-page magazine dedicate...
We recently brought back GreenCraft Magazine, a publication that shares 144 pages of stylish and sustainable DIY craft projects! This rendition of GreenCraft has the same projects you loved before — altered clothing, upcycled h...

Leave a comment
All comments are moderated before being published.
This site is protected by hCaptcha and the hCaptcha Privacy Policy and Terms of Service apply.