

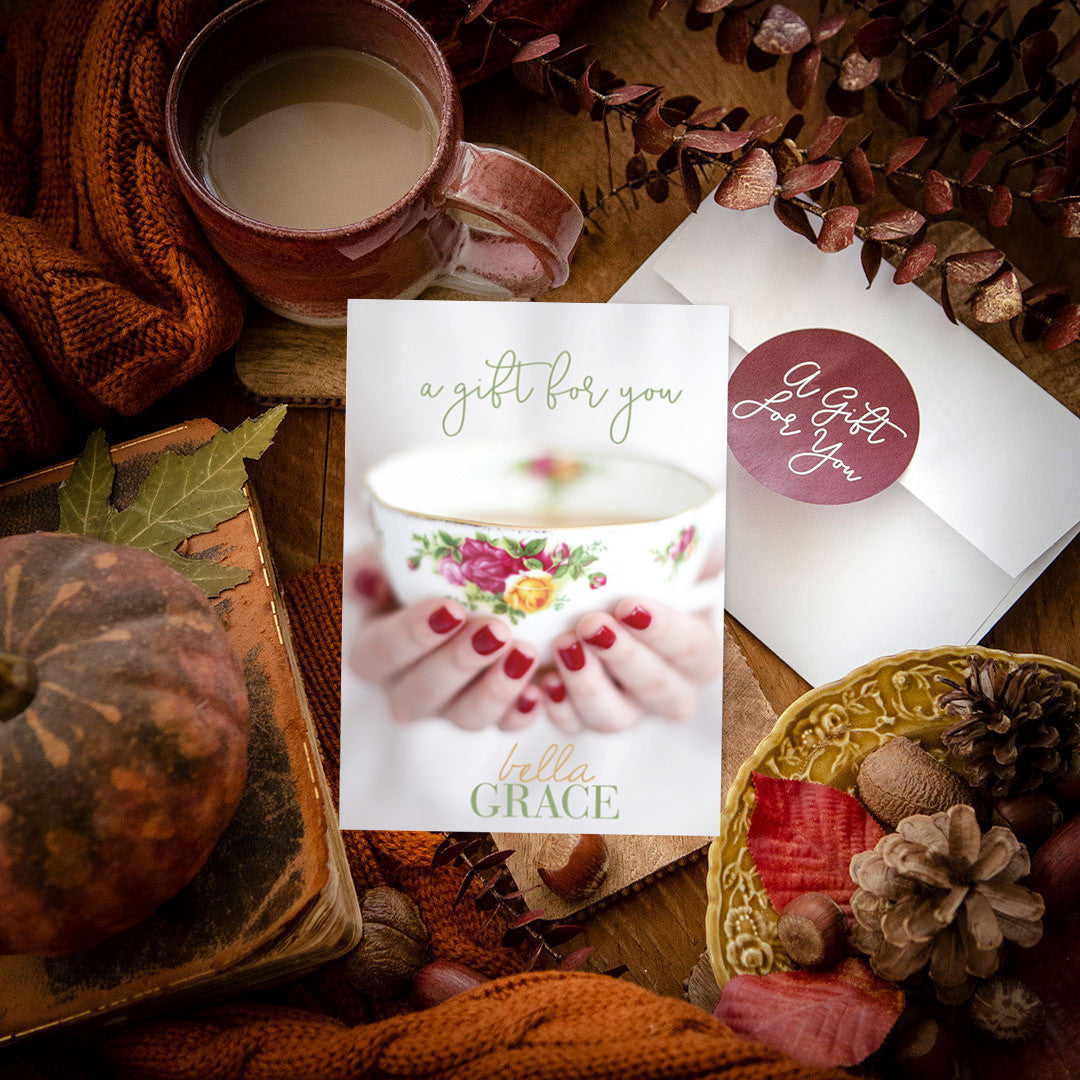


Handmade Necklace Projects: Inspiration From the Pages of Belle Armoire Jewelry
Whether it's quilting, art journaling, jewelry-making or anything in-between, here at Stampington, we are all about celebrating creativity. One of our favorite publications is Belle Armoire Jewelry, a 144-page magazine dedicated to wearable art, from necklaces, bracelets, and earrings, to brooches, rings, and more. Whether you are new to jewelry-making or a more advanced artist, you'll find must-try techniques and materials in every issue. Today we're sharing a few of our favorite necklace projects featured inside Belle Armoire Jewelry that just may inspire your next creation!
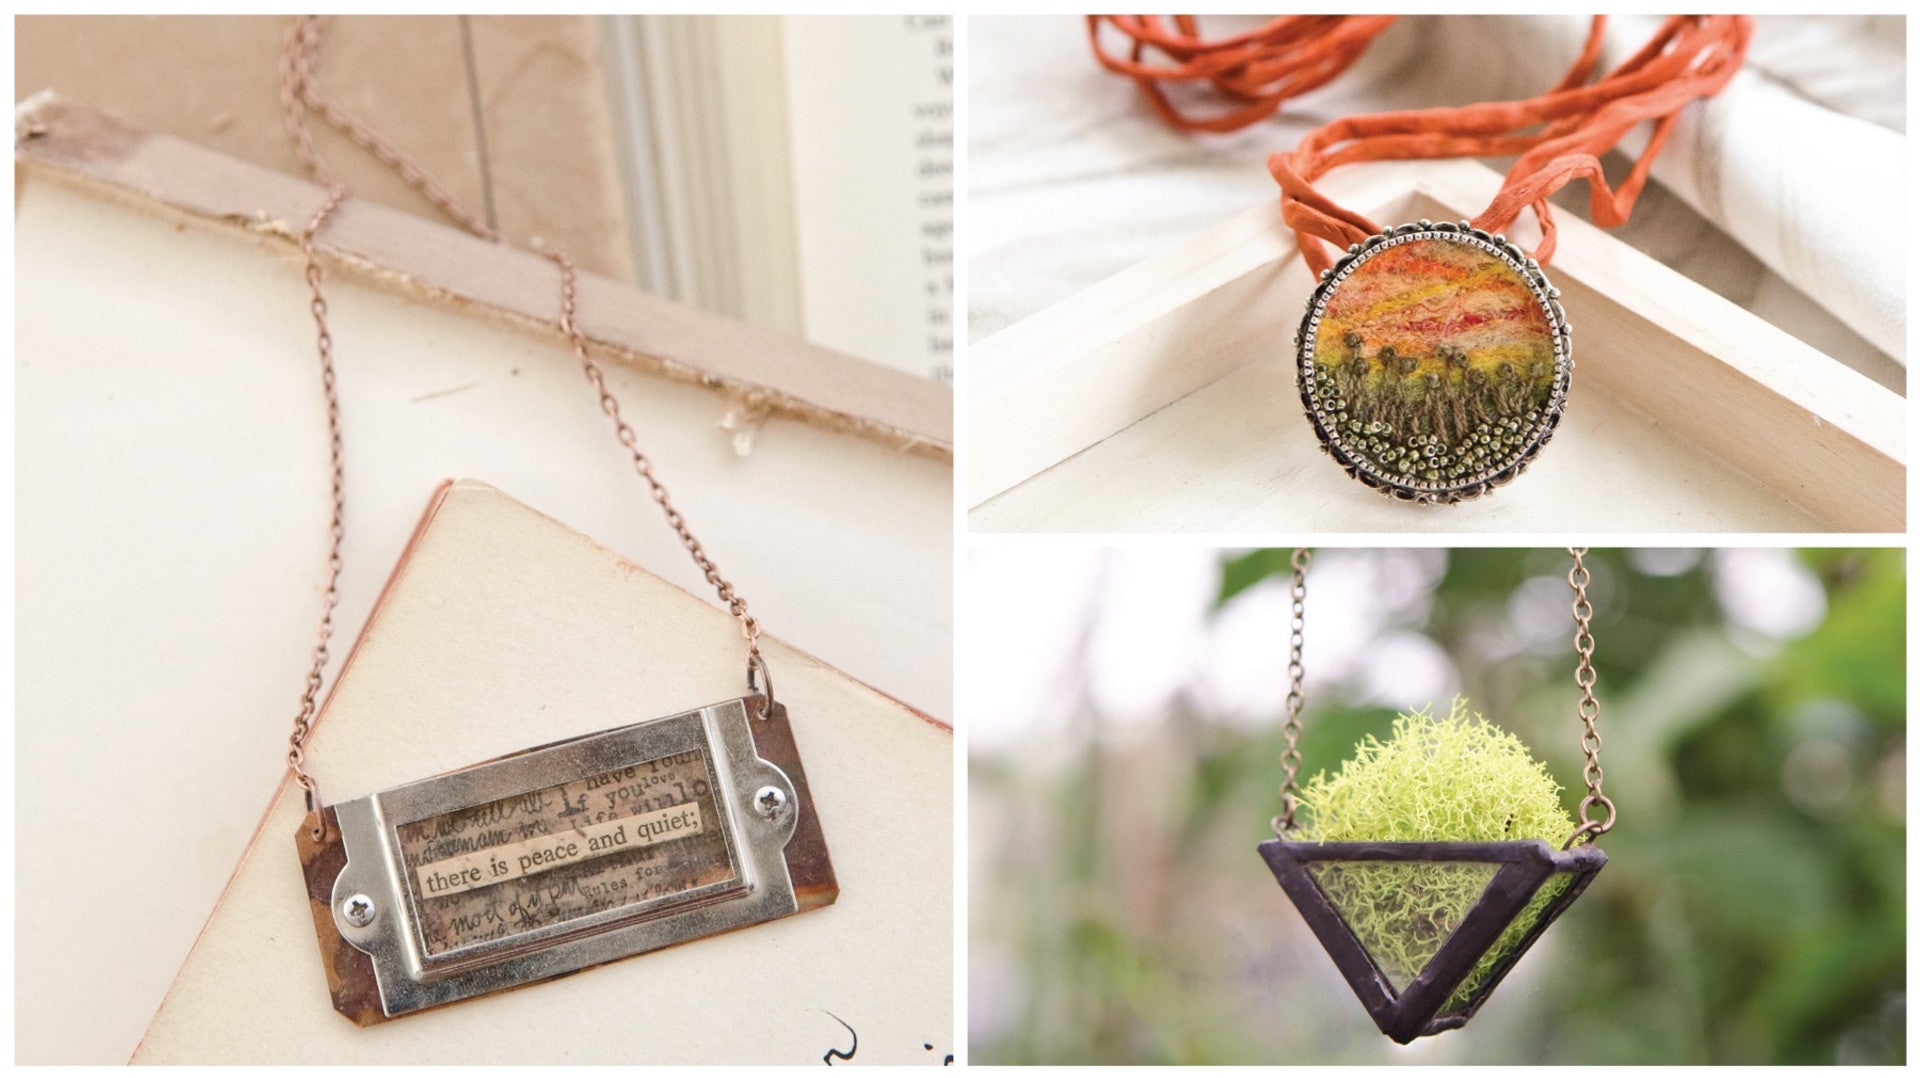
The Well-Read Pendant

Project by Sarah Collins featured in Belle Armoire Jewelry Spring 2019
Supplies:
- All-purpose glue: (Aleene’s - Liquid Fusion)
- Anvil: small
- Chain/Sari silk
- Cutting pliers
- Ephemera & found objects: small, flat
- Hammer: ball-peen
- Hole punch: 1.5-mm
- Jump rings: (2)
- Liver of sulfur
- Machine screws & nuts: tiny
- Metal bookplates: assorted sizes
- Metal sheet: copper, 26-ga.
- Metal/Mixed-media shears
- Mica sheets
Technique:
1. Using the metal bookplates as a size guide, measure and cut the copper sheet with metal shears, leaving about 1/16 inch (or more) of copper overhang at the top of the bookplate to accommodate hole-punching and fastening the jump rings and chain. Patina with liver of sulfur if desired. Set the copper aside.
2. Again, using the bookplate as a guide, cut a piece of mica to t the bookplate opening like a window. If desired, decorate the mica with a rub on transfer to add some depth. Apply the rub-on to the backside of the mica (the side that will face the copper) so it will not rub o over time; be aware that the rub-on will appear reversed.
3. Apply glue to the mica along the edges and adhere to the back of the bookplate. Set aside to dry.
4. Lay the bookplate onto the copper, and punch the side holes for attaching the pieces together. Also punch holes for jump rings so the piece will function as a pendant. Set the bookplate aside.
5. Arrange the desired ephemera on the copper, using the punched holes as a guideline. Make sure the ephemera is at enough to accommodate the bookplate when it’s time to attach it. Glue the ephemera in place. To create depth and make some elements appear more forward, glue them onto the mica window.
6. Place the bookplate on top of the copper, aligning the punched holes. Insert the tiny screws into the front of the bookplate, through the copper, and tighten the nut onto the back of the screw by hand. Ensure you are satis ed with the piece, and secure the nuts permanently using chain-nosed pliers. Use cutting pliers to snip the length of the screw flush with the nut.
7. Attach jump rings in the holes, and your lovely new pendant is ready to hang on the chain of your choosing!
Wooly Landscape Pendant

Project by Anne Marie Desaulnier featured in Belle Armoire Jewelry Summer 2019
Supplies:
- Beading needle: (Tulip)/(Toho)
- Cardstock
- Craft knife: (XACTO)
- Cutting mat
- Embroidery floss/Perle cotton
- Embroidery needle/Crewel needle: large-eyed
- Felting mat/Dense sponge
- Felting needle: Single Needle Felting Tool (Clover)
- Metal bezels: convertible brooch/pendant (Nunn Design); (Amante Designs)
- Seed beads: Japanese, sizes 11 & 15 (Toho)/ (Miyuki)
- Silk hankie: white (optional)
- Silk strings/cords
- Stronghold glue: (E6000)
- Wool felt
- Wool roving: assorted colors
Technique:
1. Choose a wool roving color palette and a background in a color that will coordinate with the sky.
2. Cut a piece of wool felt to approximately ½–1 inch larger than the inside of the bezel.
3. Lay the piece of wool felt on the sponge. Starting at the top, choose a sky-colored roving and lay it down across the surface. Using a needle-felting needle and an up-and-down pouncing motion, needle-felt the roving to the surface (and down into the sponge). This step may take awhile. Don’t worry if roving is sticking out of the back. Occasionally turn the piece over and lightly needle-felt the other side. Continue this process until the sky is close to complete, adding more layers as desired. You can completely cover the background or leave some of it showing through.
4. Add clouds by felting little wisps of white, pale gray, or cream roving for a day scene, or use fiery colors for a sunset. If desired, pull off tiny bits of silk hankie and felt them in to give more definition to the clouds. Use multiple colors of roving to give your piece more depth.
5. For the foreground, decide on a pleasing arrangement of colors. Because it’s a tiny surface, it’s best to keep it simple. Build up the foreground with multiple layers and colors of roving. When your piece feels complete, trim off any loose bits.
6. Measure the inside of the bezel, and draw a circle to size on a piece of cardstock. Use a craft knife and cutting mat to carefully cut the circle, creating a frame, and set the circle aside to use as a cutting pattern.
7. Place the frame on your landscape and move it around until you find the best design. Place the circle cutting pattern into the bezel and try it out for size. Trim if necessary.
8. When your pattern is just right, use it to cut the needle-felted piece to size. Try it out for size in the bezel.
9. Using a combination of hand and bead embroidery, embellish the piece, keeping it rather simple. Try the piece in the bezel periodically to make sure it still fits.
10. When done embellishing, spread a thin layer of stronghold glue into the bezel, insert the felted piece, smooth it down, and let it dry.
11. Thread three silk strings/cords through the bail on the pendant and tie with an overhand knot. Wear with passion and wait for the compliments!
Glass Nature Walk Necklace

Project by Lindsay Anne Troutman featured in Belle Armoire Jewelry Autumn 2019
Supplies:
- Breaking pliers
- Cardstock
- Chain: brass
- Copper foil tape: narrow
- Flux
- Flux brushes: (2)
- Glass cleaner & paper towel
- Glass scoring/cutting tool
- Jump rings: (4)
- Lobster clasp
- Marker
- Microscope slide glass
- Patina: black/copper
- Solder: lead-free
- Soldering iron
Technique:
1. Choose a style of terrarium: triangle, coffin, geometric, or diamond. Using a marker, carefully draw the shape you want to create on cardstock, or print a shape off of the internet.
2. Cut out the main shape, and then draw sides that will fit the main shape; for example, the triangle necklace has two triangular sides and two rectangular sides to create a three dimensional vessel.
3. Place each of the pattern pieces on the microscope glass, and trace. Score along the lines, and break off with pliers.
4. Carefully wrap each piece of glass with copper foil tape, and flatten out all wrinkles. Use one flux brush to apply flux on each side of the foiled pieces.
5. Solder the individual pieces without building/ connecting them. Carefully lay out the front side of the vessel, and join a side piece with solder, then join the other side piece, and finally join the back piece. Fill in all the holes in the solder. Turn the vessel on its side and solder the jump rings on either side.
6. Carefully clean the piece with glass cleaner.
7. Use a flux brush to apply patina, and then wipe clean.
8. Cut a length of chain to about 16 inches long. Carefully attach open jump rings to the chain ends. Add the vessel to the open rings on each side, and close the jump rings with jewelry pliers.
9. Find the center of the chain, and snip the chain so you can add the clasp. Attach a jump ring to one side and a lobster clasp to the other.
10. Put on your new necklace and get outside!
Read more
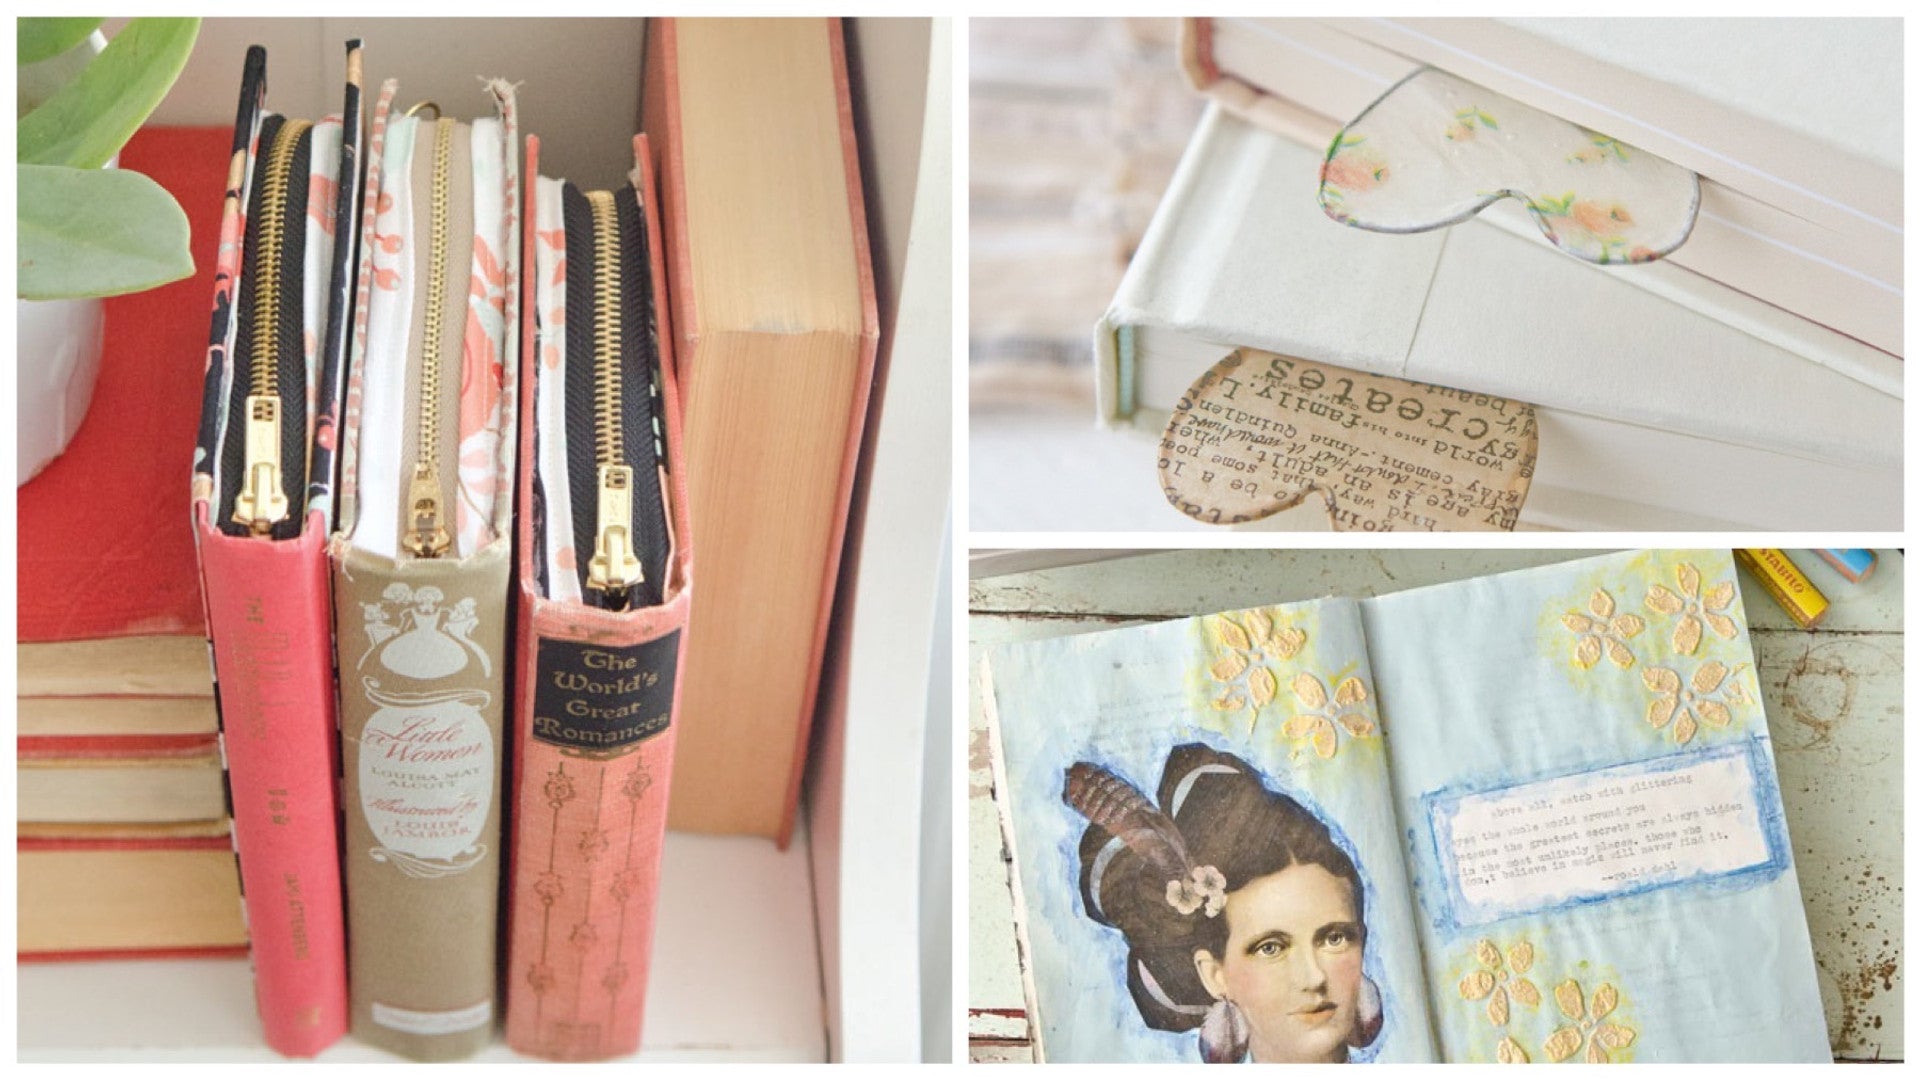
We'll make a confession — we love to cut up books. It may sound barbaric, but there is something immensely satisfying about cutting up a book that you were forced to read in school, or a book that you totally hated. These books...
We have a very special guest artist visiting Somerset Place! Please join us in welcoming to our blog the incredibly talented Michelle Ward. A gifted instructor, rubber stamp and stencil designer, and a regular contributor to ou...

Leave a comment
All comments are moderated before being published.
This site is protected by hCaptcha and the hCaptcha Privacy Policy and Terms of Service apply.