
5 Cozy Winter Projects We Love
Posted by Stampington & Company on Dec 22nd 2020
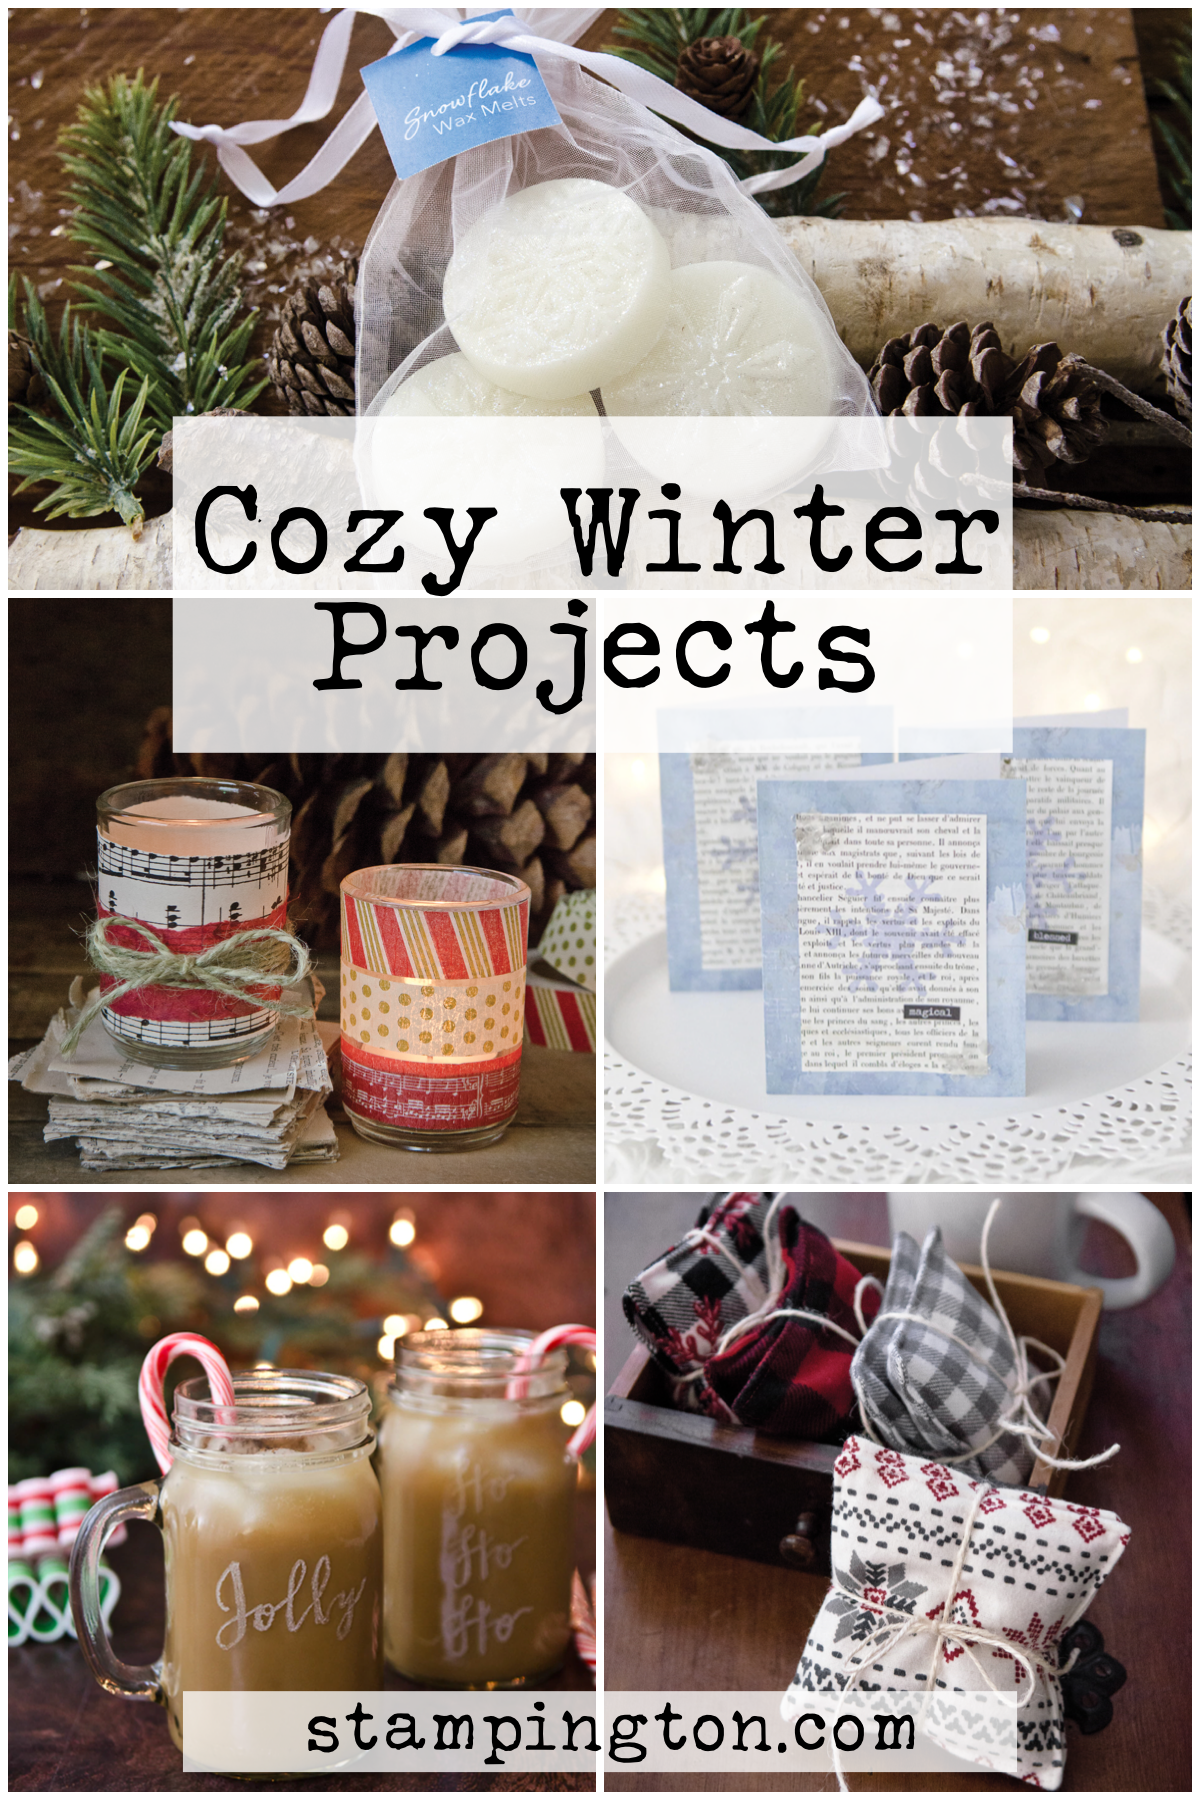
With the winter season in full-swing, it's the perfect time for cozy projects! From hand warmers to candles, we're sharing 5 of our favorite DIY projects to delight in during the winter season below.
5 Cozy Winter Projects We Love
1. Winter Snowflakes Card Project
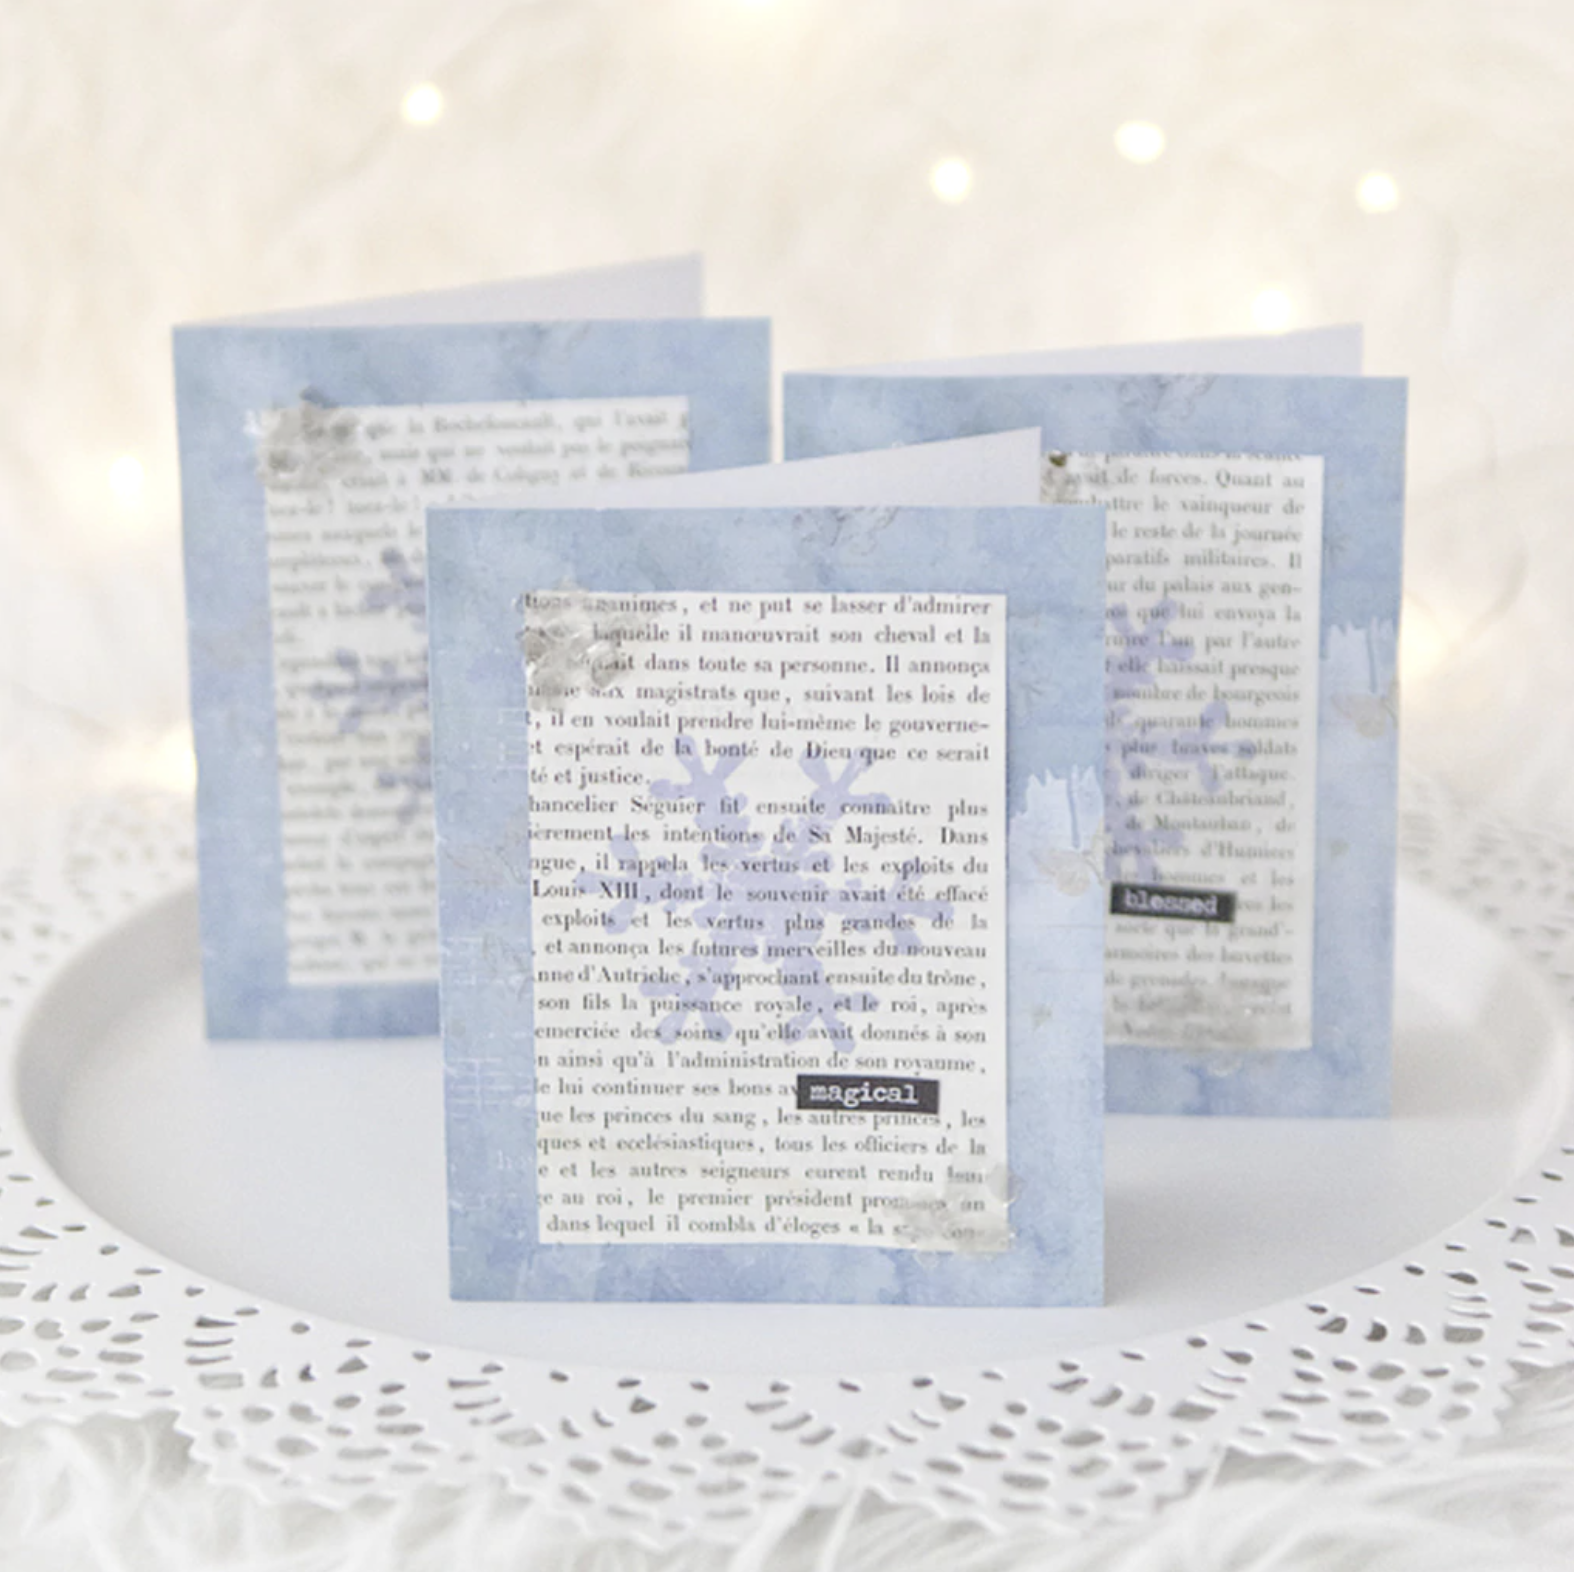
This winter-themed card set can be used as holiday cards, birthday cards, or thank you’s for after holiday festivities!
To Make:
- Press a snowflake stamp onto book text.
- Cut decorative paper in half and fold to create the base of the card.
- Glue frosted mica flakes in each corner of book text to add a touch of “snow.”
- Attach book text to card base.
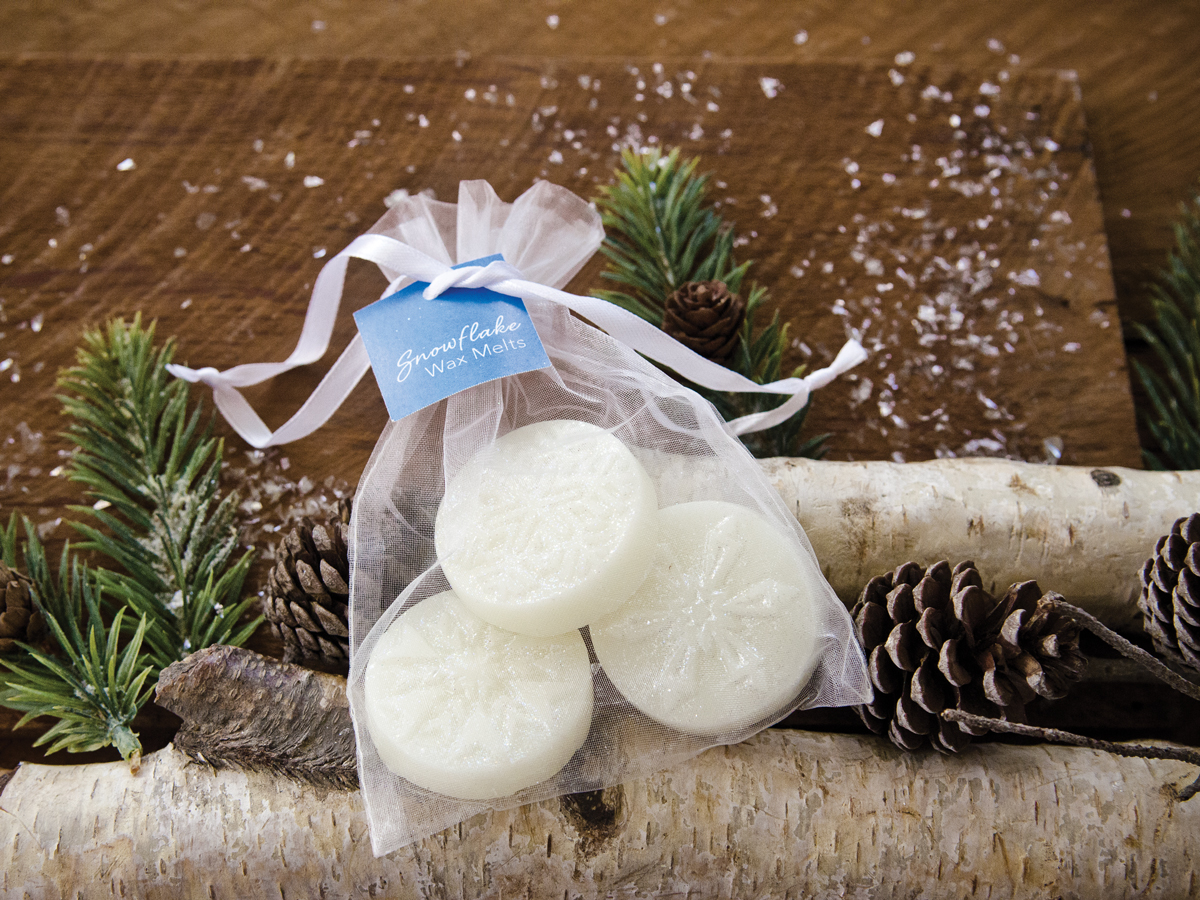
2. Sparkling Snowflake Wax Melts
Project by Wholesale Supplies featured in The Candle Issue Volume 1
Whether you're decorating, baking, or getting ready for a holiday celebration, the scent of a winter candle creates a warm and inviting atmosphere. Learn how to make these sparkling snowflake wax melts below!
You Will Need:
-Double boiler
-11 oz. beeswax
-Metal pot
-1 oz. sparkling snowflake fragrance oil (Wholesale Supplies Plus)
-Thermometer
-Snowflake Guest-Soap Mold Milky Way- MW 17 (3) (Wholesale Supplies Plus)
-Iridescent Super Sparkle Glitter (Wholesale Supplies Plus)
-Organza bag: white (optional)
To Make:
Fill the bottom of the double boiler with water. Add beeswax to the metal pot and place on top of the double boiler. Heat the water on low until the beeswax has completely melted. Add the fragrance oil and stir well.
Let wax cool to 155 degrees Fahrenheit and then pour 0.75 ounces of the wax info each cavity of the three plastic Milky Way molds. Let cool. Remove from the molds and dust iridescent sparkle glitter over the tops of the wax melts. To package, we place three wax melts into a white organza bag.
*If you are making these products for sale, good manufacturing practices recommend you wear a hairnet, gloves, and a mask. We also recommend a clean apron and workspace.
*Wholesale Plus Supplies is not responsible for the products created from their supplies.
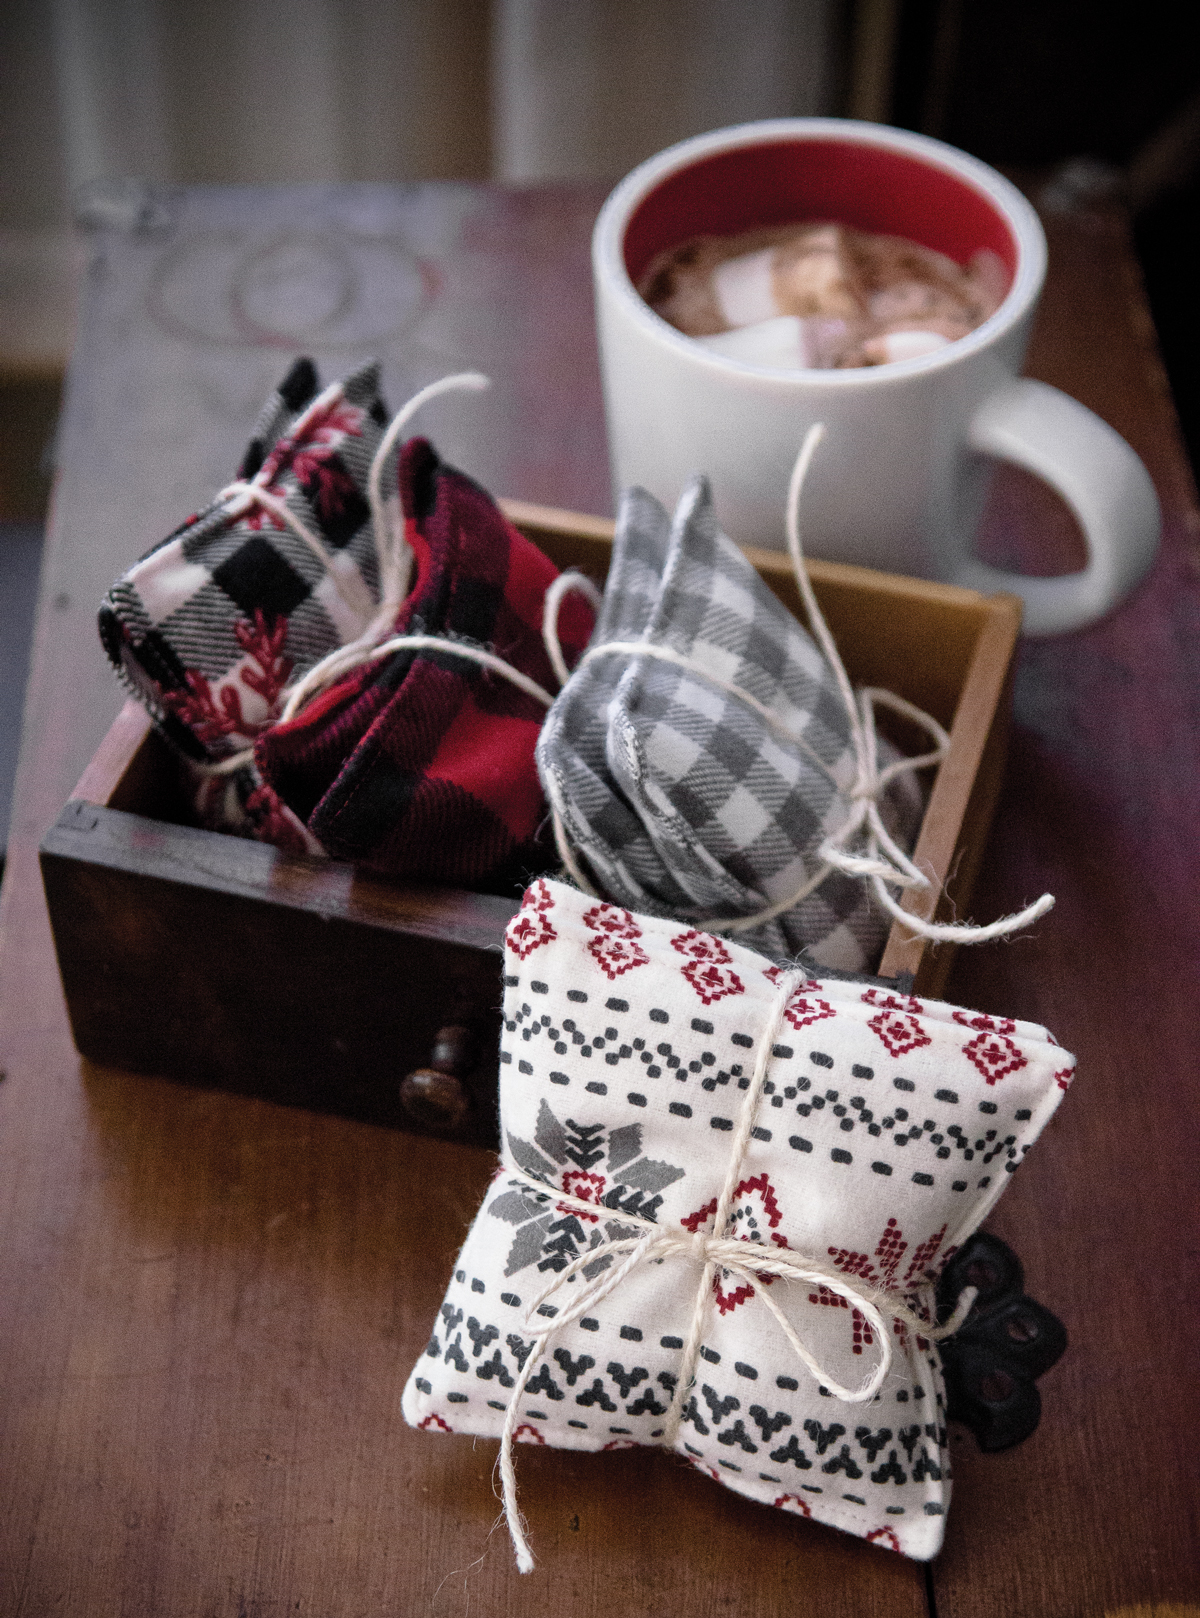
3. Handmade Hand Warmers
Project by Kristina Jeffers featured in A Somerset Holiday Volume 13
Winter is so much better when you're cozy and warm, and luckily it's easy to keep your hands warm with these reusable hand warmers!
Supplies:
-Basic sewing supplies
-Cardstock (optional)
-Computer & printer (optional)
-Fabric: brushed-cotton flannel
-Funnel
-Organic rice
-Sewing machine
-Twine (optional)
To Make:
Cut your chosen fabric into approximately 4-inch squares plus a seam allowance. Place the squares right sides together, and machine-stitch along the perimeter, leaving a hold for turning. Turn the hand warmer right side out using the hole, and then fill it with about 1/2 cup organic rice using a funnel. Edge-stitch along the perimeter of the hand warmer to close the hole and increase the durability of the seam. If you're giving them as a gift, use twine to tie two hand warmers together. Print the following information onto cardstock, cut into a tag or card, and include with the hand warmers.
Heating Instructions:
Microwave for 30 seconds. Microwave wattages vary, so if the pair is not warm enough after 30 seconds, heat again for 15-second intervals until the desired heat level is reached. Do not overheat.
4. Votive Holders
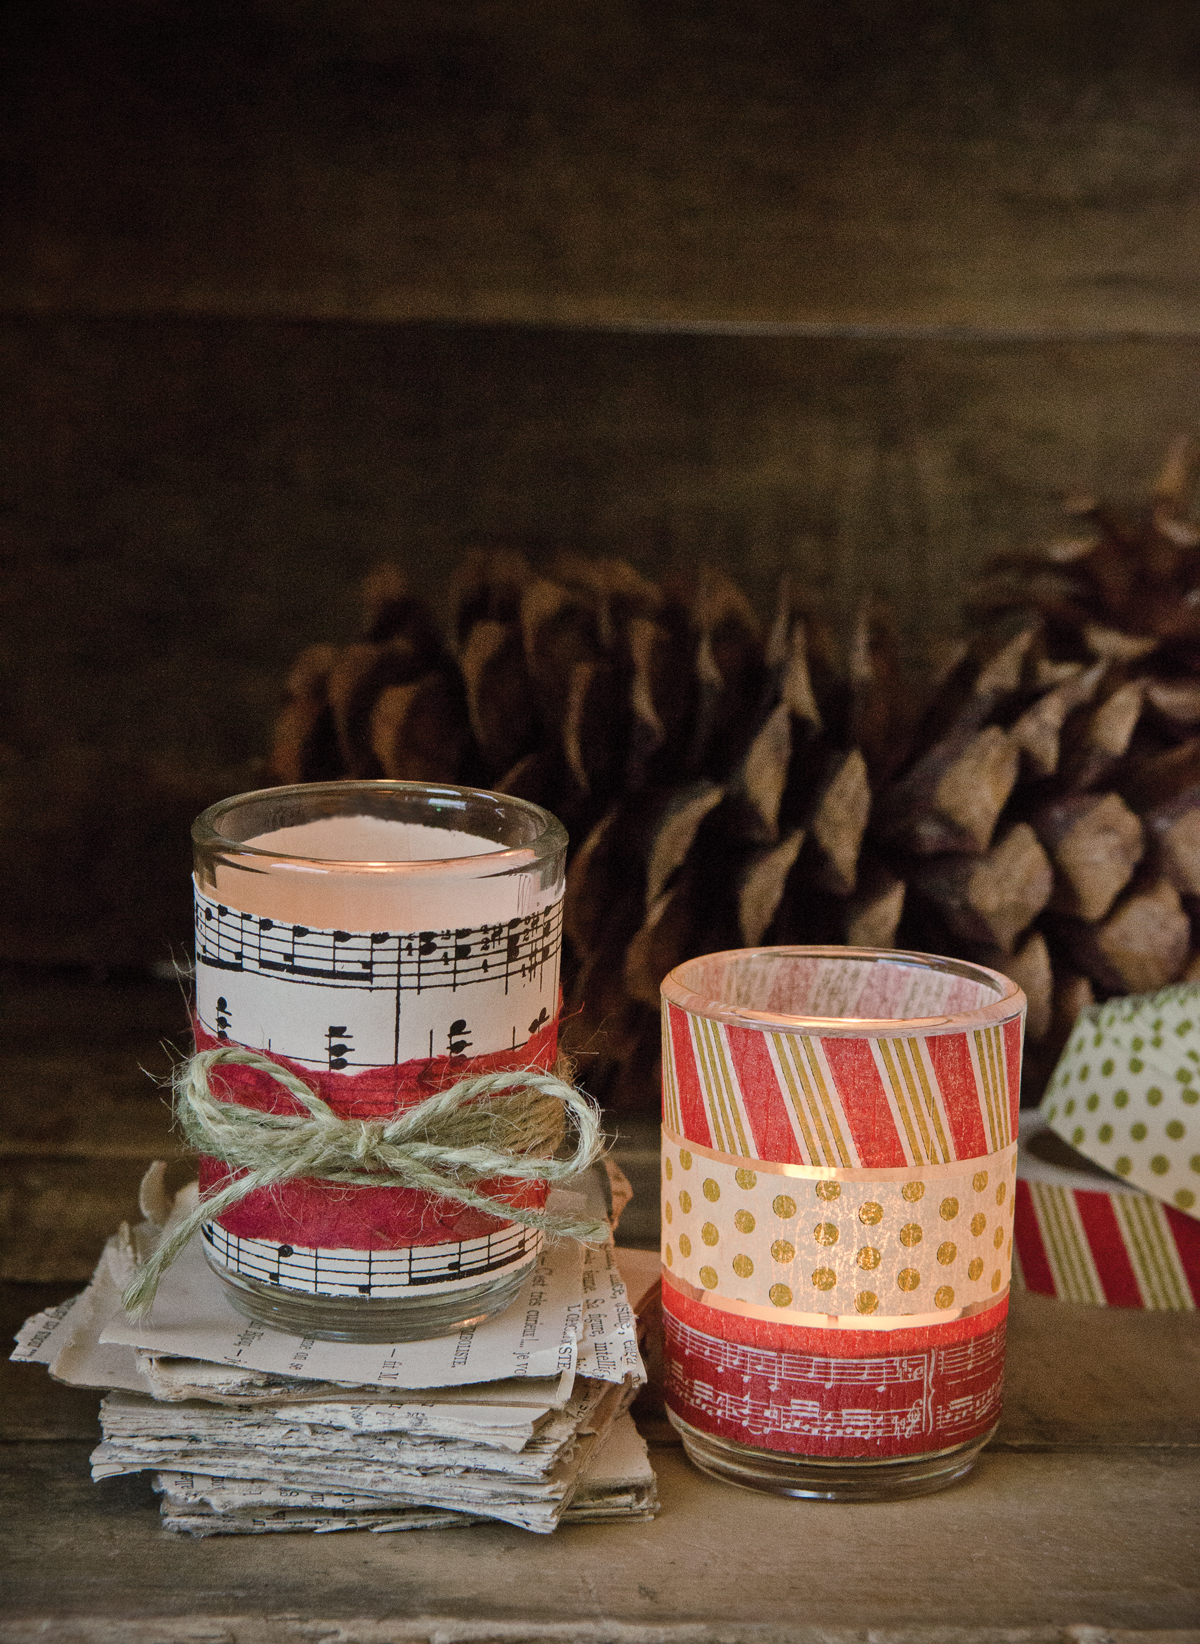
Project featured in The Candle Issue Volume 1
When illuminated by candlelight, vintage sheet music has a romantic quality, and music goes hand-in-hand with the holidays. Top it off with some mulberry paper and twine for pops of color and texture.
5. Holly Jolly Engraved Mugs
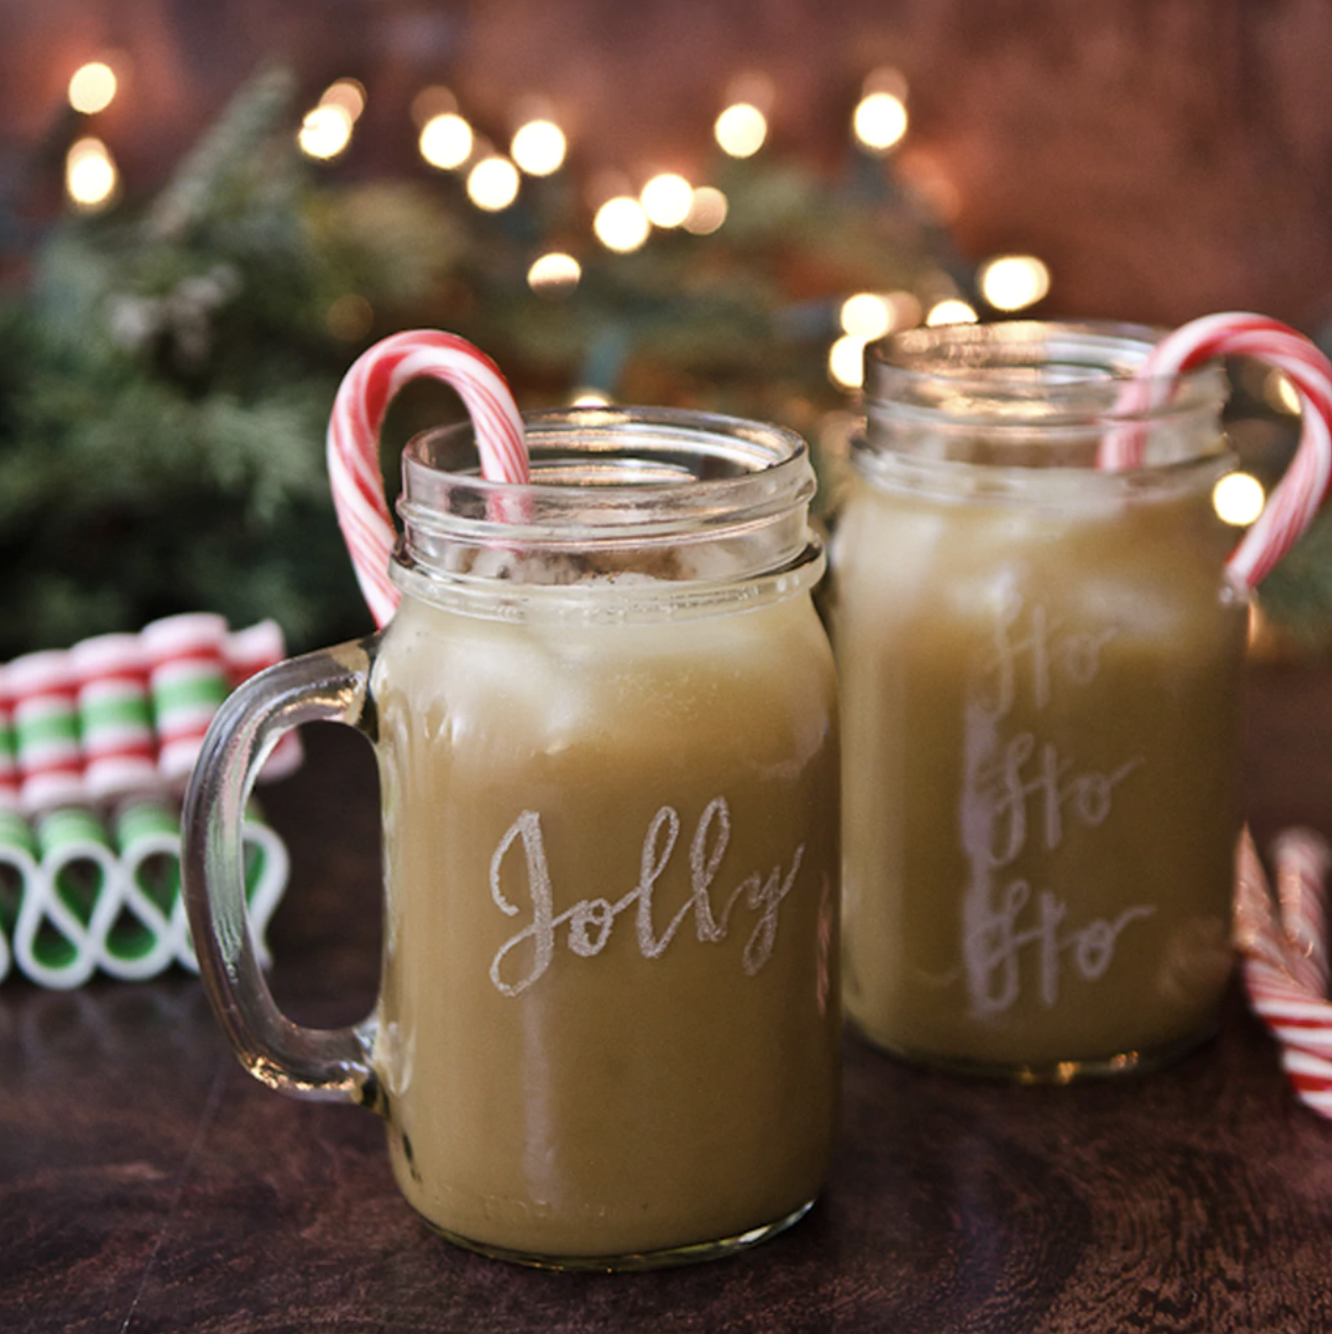
This project is a great way to add a personal detail to a homemade gift. The engraving pen is easy to use and this project is as simple as tracing your design. Fill it with candies or drink mix and you’ll have a personalized gift that everyone will love!
To Make:
1. Using the a calligraphy letter template, trace your phrase onto the Mason jar mug with permanent marker. Connect the letters together to form your own words.
2. With the engraving pen, gently trace the permanent marker. In this case, slow and steady does win the race. Do not press down, but instead rely on the pen to carve the design for you.
3. Wipe the mug off periodically with a dry paper towel. When finished, wipe the mug down with rubbing alcohol to remove any excess permanent marker.
4. Fill with candies or drink mix and celebrate the season of giving!
*Warning: Always wear protective eyewear while using this etching tool and do not breath the dust from the engraving process. Use with adult supervision only.
For more cozy projects, click to peek inside A Somerset Holiday!