


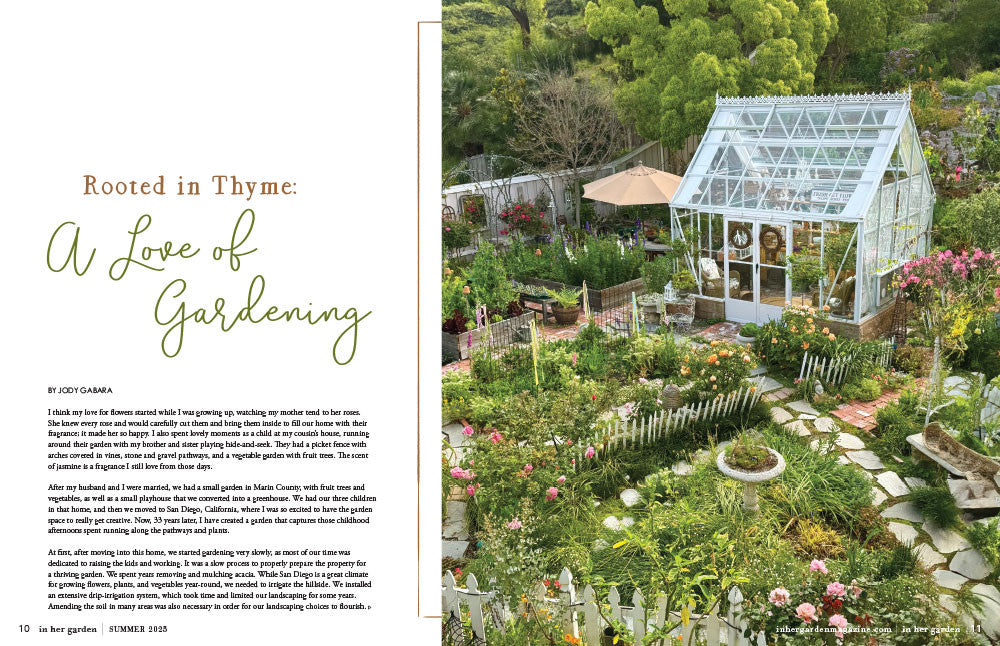
4 Crafts Inspired by the Beach
Nothing quite says summertime like a visit to the beach! We always enjoy using the current season as creative inspiration. Incorporate seaside magic into your next craft by choosing a fun DIY project below ...
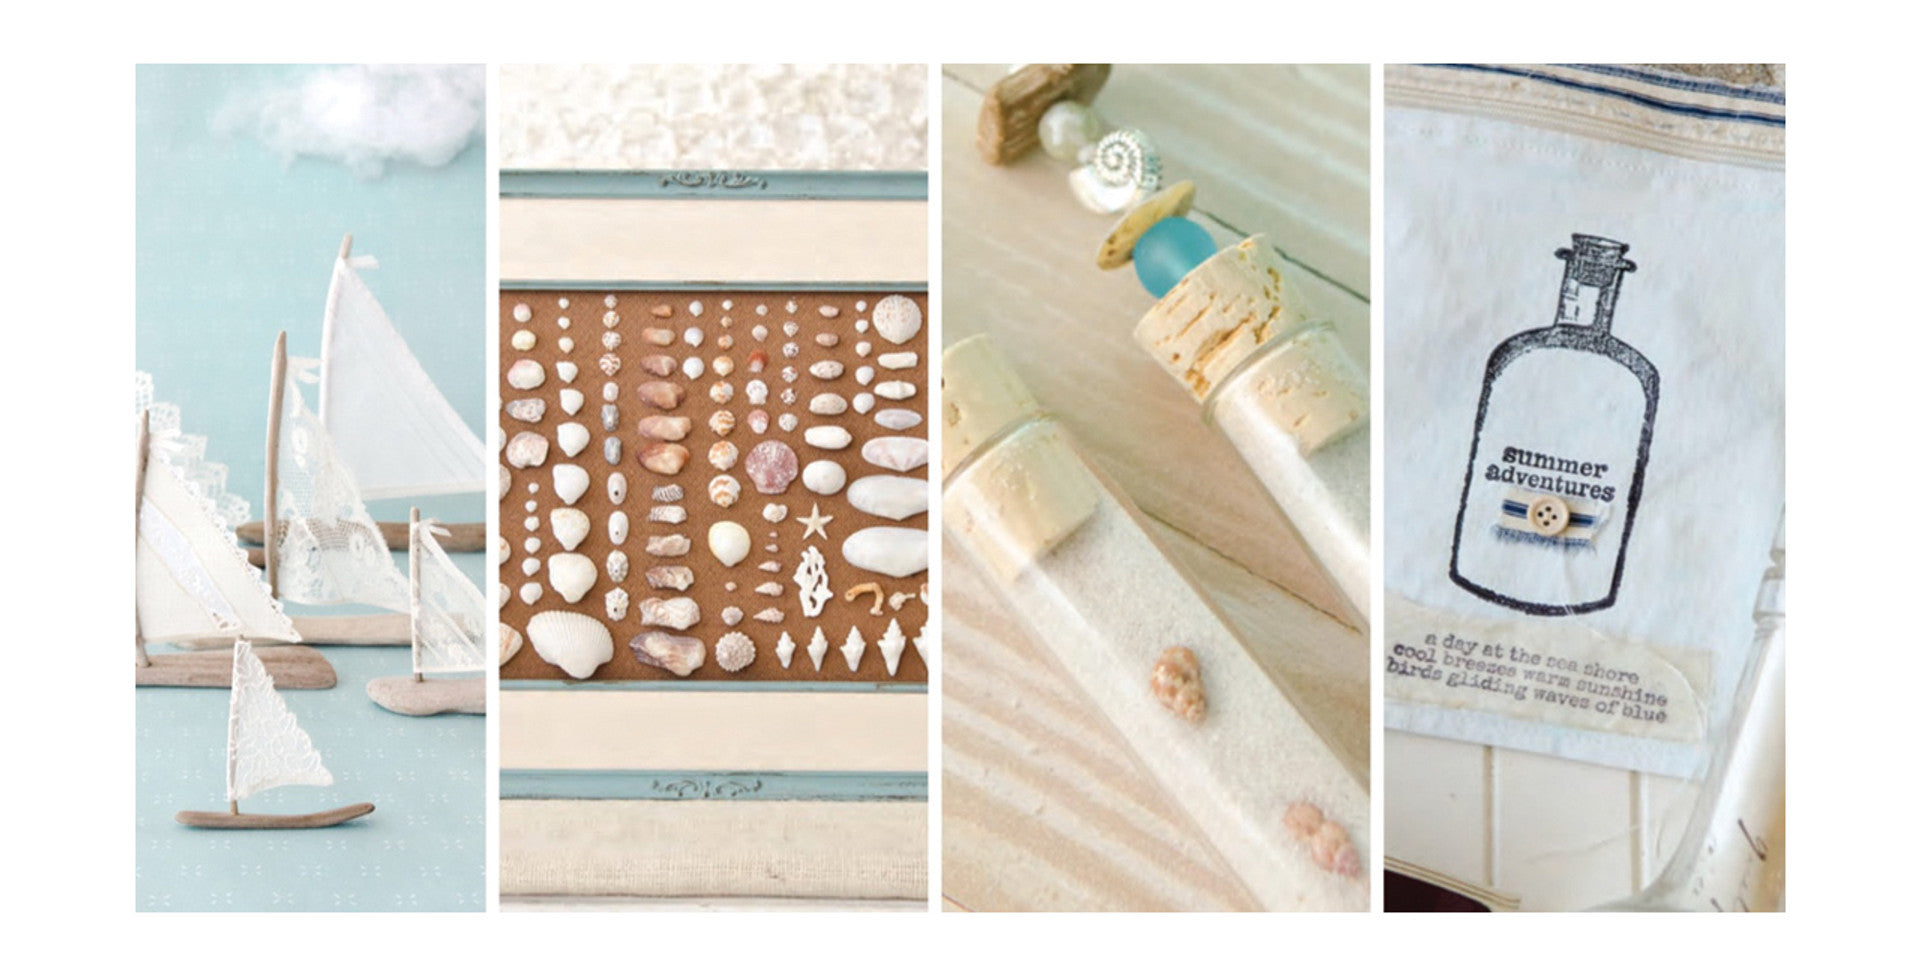
1. A Canvas Pouch for a Day at the Seashore

Project by Lynne Moncrieff originally featured in A Somerset Life Summer 2018
Supplies:
- Acrylic chalk paint: Antarctic, Hint of Mint (PaperArtsy - Fresco Finish)
- Canvas zippered pouch: medium
- Fabric: calico; ticking
- Fabric medium: (Beryol)
- Foam brush
- Gel medium: matte (Golden)
- Inkpad: Jet Black (Tsukineko - StazOn)
- Paint palette
- Rubber stamps: Summer Adventures, Bottle, A Day at the Seashore (RedLead Paperworks)
- Scissors
- Thread: ivory
- Wooden button
Instructions:
Mix gesso with fabric medium, following the manufacturer’s instructions. With a foam brush, apply the mixture to the bag and let it dry thoroughly. Then mix acrylic chalk paint with fabric medium, and apply it to the bag with a foam brush. Two thin coats might be required. Once dry, stamp the bottle image directly onto the front of the bag with permanent ink, and then stamp the sentiment in the middle area of the bottle, as though it is stamped onto the bottle. Embellish the bottle beneath the stamped sentiment with a piece of ticking with a button. Then tear a length of the ticking fabric by cutting a small incision at the end of the fabric and rip it by hand. Adhere the strip to the top edge of the bag. Next, tear another narrower piece, thread it through the zipper pull, and tie it in a knot. To finish, stamp a sentiment onto a piece of torn calico, and fray the edges before adhering it beneath the stamped bottle.
2. Beach Test Tubes: Collected Memories

Project by Cheryl Dossey originally featured in A Somerset Life July 2018
Supplies:
- Ball-point pins: extra-long, 13⁄4"
- Beach sand
- Found treasures: shells; driftwood; sea glass
- Glass test tubes
Instructions:
Start with an extra-long ball-point straight pin; add a few decorative beach-themed jewelry findings (sea glass, small stones, etc.). Leave a 1⁄2 inch or so at the bottom of the pin. When finished, slowly press the remainder of the pin into the center of the cork top until it’s securely in place; set aside. Fill a test tube with sand and small shells. Leave some excess air space at the top for the cork. This allows for sand and shells to move around slightly and change placement. To finish, add the cork topper to secure the sand and shells in the test tube.
3. Driftwood Sailboats

Project by Sofia Tryon originally featured in GreenCraft Autumn 2014
Supplies:
- Adhesive: wood; tacky
- Basic sewing supplies
- Driftwood: flat boat shape (1) & tall, stick shape (1)
- Liquid fabric starch
- Power drill
- Pressing cloth
- Textiles
- Trim
Instructions:
The sailboat will measure about the same in length as in height. Attach the mast about one-third distance from the front of the boat. Drill hole for the mast, and apply a small amount of glue in the hole and to the end of the mast. Attach the mast to the boat, and allow to dry. Gently hand-wash textiles if soiled. When dry, saturate with liquid laundry starch, wring out excess starch, and allow to air-dry flat. The starch allows you to use finer fabrics and keeps the sail stiff. While slightly damp from the starching process, press fabric using a pressing cloth to keep from scorching your fabric or creating a sheen when the hot iron reacts with the starch. Cut the desired sail to fit just inside the base of the boat and to the top of the mast. Trim the edges with coordinating twill tape, tape lace, etc. Center the boat sail, and use tacky glue to attach to the side of the mast. Finish the raw edge with twill tape or other coordinating trim.
4. Gifts from the Sea: Framed and Cherished

Project by Dalia Blevins originally featured in Somerset Home Autumn 2018
Supplies:
- Acrylic paint
- Burlap canvas
- Ephemera: patterned paper, book pages
- Frame
- Gel medium: matte (golden)
- Gesso (optional)
- Hot glue
- Ink pad: black
- Paintbrushes
- Rubber stamps: alphabet
- Seashells
Instructions (frame):
Remove the back portion of the frame and turn it around. If you like the color, leave it alone, otherwise apply a coat of gesso followed by the color of acrylic paint of your choice. Place the backing into the frame and arrange the seashells on top of the backing as desired. Once all the seashells are in an order that appeals to you, remove one shell at a time, place a dot of hot glue directly onto the back of the seashell and glue it down in the exact spot where it was before. Prior to picking up the frame, lightly touch each shell to make sure it is properly glued down.
Instructions (canvas):
Use book pages, patterned paper, or a stamped piece of paper for the top of the burlap canvas. Paint the paper with acrylic paints in a couple of beachy colors of your choice. Use alphabet stamps to stamp the top of the paper with the location where the seashells were found and/or another identifier. Adhere the sheet of paper (which should be slightly smaller than the canvas) onto the canvas using matte gel medium. Once the seashells are arranged on top of the canvas in an appealing visual, place a dot of glue on the seashells one at a time, and place the seashell back onto its spot on the canvas. Prior to picking up the canvas, lightly touch each shell to make sure it is properly glued down.
For more creative inspiration, peek inside our Mixed-Media Magazine Library!
Read more
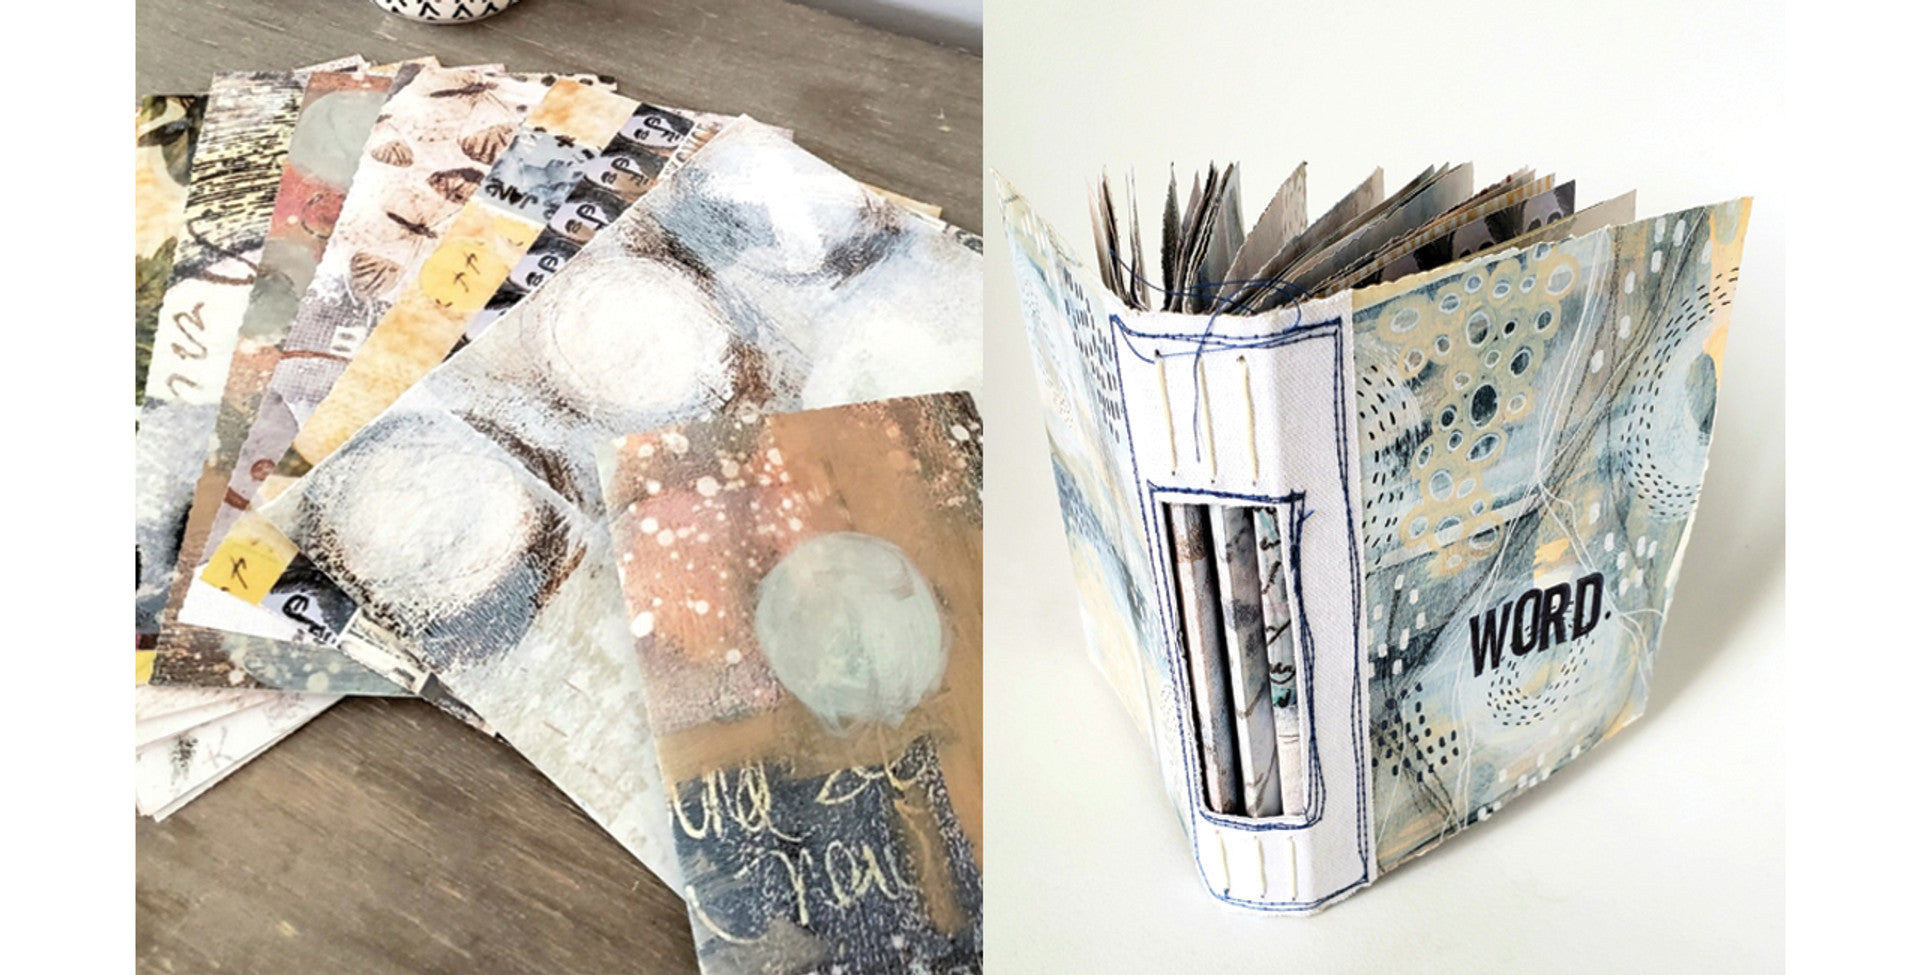
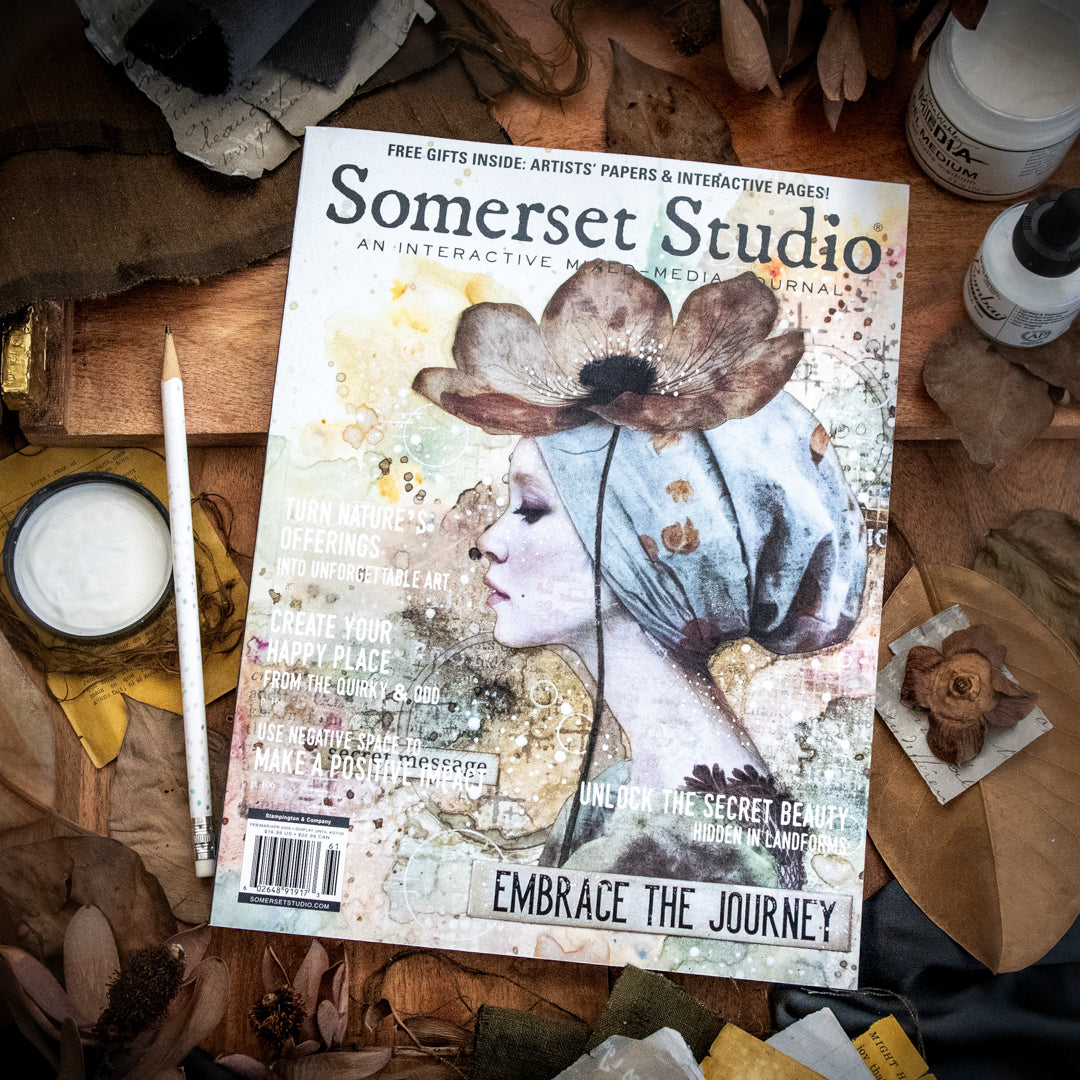
When artist Megan Whisner Quinlan tagged us in a project featuring Somerset Studio's artist papers, we were so inspired by her work and thought you would be too. We invited Megan to the blog today to discuss her project and sh...
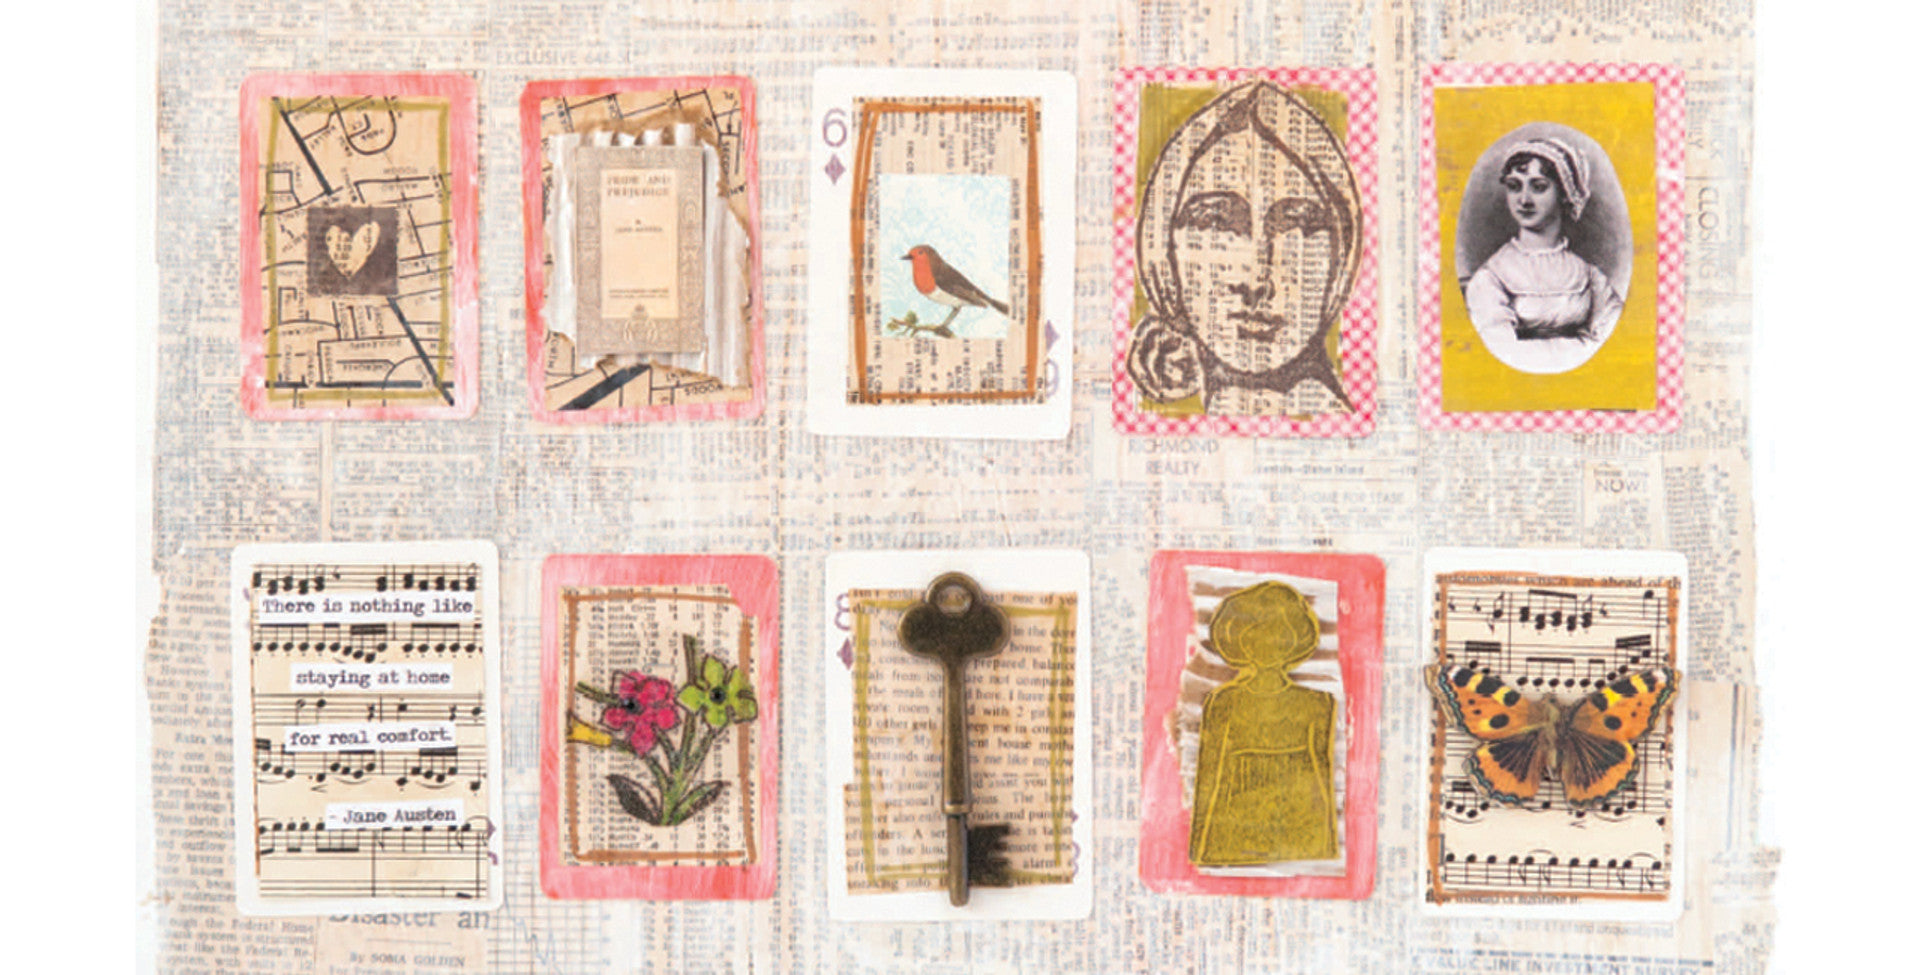
Jane Austen fans, you will love these projects! Celebrate your adoration for the beloved author with these fun and simple mixed-media crafts. See below for the inspiration and be sure to use the hashtag, #somersetmade on Instag...

1 comment
Lovely website
Suzanne Maki
Leave a comment
All comments are moderated before being published.
This site is protected by hCaptcha and the hCaptcha Privacy Policy and Terms of Service apply.