

15 Mixed-Media Prompts to Get Your Creative Juices Flowing
Posted by Stampington & Company on Feb 22nd 2022
Sometimes it takes just a little dash of inspiration to get your creative juices flowing! Below we've compiled 15 prompts to inspire your next mixed-media project ...
15 Mixed-Media Prompts
1. We can't count how many times a piece of art hasn't worked out the way we hoped it would. Even if we deem something to be a total fail, there is still some beauty to be found in it. Scour your art journal for pages that just didn't hit the mark. Tear them out (loose artwork works well too), and use various paper punches and scissors to cut out the hidden treasures that are on the page. Put others aside to use in future pieces.
2. There are so many random items around your house that can be used as a stamp to add unique marks to your projects. Think beyond the plastic lids and bubble wrap, and try stamping various items onto a page to see what results you get. We recommend using acrylic paint and labeling each mark so you can repeat later.
3. When is the last time you just played around and cut shapes out of different papers, using no template to guide you? Go through your paper stash, and cut various shapes. Use only the cutouts and glue to create a piece of art. Get creative and use different types of paper, including old magazine images, book text, and more.
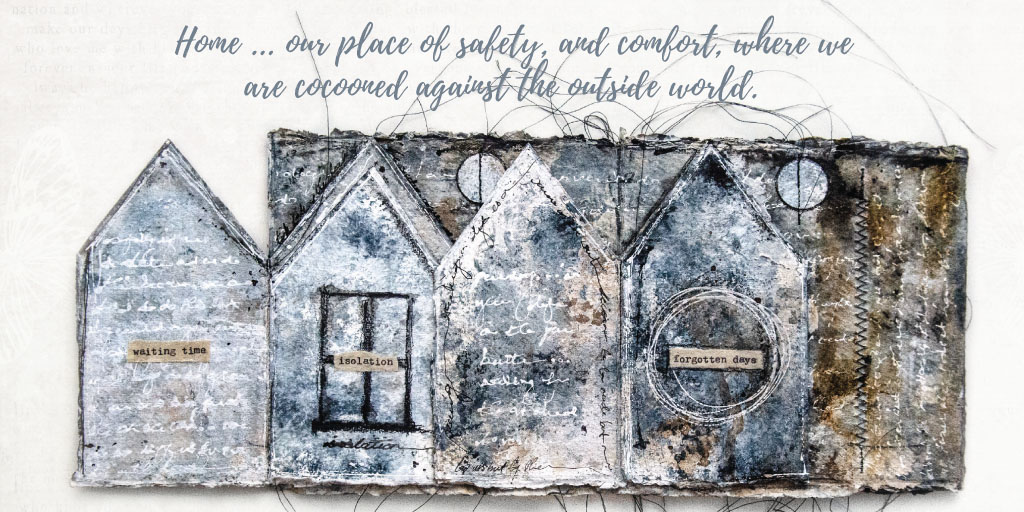
4. Creating little houses is such a wonderful way to use up your paper scraps. Cut a series of squares, rectangles, and triangles from various papers. Painted scraps or cut-up journal pages work well here too. Glue them on a page to create a little neighborhood. You can add a little extra something to the house with a few doodles and tiny stamps.
5. Artists put so much pressure on themselves to have an impressive creative practice they do regularly. Sometimes the pressure can actually result in blocking you from getting anything done. It can be a great practice to just doodle. It gets your mind and your hand going and will inspire you to get started on your next mixed-media project. Start by filling a page with circles of all sizes. Don't stop until the page is filled. Add color inside some of the circles. Doodle within some of the circles.
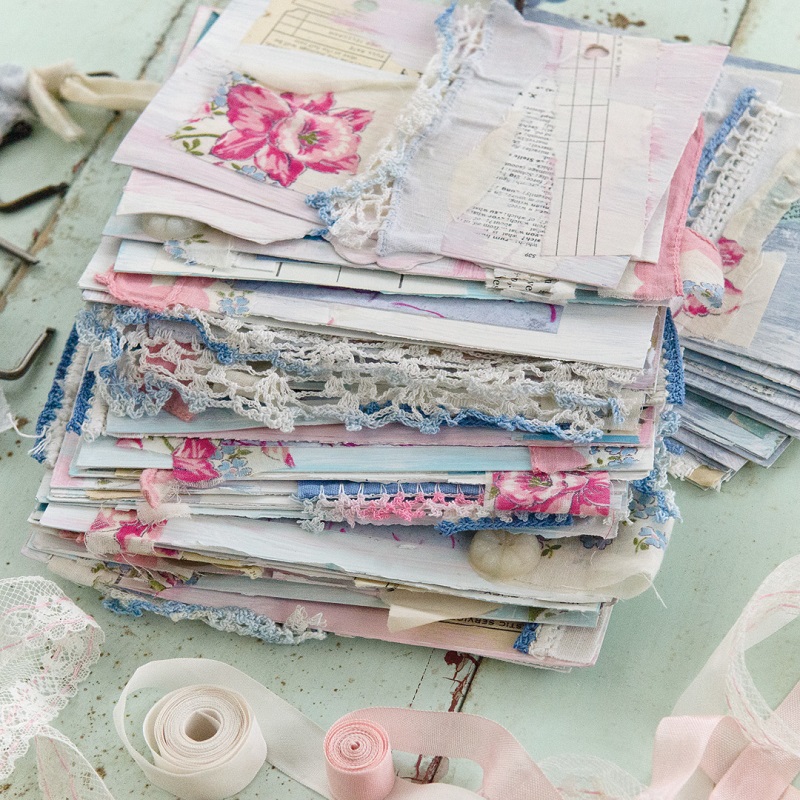
6. Every artist experiences that hesitation to cut into that fresh sheet of patterned paper, or tear off a length of that untouched decorative tape. It can be exciting to look through your collection of brand new materials and supplies, but it can also be a hindrance. Scour your stash for materials you've felt were too precious to use. Cut out small pieces and adhere them on a page. This activity helps to rid you of the fear of using new materials, and also allows you to place a look over small snippets of your collection.
7. Cut snippets of paper napkins and glue them on a page using a gel medium. Take some time creating a layout that is pleasing you.
8. Choose a color that intrigues you. Go through your stash of paper scraps and supplies, pulling out pieces that fall within that color family. Create a collage in one color palette.
9. Choose an image or symbol that is significant to you that you also feel comfortable drawing. Some ideas that usually hold a lot of meaning include houses, hearts, and certain flowers. Draw this large on a page. When finished, add journaling within the confines of your illustration.
10. There is just something about a ton of brightly colored papers being used together that makes our artist hearts swoon. They're a great way to add extra interest to a portrait. Gather your own collection of papers. They can be old journal pages, magazine cutouts, patterned papers, just about anything. Cut or tear them into interesting shapes. Add a portrait to a page. You can do this with a simple line drawing, a stamp, or you can even use an image from a magazine. Arrange your paper shapes and scraps so they frame you portrait. Glue them down or use your sewing machine to secure them in place.
11. Apply a layer of your favorite color of acrylic paint to a page. While it's drying, cut papers from your stash into small pieces (about 1/4 inch x 1 inch). Next, apply a layer of gel medium to the page. Drop the paper pieces onto the page, pressing them down where they land.
12. There's nothing quite like losing yourself in the creative process. You know, those moments where everything flows perfectly, as if you aren't even thinking. Too often we overthink what we're doing. Set a timer for one minute. Do 10 different things on a page (stamp, stencil, spray, stitch, collage, etc.). Don't think about it, just make a mess!
13. Grab a baggie or envelope and head outdoors. Take a walk through your neighborhood and pick up fallen leaves and flower petals, gathering them in your chosen container. Use them to create various shapes on a page.
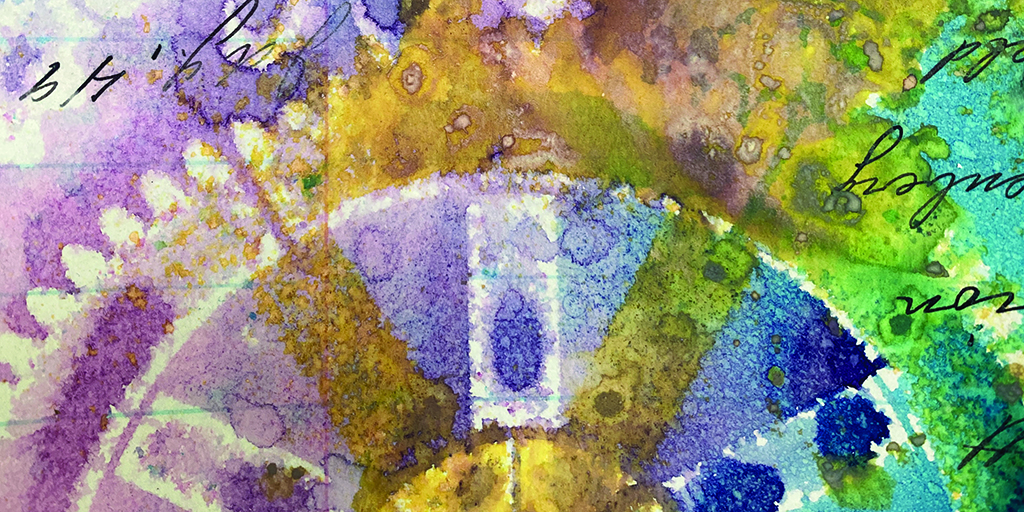
14. Use the theme of a painting to inspire your journaling (i.e. if the painting depicts flowers, brainstorm a list of adjectives related to flowers. Write, paint, or doodle an artful response to the words).

15. It can take some practice to learn to view junk mail — something many consider to be trash — as potential art supplies. Spend some time sorting through the various flyers, ads, and newspapers you receive. Choose one piece you think can work as a great background and tear or cut it into four similarly sized squares. Follow the instructions below (on each of the four squares):
- Paint one of the scraps with a wash of one or two watered-down acrylic paints, allowing some of the mail to be visible through the paint.
- Choose a stencil and apply modeling paste or paint through it and onto one of the scraps.
- Scrunch up some transparent paper (tissue paper or the top layer of a napkin both work well), scrunch it up, and then flatten it. Use gel medium to adhere it on top of a mail scrap.
- Combine all three previous steps to make a mini-collage on the final scrap of mail.
For more interactive prompts, click here to peek inside the latest issue of Somerset Studio!
Featured image credits: 1 - Michelle Ward, Somerset Studio Autumn 2021; 2 - Lynne Moncrieff, Somerset Studio Spring 2021; 3 - Kristina Roth, Somerset Studio Summer 2019; 4 - Free Artist Paper, Somerset Studio Autumn 2021, and 5 - Janet Bergen Movahhed, Somerset Studio Mar/Apr 2018.
Prompts originally featured in: Somerset Studio Summer 2019, Somerset Studio Autumn 2019, Somerset Studio Winter 2020, and Somerset Studio Spring 2020