
Simply Citrus Lotion Bars Project
I don’t know about you, but after the harsh winter months my skin is extra dry. After running out of lotion following endless applications, I looked online to see if there was anything I could make at home to help moisturize my skin. I found countless articles about lotion bars, and my attention was immediately piqued. They looked so easy to make and customize, and I already had everything I needed in my pantry.
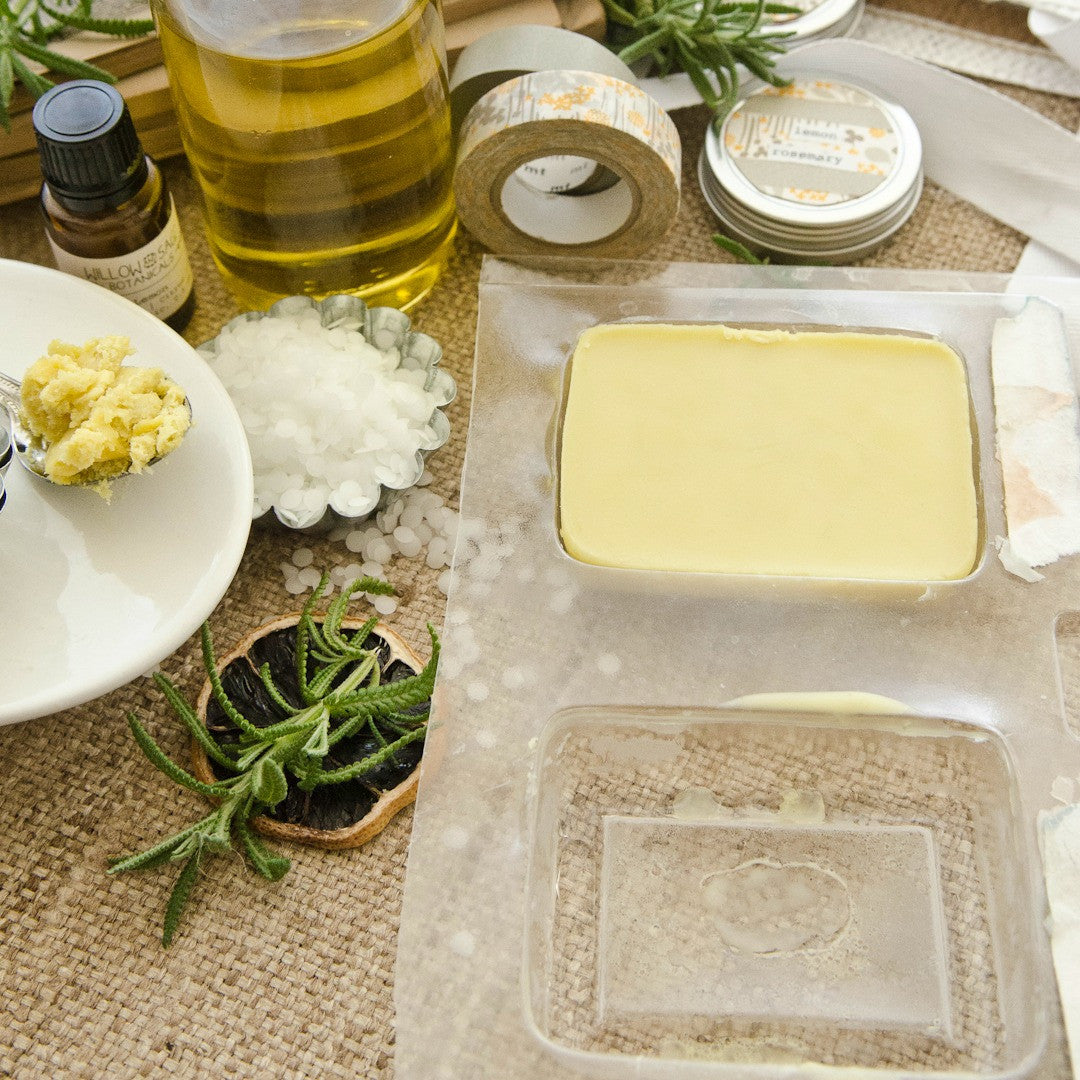
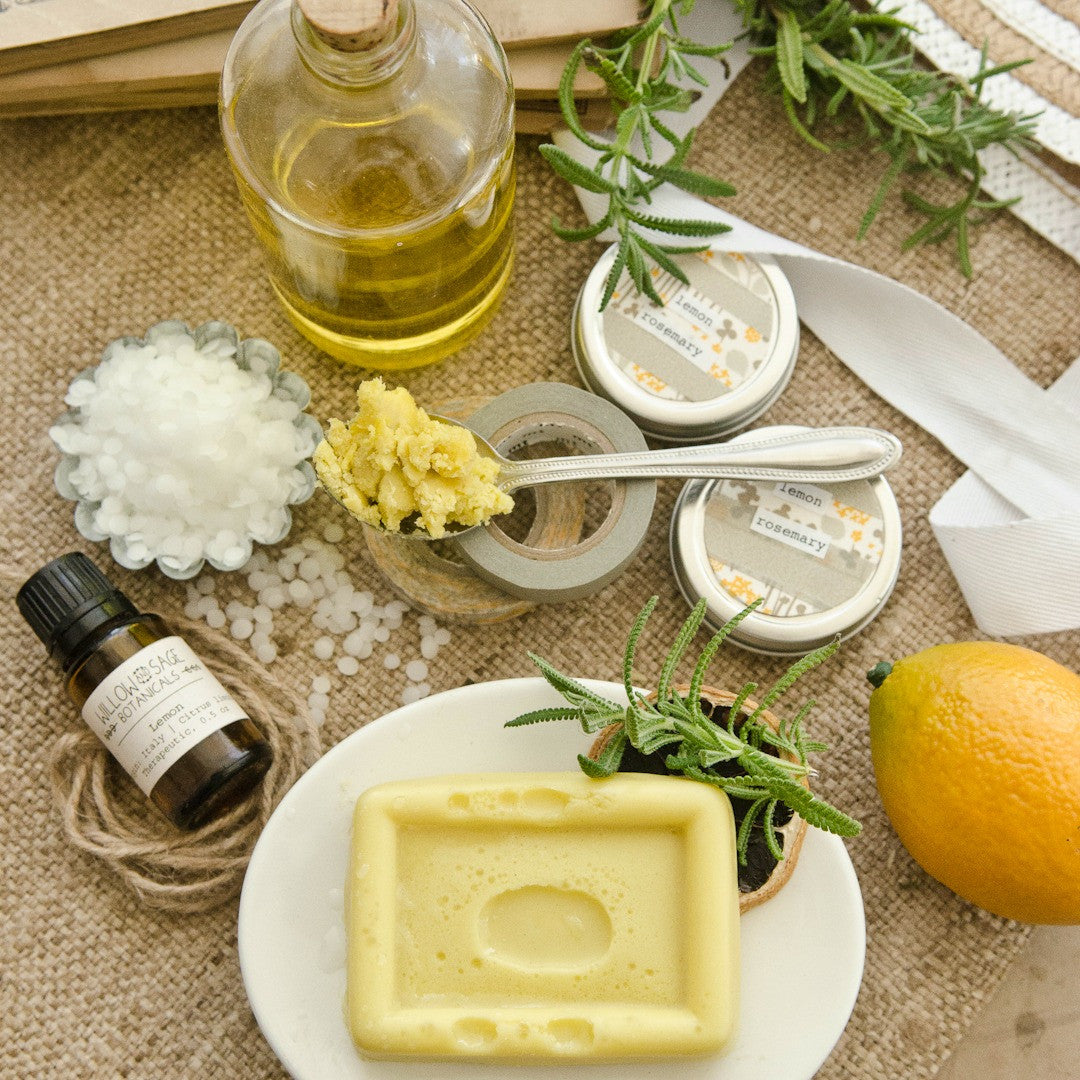
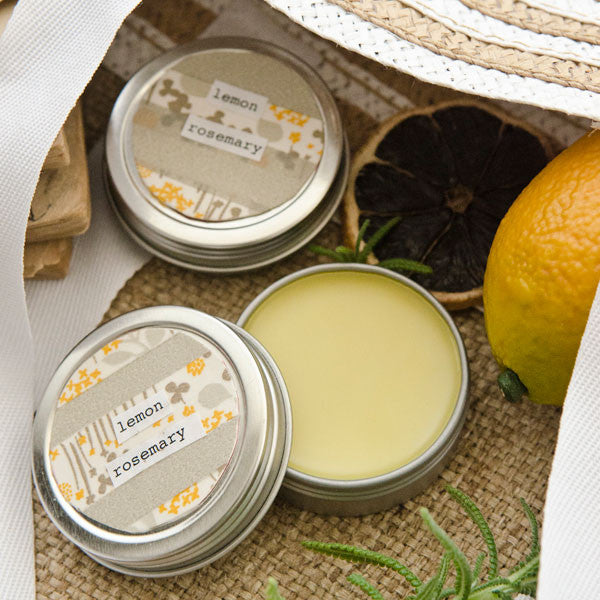
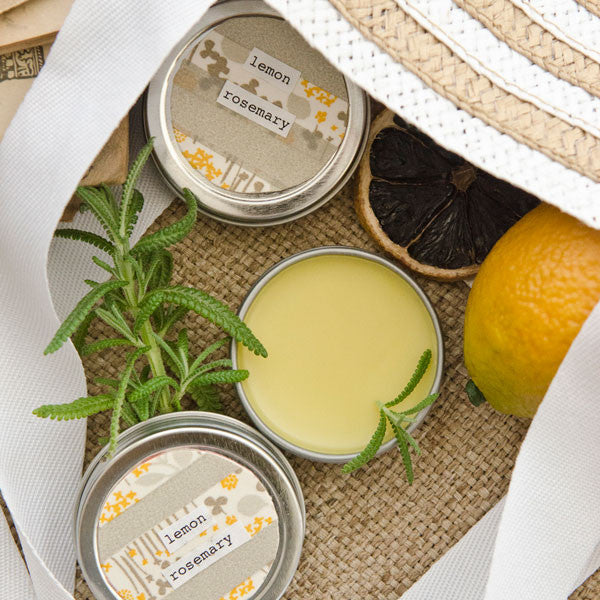
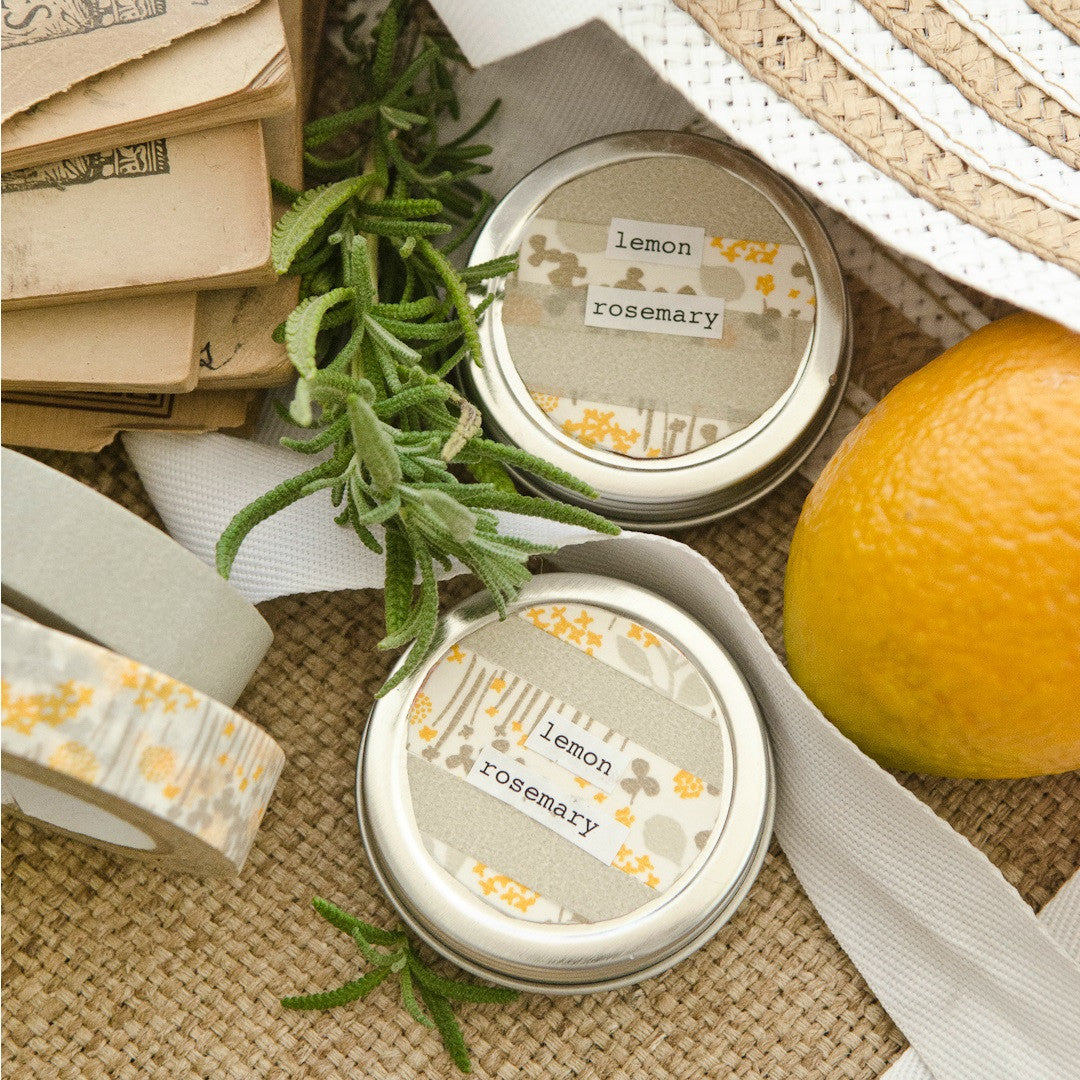
I was surprised how quickly everything came together. The most time I spent was on deciding which mold and container to use for the bars. I have a number of silicon ice cube trays, a collection of lidded tins, and several soap molds, but I decided to keep it simple this time around since it was my first time making these. I made a large bar to keep on the sink in the kitchen, and poured a couple into small containers I can tuck in my purse. And since I can never keep anything simple, I decorated the tins with strips of washi tape and some computer-generated words. These would make such great gifts for coworkers or even to give as stocking stuffers.
I think it’s safe to say I’m in love with lotion bars now. They don’t leave the same greasy residue that lotion does. They’re also so much easier to make than lotion, which requires a few tricky steps. To use, just hold the bar or container in your hand for about 15 seconds to warm everything up, and then rub on your skin.
You Will Need
- 1/3 cup Almond Oil
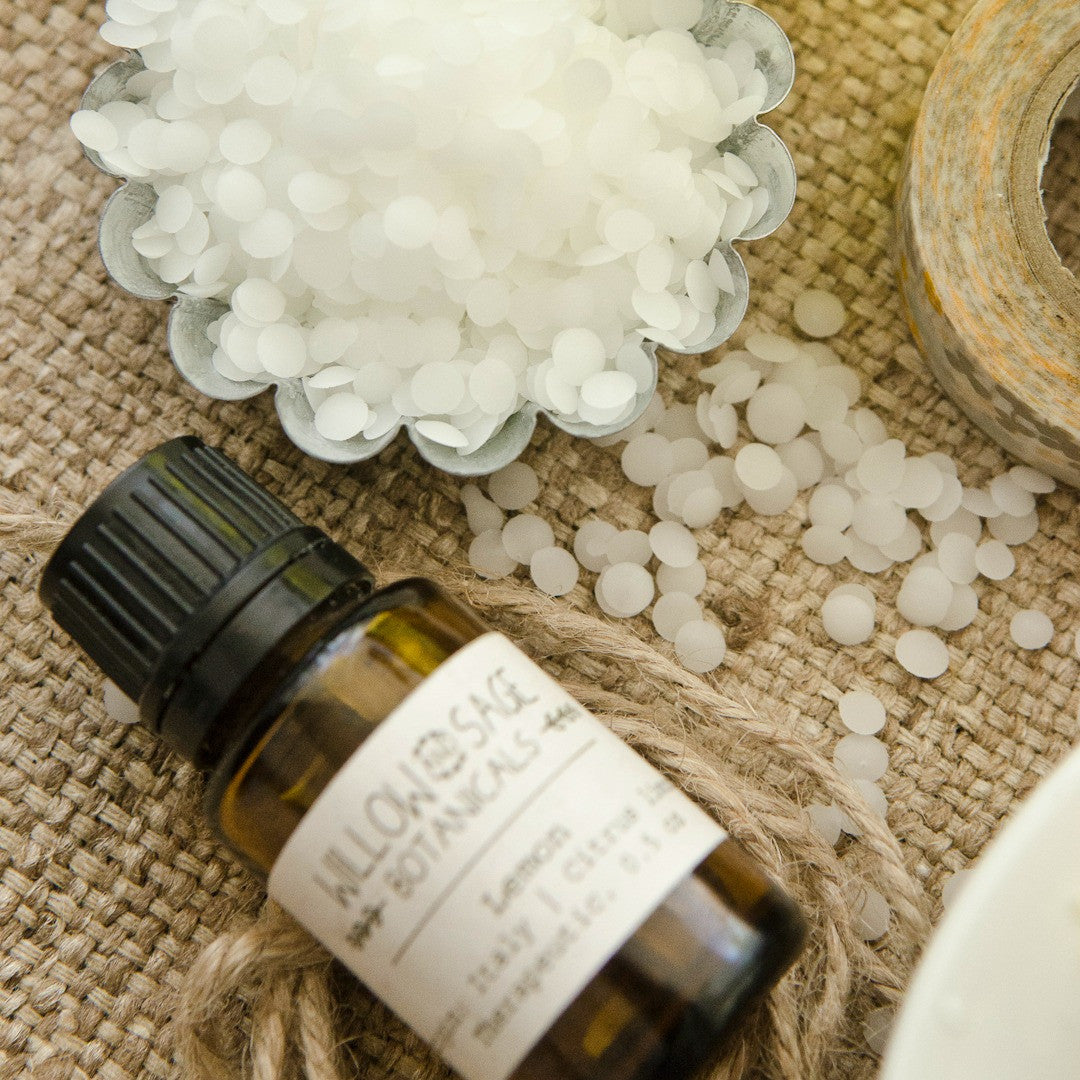
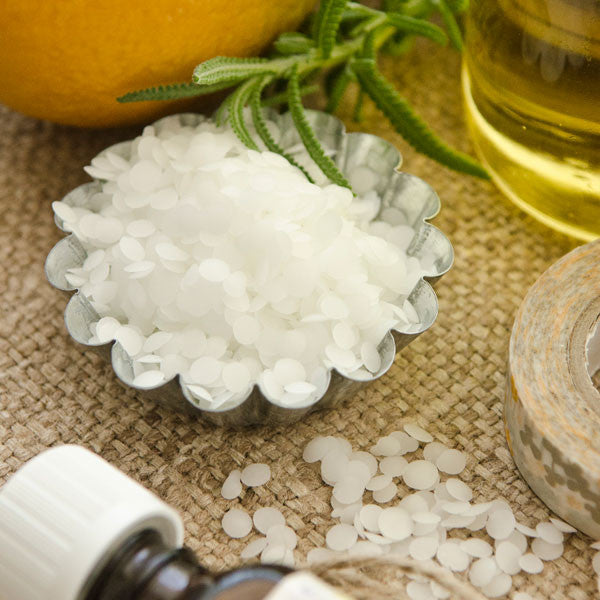
- 1/3 cup Beeswax Pellets
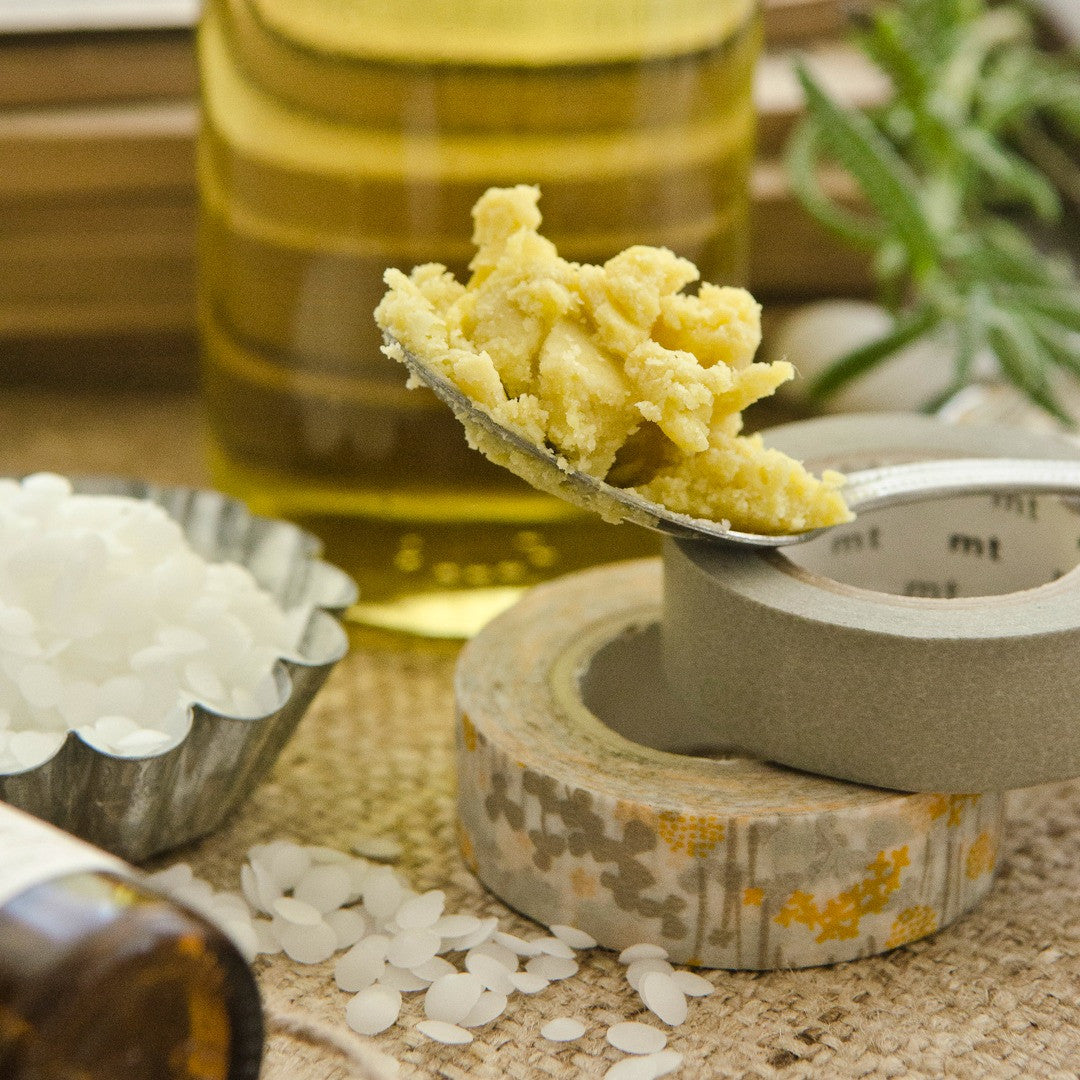
- 1/3 cup Shea Butter
- Essential Oils
To Make
Combine all ingredients in a mason jar and then place the mason jar in a saucepan filled with water. Heat slowly, stirring frequently, until melted. Remove from heat, let cool for a few seconds, and then add your choice of essential oils. I added 10 drops of lemon essential oil, and five drops of rosemary. Add more or less depending on how strong you’d like the scent to me. You can also leave the lotion bars unscented. Stir in the essential oils until fully mixed in.
Pour slowly into your molds and containers. Set aside to cool. My lotion bars were fully set after a couple hours, though I left them overnight to ensure they were completely set.
Free Shipping on Subscriptions
Easy 60 Day Returns
Friendly Customer
Support


Simply Citrus Lotion Bars Project
Frequently asked questions
Looking for a quick answer? Here are some of our customer’s most frequently asked questions to help you along the way.
Thanks for your interest in our magazines! We encourage you to visit our Calls & Challenges page to see what our editors are looking for.
Ready to begin? Here is where you can find our Submission Guidelines.
Our subscriptions ship directly from our printer in Wisconsin. For this reason, we need to be notified of your change of address at least two months before the next issue comes out, or it will be sent to the address we had on file and provided to our printer at the time it was due.
How to Notify Us About Your Change of Address
- Email the following to customerservice@stampington.com:
- The publication(s) you subscribe to
- Your name and new address
- Your old address
2. Call to inform us of your new mailing address:
- Toll-Free: 1-877-782-6737 or International: 1-949-380-7318
Mail Forwarded by the Post Office
If you forward mail to your new address through the Post Office, it won't apply to periodicals/your magazine subscription unfortunately. Also, since mail forwarding only lasts for a short time-frame, we request that you still notify us of your address change to prevent any service interruption to your subscription.
Stampington & Company cannot be held responsible for replacing "lost" issues from your subscription, if we did not receive your change of address request at least two months prior to your next issue's release date.
Subscription issues should arrive within the first week of the month your publication is released. Please add up to two weeks for international delivery.
If your magazine has not arrived by the 20th of the month, please contact our customer service department, so we can check to make sure nothing is amiss with your subscription, and see if you're eligible for a replacement copy. International subscribers can receive a digital version of the magazine as a replacement if one attempt has already been made to deliver the print edition to you.
Stampington & Company cannot be held responsible for postal delays or circumstances outside of our control, but we will make every effort to make it right.
We offer FREE shipping on all magazine subscriptions and instant download purchases to our customers. You can also take advantage of free U.S. shipping on select pre-orders of your favorite magazines (discounted International rates will apply). Browse our selection of Pre-Orders With Free U.S. Shipping here.
What are my shipping charges?
Shipping charges are calculated by weight, shipping destination, and speed. You will be able to choose the best delivery method for your needs at checkout.
To help keep your costs down, we offer a discounted rate of $5.95 to ship a single magazine to you (within the United States).
Need your order fast? We offer the following expedited shipping options:
- 3-day delivery
- 2-day delivery
*Please contact us if you have any questions or special instructions regarding your rush order.
What Carriers do You Use to Ship Items?


