Instagram Wood Photo Blocks Transfer Project
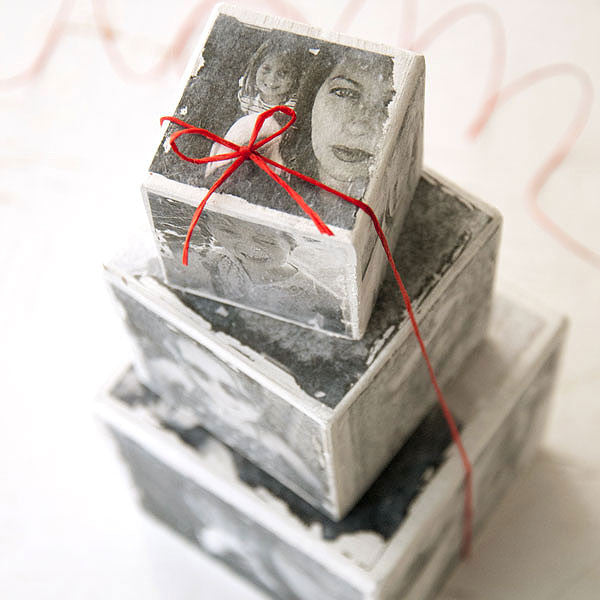
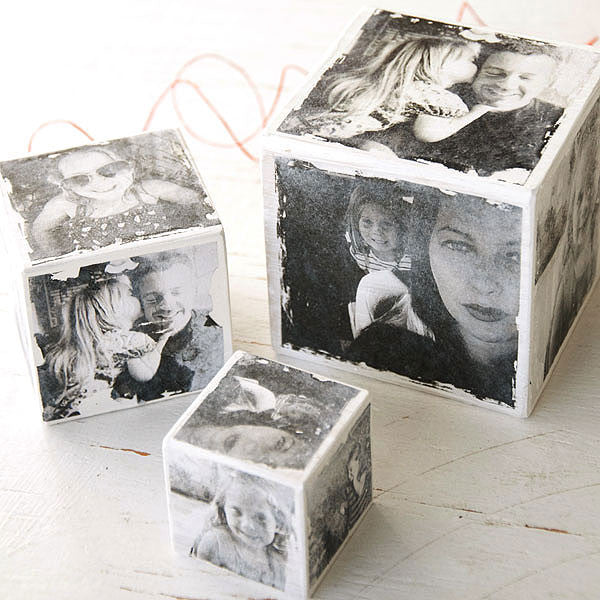
Using various sizes of ready-to-alter wood blocks, I painted each one with a quick coat of white gesso and allowed the paint to dry thoroughly.
Print out your square instagram photos (or any pictures) using a laser printer. If you don’t have access to a laser printer, go to an office supply store and use a photocopy service to copy your pictures. Size your pictures accordingly, so they will fit each block.
Give the gesso painted surfaces a very light sanding. A little “tooth” will help the images transfer better. Use a generous amount of gel medium onto the surfaces of the blocks and place the cut out images face down, and burnish lightly with a bone folder. Allow these to dry overnight.
Doing one side carefully at a time, dab the surface with water and rub gently with your finger to remove the paper pulp. This can take a little getting used to, and knowing when “enough is enough” because sometimes the photos will dry and be left looking a little fuzzy which means you didn’t remove enough. However you need to be careful not to rub too hard as then you could remove too much and parts of the images will come off. Try some samples first on scrap wood.
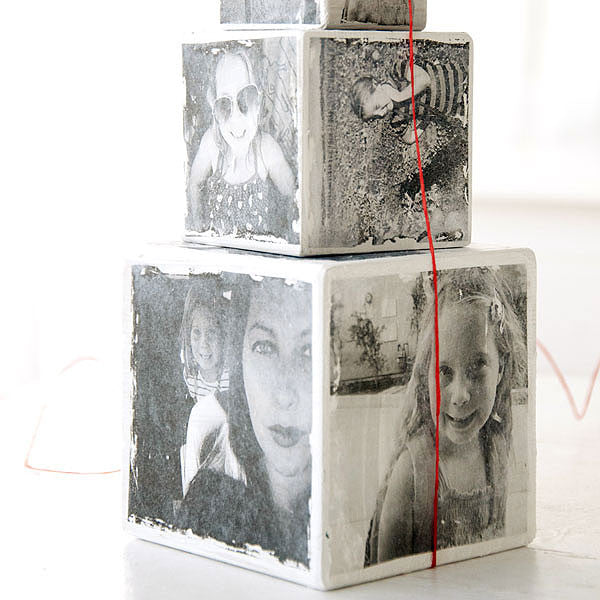
After I removed the excess paper pulp, I gently scratched the edges with my fingernail to give them a distressed look.
Once the pictures have dried from being wet, paint the blocks with a sealer like Collage Pauge. After the Collage Pauge sealing coat has dried, bundle the blocks up with some ribbon or twine for an elegantly packaged gift.
| You will also ? this publication: |
*Instagram™ is a registered trademark of Instagram, Inc. and has no affiliation with the products or projects featured on this website.
Free Shipping on Subscriptions
Easy 60 Day Returns
Friendly Customer
Support


Instagram Wood Photo Blocks Transfer Project
Frequently asked questions
Looking for a quick answer? Here are some of our customer’s most frequently asked questions to help you along the way.
Thanks for your interest in our magazines! We encourage you to visit our Calls & Challenges page to see what our editors are looking for.
Ready to begin? Here is where you can find our Submission Guidelines.
Our subscriptions ship directly from our printer in Wisconsin. For this reason, we need to be notified of your change of address at least two months before the next issue comes out, or it will be sent to the address we had on file and provided to our printer at the time it was due.
How to Notify Us About Your Change of Address
- Email the following to customerservice@stampington.com:
- The publication(s) you subscribe to
- Your name and new address
- Your old address
2. Call to inform us of your new mailing address:
- Toll-Free: 1-877-782-6737 or International: 1-949-380-7318
Mail Forwarded by the Post Office
If you forward mail to your new address through the Post Office, it won't apply to periodicals/your magazine subscription unfortunately. Also, since mail forwarding only lasts for a short time-frame, we request that you still notify us of your address change to prevent any service interruption to your subscription.
Stampington & Company cannot be held responsible for replacing "lost" issues from your subscription, if we did not receive your change of address request at least two months prior to your next issue's release date.
Subscription issues should arrive within the first week of the month your publication is released. Please add up to two weeks for international delivery.
If your magazine has not arrived by the 20th of the month, please contact our customer service department, so we can check to make sure nothing is amiss with your subscription, and see if you're eligible for a replacement copy. International subscribers can receive a digital version of the magazine as a replacement if one attempt has already been made to deliver the print edition to you.
Stampington & Company cannot be held responsible for postal delays or circumstances outside of our control, but we will make every effort to make it right.
We offer FREE shipping on all magazine subscriptions and instant download purchases to our customers. You can also take advantage of free U.S. shipping on select pre-orders of your favorite magazines (discounted International rates will apply). Browse our selection of Pre-Orders With Free U.S. Shipping here.
What are my shipping charges?
Shipping charges are calculated by weight, shipping destination, and speed. You will be able to choose the best delivery method for your needs at checkout.
To help keep your costs down, we offer a discounted rate of $5.95 to ship a single magazine to you (within the United States).
Need your order fast? We offer the following expedited shipping options:
- 3-day delivery
- 2-day delivery
*Please contact us if you have any questions or special instructions regarding your rush order.
What Carriers do You Use to Ship Items?


