Trending: Sticker Shock
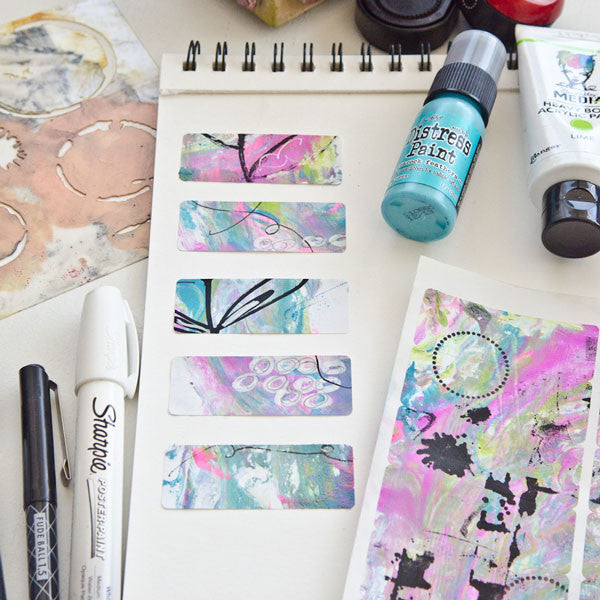
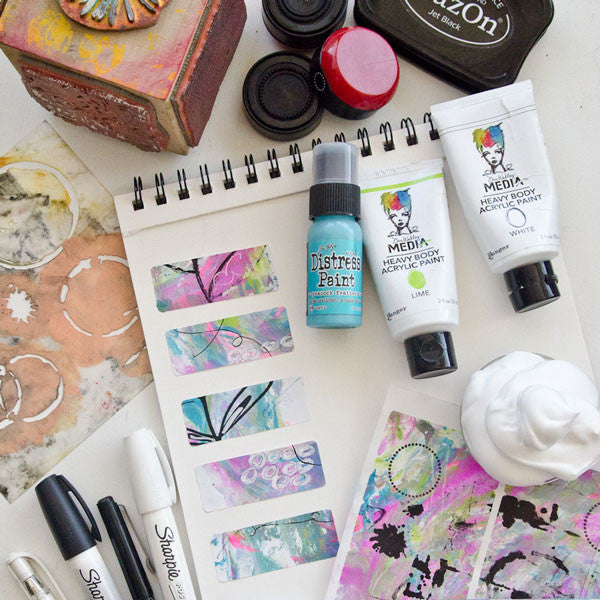
When I was growing up, a trip to the drugstore would inevitably end with me asking my parents to buy me a pack of stickers. I loved them. I loved putting them all over the place, and I loved just looking at them in their package. Decades later, and not much has changed. I still love all kinds of stickers, so it was only natural that after I saw a few tutorials on making your own mixed-media style stickers, I had to try my hand at it.
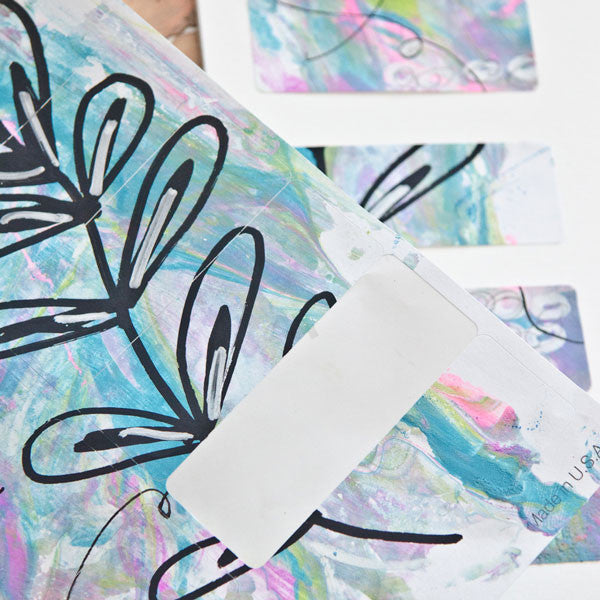
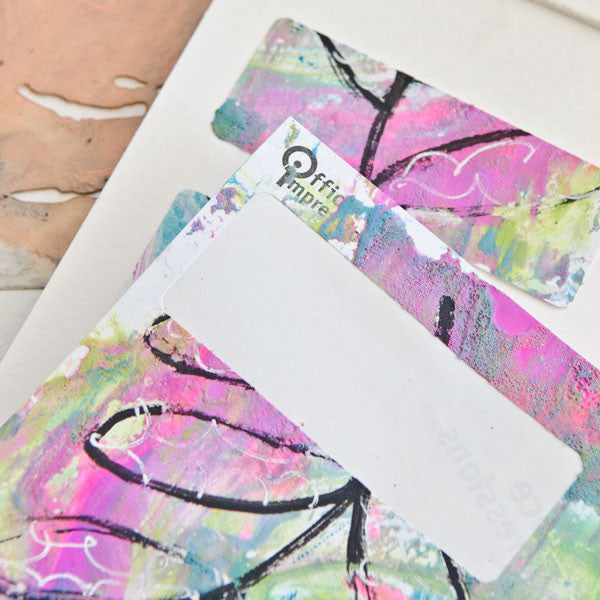
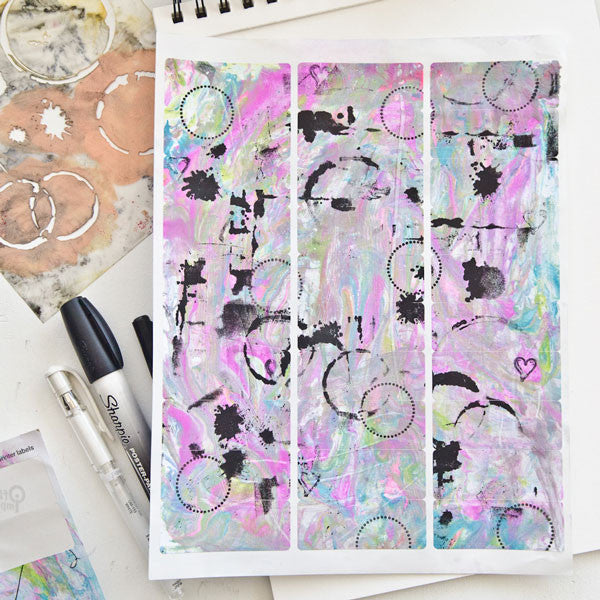
The concept was simple: Take a blank sheet of labels and cover it with paint, stencils, ink, doodles, and whatever else you feel like. Once complete, you have a sheet full of one-of-a-kind stickers that can be used in artwork, gift-wrap, etc.
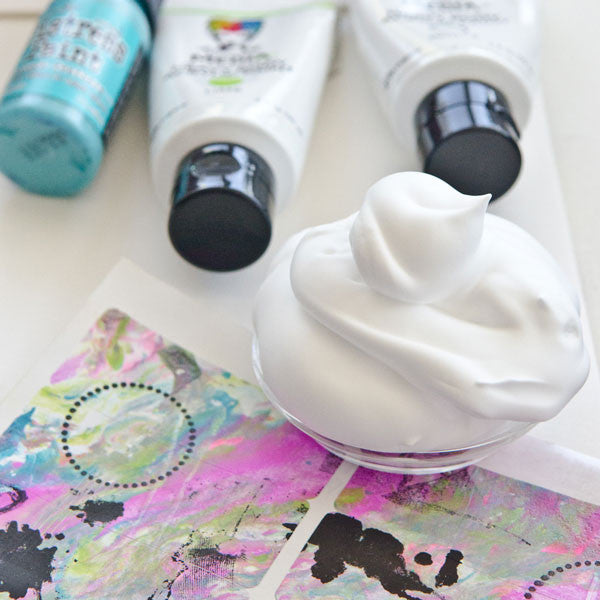
I love color, so I wanted to start with a colorful background. I used shaving cream to achieve a marbled look. To do this, spray and smooth a layer of shaving cream in a pan. Add drops of acrylic paint to the shaving cream and use a craft stick to swirl the colors around. Press the label sheet facedown into the shaving cream. Lift and scrape off shaving cream with a craft stick. Let dry.
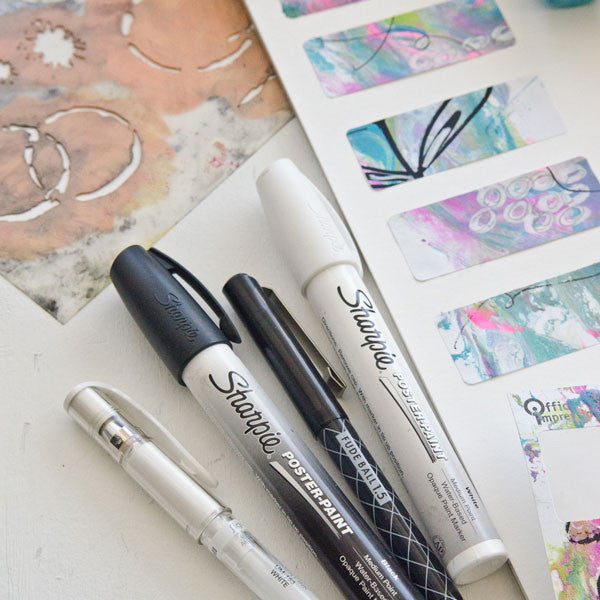
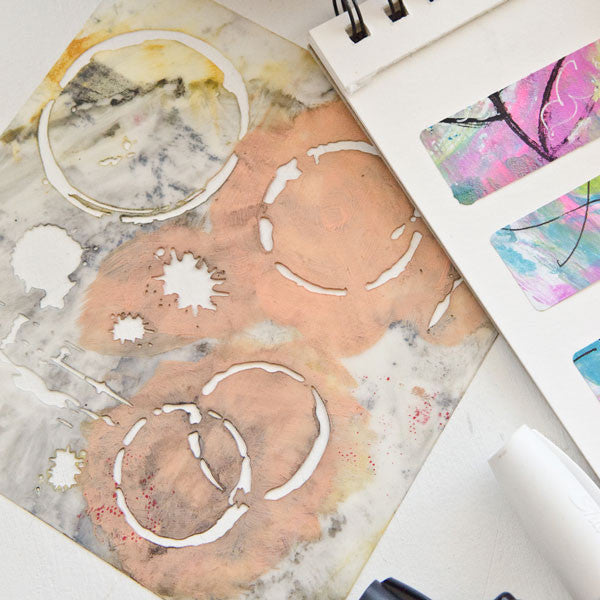
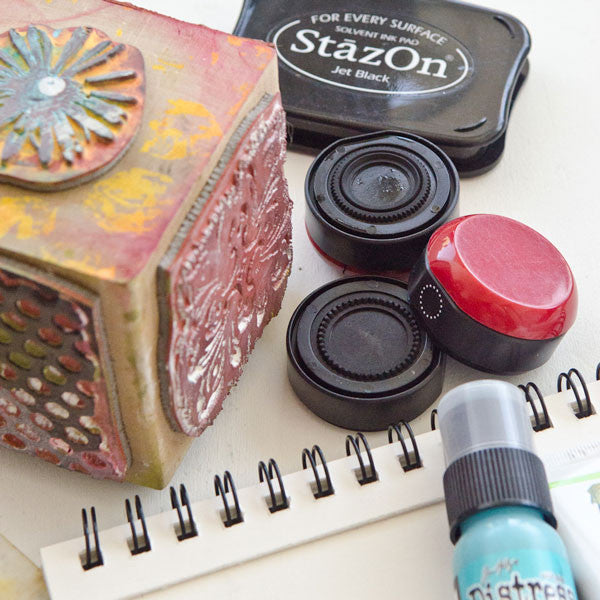
Stamp, stencil, or doodle (or do all three) all over the label sheet. Don’t over-think this part; the goal is just to get designs all over the sheet. I began experimenting with the Collage Cube Stamp by Christine Adolph and the Coffee Splotch Stencil by The Crafter’s Workshop. Any number of stencil designs would work great for this purpose.
Note: At this point, one of my sheets looked really ugly as a whole. I even thought about throwing it away. I reminded myself that the sheet wouldn’t be seen as a single page, but as a bunch of individual stickers. I peeled a single label up and actually loved what was on it. As I kept peeling them off their backing, I was fascinated by how each one was so different.
This was a really quick and satisfying project. It’s the perfect way to use up materials left over from other projects. It could also be a great way to test out new supplies. There are so many ways to vary the look of the stickers, including changing the size of the labels used. Once done, there are endless ways to use your stickers. Place them in an art journal, use them to label file folders, swap them with a friend … the choice is yours!
 | About the Artist: Interests: art, slow food, writing, books, yarn, authentic living Follow Christen on Twitter: @christeno | on Instagram: @christenhammons |
Free Shipping on Subscriptions
Easy 60 Day Returns
Friendly Customer
Support


Trending: Sticker Shock
Frequently asked questions
Looking for a quick answer? Here are some of our customer’s most frequently asked questions to help you along the way.
Thanks for your interest in our magazines! We encourage you to visit our Calls & Challenges page to see what our editors are looking for.
Ready to begin? Here is where you can find our Submission Guidelines.
Our subscriptions ship directly from our printer in Wisconsin. For this reason, we need to be notified of your change of address at least two months before the next issue comes out, or it will be sent to the address we had on file and provided to our printer at the time it was due.
How to Notify Us About Your Change of Address
- Email the following to customerservice@stampington.com:
- The publication(s) you subscribe to
- Your name and new address
- Your old address
2. Call to inform us of your new mailing address:
- Toll-Free: 1-877-782-6737 or International: 1-949-380-7318
Mail Forwarded by the Post Office
If you forward mail to your new address through the Post Office, it won't apply to periodicals/your magazine subscription unfortunately. Also, since mail forwarding only lasts for a short time-frame, we request that you still notify us of your address change to prevent any service interruption to your subscription.
Stampington & Company cannot be held responsible for replacing "lost" issues from your subscription, if we did not receive your change of address request at least two months prior to your next issue's release date.
Subscription issues should arrive within the first week of the month your publication is released. Please add up to two weeks for international delivery.
If your magazine has not arrived by the 20th of the month, please contact our customer service department, so we can check to make sure nothing is amiss with your subscription, and see if you're eligible for a replacement copy. International subscribers can receive a digital version of the magazine as a replacement if one attempt has already been made to deliver the print edition to you.
Stampington & Company cannot be held responsible for postal delays or circumstances outside of our control, but we will make every effort to make it right.
We offer FREE shipping on all magazine subscriptions and instant download purchases to our customers. You can also take advantage of free U.S. shipping on select pre-orders of your favorite magazines (discounted International rates will apply). Browse our selection of Pre-Orders With Free U.S. Shipping here.
What are my shipping charges?
Shipping charges are calculated by weight, shipping destination, and speed. You will be able to choose the best delivery method for your needs at checkout.
To help keep your costs down, we offer a discounted rate of $5.95 to ship a single magazine to you (within the United States).
Need your order fast? We offer the following expedited shipping options:
- 3-day delivery
- 2-day delivery
*Please contact us if you have any questions or special instructions regarding your rush order.
What Carriers do You Use to Ship Items?


