Timeless Paper Cones Project
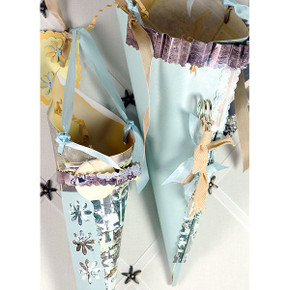
Use your paper cones as creative home décor or as favor bags for showers, weddings or birthday parties. There are so many options! I created three cones in various sizes. I only need two sheets of artist paper. For the large cone use one sheet and roll it into the cone shape, staple the cone together and then trim excess paper off the top. For the medium and small cones use 1 sheet of paper, cut one third off for the smallest cone and use the large section for the medium cone. Assemble the small and medium cones and trim the excess of the top.
Embellish the top of each cone with seam binding ribbon. For the larger cone I created a "gathered" look and stitched the ribbon on. For the medium cone I attached the ribbon with glue dotsand then tied it at the side. For the small cone I used a very small hole punch and weaved the ribbon around the top edge. Attach paper tape if needed to help secure the cone and to add a decorative accent.
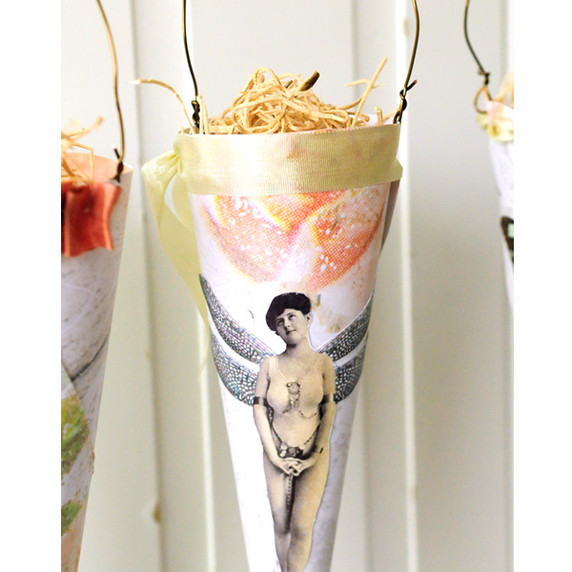
Cut out the clip art images from the ARTchix Studio Winged Beauties collage sheet using Tonic scissors and glue on to the front of each cone. Punch a small hole in the sides of each cone and thread wire through to create the handles. Fill the cones with excelsior and use for home decorating, gifts and much more.


