

Spooky Chandelier Project by Kristen Robinson
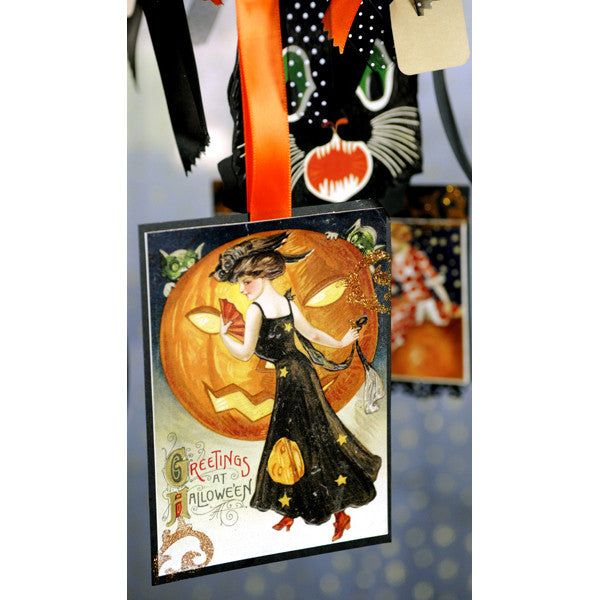
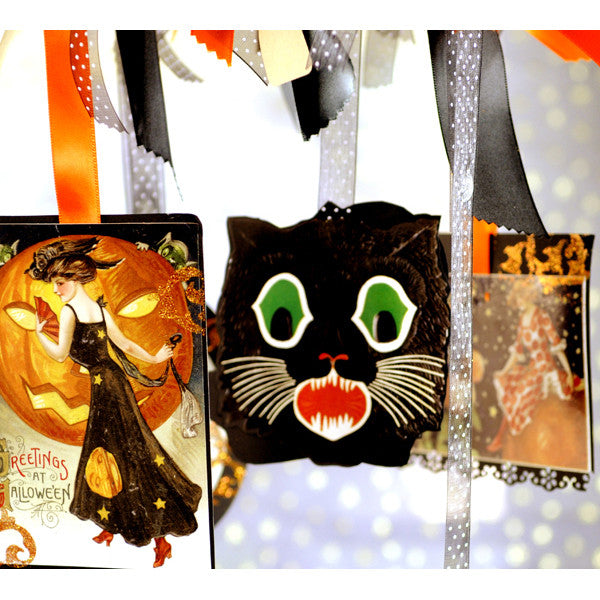
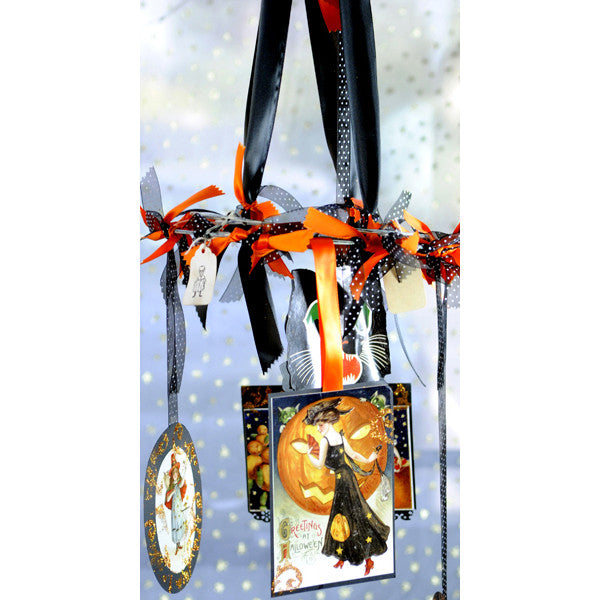
Witches and pumpkins dance in the air offering up more than a delightful scare! The chandelier has become my signature holiday must have. With delightful vintage Halloween Stickers or ephemera and a spot of ribbon it is the perfect quick and easy craft that does not require a cauldron and eye of newt to create!
Begin with an 8 inch wire wreath form - paint it with crème acrylic paint, I did not cover the form completely as I wish it to look aged. While your form is drying begin cutting backgrounds for your labels to adhere to. With orange and black satin ribbon cut various lengths in which your labels will hang. Once this is done begin placing the ribbons on the form. With a small drop of glue, glue the long strips of ribbon to your cardstock backgrounds.
Now place your labels on the front and back side of each background. Repeat this process until you have the desired amount of images. Add four long strips of ribbon for hanging; I placed the ends of all of my strips through a 1" binder ring this helps the piece remain balanced. I added a few tea dyed tags that had been stamped with a Vintage Baby Skeleton Stamp and black ink.
Complete your chandelier by filling the empty space on your form with black and orange ribbon alternating the two around the piece as well as the ring. Tips - This project works great on any size form and is applicable to any holiday or occasion! Hang in your Mansion of spookiness and fun and enjoy!
Free Shipping on Subscriptions
Easy 60 Day Returns
Friendly Customer
Support


Spooky Chandelier Project by Kristen Robinson
Frequently asked questions
Looking for a quick answer? Here are some of our customer’s most frequently asked questions to help you along the way.
Thanks for your interest in our magazines! We encourage you to visit our Calls & Challenges page to see what our editors are looking for.
Ready to begin? Here is where you can find our Submission Guidelines.
Our subscriptions ship directly from our printer in Wisconsin. For this reason, we need to be notified of your change of address at least two months before the next issue comes out, or it will be sent to the address we had on file and provided to our printer at the time it was due.
How to Notify Us About Your Change of Address
- Email the following to customerservice@stampington.com:
- The publication(s) you subscribe to
- Your name and new address
- Your old address
2. Call to inform us of your new mailing address:
- Toll-Free: 1-877-782-6737 or International: 1-949-380-7318
Mail Forwarded by the Post Office
If you forward mail to your new address through the Post Office, it won't apply to periodicals/your magazine subscription unfortunately. Also, since mail forwarding only lasts for a short time-frame, we request that you still notify us of your address change to prevent any service interruption to your subscription.
Stampington & Company cannot be held responsible for replacing "lost" issues from your subscription, if we did not receive your change of address request at least two months prior to your next issue's release date.
Subscription issues should arrive within the first week of the month your publication is released. Please add up to two weeks for international delivery.
If your magazine has not arrived by the 20th of the month, please contact our customer service department, so we can check to make sure nothing is amiss with your subscription, and see if you're eligible for a replacement copy. International subscribers can receive a digital version of the magazine as a replacement if one attempt has already been made to deliver the print edition to you.
Stampington & Company cannot be held responsible for postal delays or circumstances outside of our control, but we will make every effort to make it right.
We offer FREE shipping on all magazine subscriptions and instant download purchases to our customers. You can also take advantage of free U.S. shipping on select pre-orders of your favorite magazines (discounted International rates will apply). Browse our selection of Pre-Orders With Free U.S. Shipping here.
What are my shipping charges?
Shipping charges are calculated by weight, shipping destination, and speed. You will be able to choose the best delivery method for your needs at checkout.
To help keep your costs down, we offer a discounted rate of $5.95 to ship a single magazine to you (within the United States).
Need your order fast? We offer the following expedited shipping options:
- 3-day delivery
- 2-day delivery
*Please contact us if you have any questions or special instructions regarding your rush order.
What Carriers do You Use to Ship Items?


