Push Pin/Shrink Art Project by Marylinn Kelly
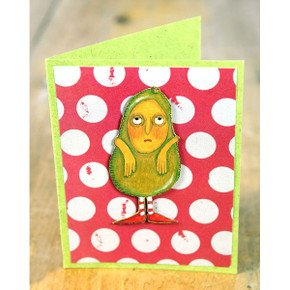
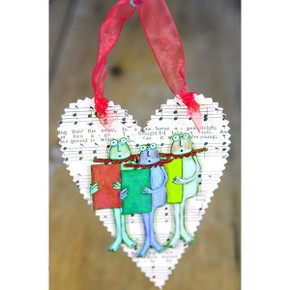
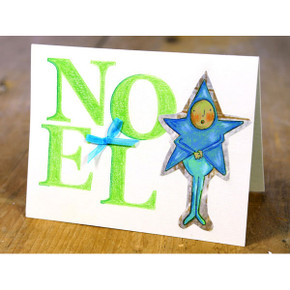
These, in any numbers and any possible Suspect images, would make unusual stocking stuffers or party favors. I work with pre-sanded translucent shrink plastic, one brand called Frosted Rough N' Ready from the original Shrinky Dinks people. An alternative to Rough N' Ready is Polyshrinkfrom The Shoppe at Somerset. Because the Suspects, with a couple exceptions, would be very hard to cut out, I thought to put each one in a frame so the cutting would be simple and a good outcome more likely.
The samples were stamped with a water-based black ink but it tends to smear so you have to be careful of that. A good idea is to use a permanent, waterproof ink for stamping, just making sure that the pad is very moist to get a good impression. Space the images well apart on the sheet for you will be adding a frame drawn around each with a Sharpie Ultra-Fine black marker. For this I used some scrapbook templates of rectangular shapes, adjusted to fit each figure. Color hard - the colors intensify as the item shrinks - and cut out, right up to but not over the black outline.
To have your shrink projects look their best, do not leave a border of un-colored plastic visible around the edge. A friend calls this "one of those things that makes me crazy." Shrinky Dinks suggests using a conventional or toaster oven, pre-heated to 325 degrees. I use my regular oven - yes, toxicity has been mentioned but if that was the only toxin in my life...how lovely that would be. Use your own guidance. Shrinky Dinks suggests using a piece of brown grocery bag on the cookie sheet you use to bake...I have found that the paper sticks to the back, but I may be doing something wrong.
Place the pieces, colored side up, on the paper or the plain cookie sheet and place in the pre-heated oven. Bake approximately 1 to 3 minutes. After pieces lay flat allow an additional 30 seconds of baking to complete the process. Remove the tray and allow pieces to cool. When cooled, I sprayed the shrink art with workable fixative to prevent smearing, then glued each to the end of a push pin using Goop Crafters Glue (E6000 Industrial Glue also works well). You want a strong and permanent bond. Push pins were stuck into a kraft/paper mache ornament form for presentation, and could be wrapped in cellophane. Stamps used were the Disappointed Tourist, Dragon and Duck.


