Artistic Slide Mailers Project by Audrey Hernandez
Nine:
(single slide mailer)
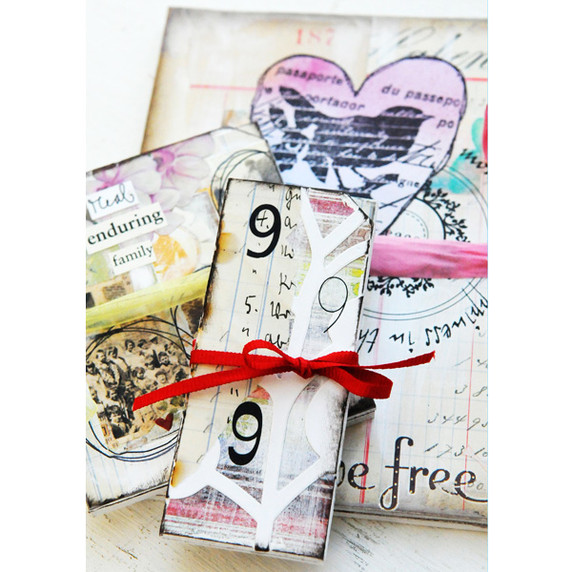
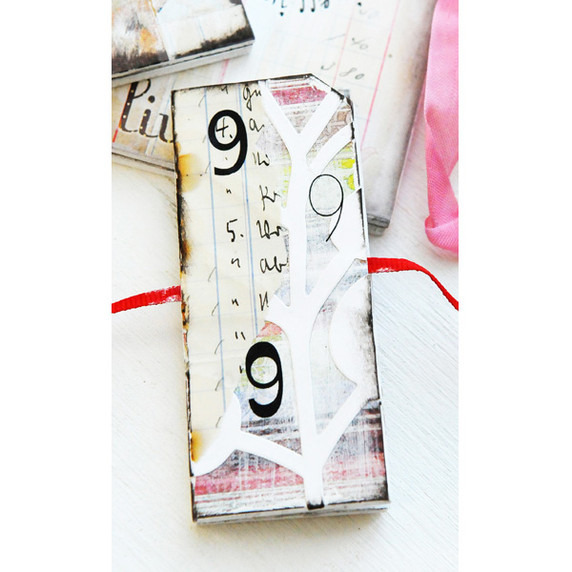
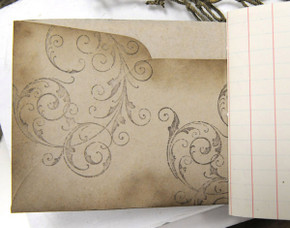
Start with a single slide mailer. Paint all the edges and the slot on the inside with white acrylic paint. Adhere vintage ledger paper to the front and inside. For the front add a leftover piece of white branch die cut image. Then add a torn piece of paper to the right side. Randomly add rub-ons of the number 9 to the front. Edge with brown StazOn. For the inside, stamp wrought scroll with brown StazOn. Then add a torn piece of paper to the left side.
Add the number 9 rub-on at the top and then add random sticker words. Add a paper punched red heart at the bottom. For the slide mailer: choose a background from the Tuscan Rose sheet. On a separate piece of paper stamp the children image from the Butterfly Girl Stamp Set. Cut the image out and add to the background. Add the rub-on word 'blessings' to the piece. Use two microscope slides and put the image in the middle of them. Seal all pieces together with foil tape. Put finished microscope slide embellishment into the slide mailer.
Family:
(double slide mailer)
Start with a double slide mailer. Paint all the edges and the slots inside with white acrylic paint. Adhere vintage paper. On the front, choose some images from the Tuscan Rose Sweet Spots sheet that have images of people. Randomly add them. Then add a floral sticker to the front of slide mailer. Add more white acrylic paint randomly. Use a black sharpie and circle the people images. Add the sticker words "real", "enduring", and "family" to the front of the mailer. Edge the whole piece with brown StazOn. For the inside add a sunflower sticker and distress it with sandpaper. Then add a circle rub-on around it.
Add a paper punched red heart at the top. For the microscope slides: these are made into magnets that can be put on the fridge or any other magnetized place. Use images from the Sweet Spots sheet again. Run them through the xyron so that you are making the image itself sticky as you want to adhere it to the microscope slide in that fashion. then seal the image with foil. Take a think piece of magnetized paper and cut it to size to fit the microscope slide. You now have family portrait magnets on microscope slides. Insert both of them into the double sized slide mailer.
Live Free:
(large slide mailer)
Start with a large (quad) slide mailer. Paint all the edges and the slots inside with white acrylic paint. Adhere vintage ledger paper to the outside and the inside of mailer. On the front of the mailer randomly add pieces from the Tuscan Rose sheets. Add a pink flower on the left side. On pink variegated paper stamp the Robin Script Heart with black ink. Cut it out and add to the front. Add rub-ons also to the front and at the bottom with the words 'live free'. Edge whole front with brown StazOn.
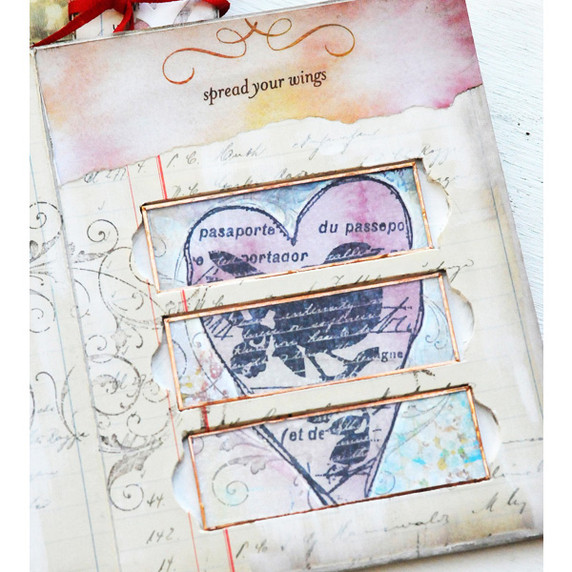
For the inside, randomly stamp Wrought Scroll with brown StazOn. Add a flower and dragon fly sticker and distress them with sandpaper. Add the word "freedom" in the center. On the opposite side I covered up the first slot as I didn't want to use it. Then I added another piece of paper to the top so that I wouldn't accidentally punch a hole in the slot. Add a rub-on that says 'spread your wings'.
For the microscope slides: Pick three backgrounds from the Tuscan Rose sheets that coordinate. Stamp the Robin Script Heart again on pink variegated paper. Attach it to the three backgrounds you choose and then cut them apart so that you have three separate pieces again. Run each one through the xyron face down so that the front is sticky. Then add a microscope slide to the front of the sticky piece and seal with foil tape. Do this process for all three pieces. Then insert them into the slots. Use them as embellishments or add magnetic tape to make magnets.
