

Dream On Banner Project
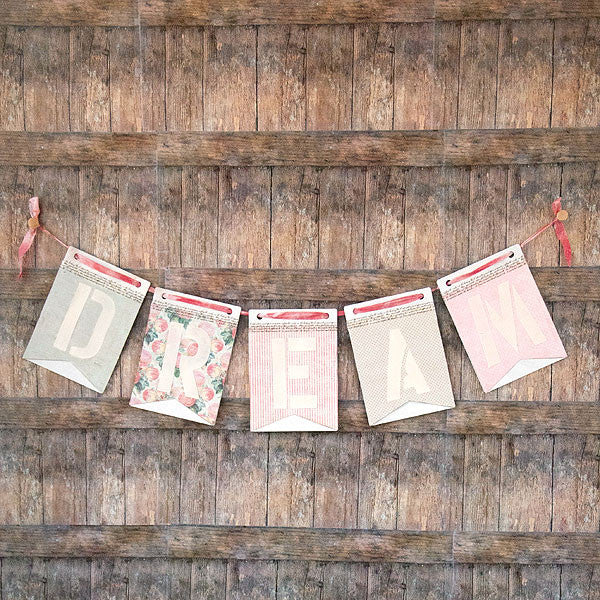
In my circle of friends, babies (either on-the-way or already here) are abundant. I try to always make something for my girlfriends who are expecting; I think gifting something unique and handmade at a baby shower is a thoughtful way to show a friend that you really care. This banner would make a great gift for a friend who loves floral prints and pink shades. It was so simple to make — you could easily replicate this project in under an hour.
Dream On Banner Tutorial:
Start by applying gesso to chipboard pieces with a foam brush, and set aside to dry.
When the chipboard has dried, lightly apply Distress Stain to give it a little color.
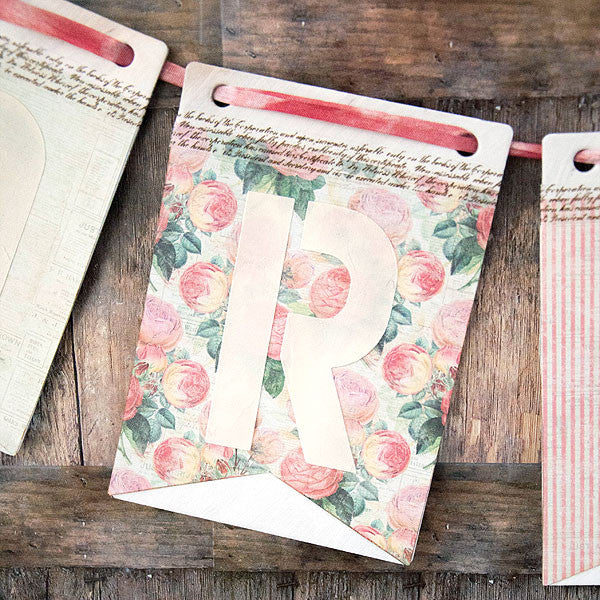
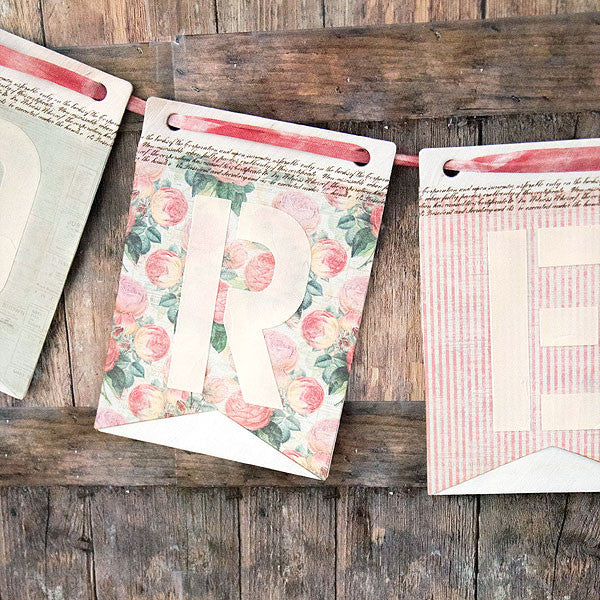
Trim floral-patterned paper to fit each chipboard shape, and attach with patterned washi tape.
Next, scoop texture paste into a bowl, and add a few drops of Distress Ink. Mix the paste thoroughly with a palette knife.
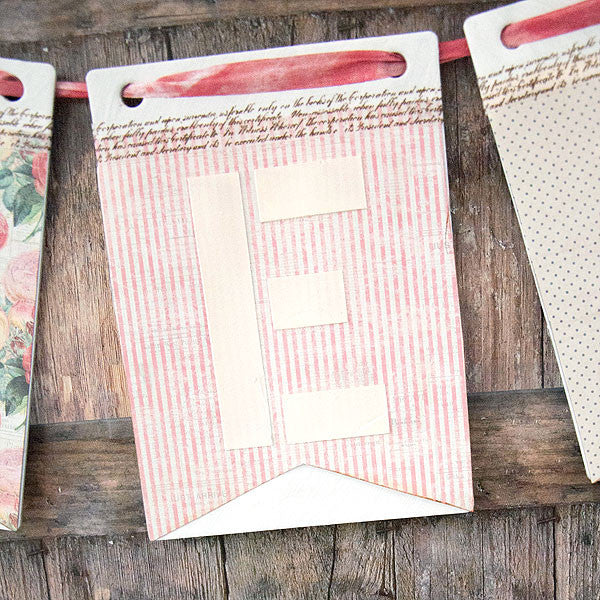
Once your texture paste is mixed, align letter stencil onto chipboard pieces, and apply texture paste, smoothing everything as you go.
When you are satisfied with the look, gently lift the stencil and clean immediately (before the paste has time to dry, otherwise it might ruin your stencil).
Set aside each chipboard piece to dry, and then attach all pieces with a hand-dyed ribbon.
Free Shipping on Subscriptions
Easy 60 Day Returns
Friendly Customer
Support


Dream On Banner Project
Frequently asked questions
Looking for a quick answer? Here are some of our customer’s most frequently asked questions to help you along the way.
Thanks for your interest in our magazines! We encourage you to visit our Calls & Challenges page to see what our editors are looking for.
Ready to begin? Here is where you can find our Submission Guidelines.
Our subscriptions ship directly from our printer in Wisconsin. For this reason, we need to be notified of your change of address at least two months before the next issue comes out, or it will be sent to the address we had on file and provided to our printer at the time it was due.
How to Notify Us About Your Change of Address
- Email the following to customerservice@stampington.com:
- The publication(s) you subscribe to
- Your name and new address
- Your old address
2. Call to inform us of your new mailing address:
- Toll-Free: 1-877-782-6737 or International: 1-949-380-7318
Mail Forwarded by the Post Office
If you forward mail to your new address through the Post Office, it won't apply to periodicals/your magazine subscription unfortunately. Also, since mail forwarding only lasts for a short time-frame, we request that you still notify us of your address change to prevent any service interruption to your subscription.
Stampington & Company cannot be held responsible for replacing "lost" issues from your subscription, if we did not receive your change of address request at least two months prior to your next issue's release date.
Subscription issues should arrive within the first week of the month your publication is released. Please add up to two weeks for international delivery.
If your magazine has not arrived by the 20th of the month, please contact our customer service department, so we can check to make sure nothing is amiss with your subscription, and see if you're eligible for a replacement copy. International subscribers can receive a digital version of the magazine as a replacement if one attempt has already been made to deliver the print edition to you.
Stampington & Company cannot be held responsible for postal delays or circumstances outside of our control, but we will make every effort to make it right.
We offer FREE shipping on all magazine subscriptions and instant download purchases to our customers. You can also take advantage of free U.S. shipping on select pre-orders of your favorite magazines (discounted International rates will apply). Browse our selection of Pre-Orders With Free U.S. Shipping here.
What are my shipping charges?
Shipping charges are calculated by weight, shipping destination, and speed. You will be able to choose the best delivery method for your needs at checkout.
To help keep your costs down, we offer a discounted rate of $5.95 to ship a single magazine to you (within the United States).
Need your order fast? We offer the following expedited shipping options:
- 3-day delivery
- 2-day delivery
*Please contact us if you have any questions or special instructions regarding your rush order.
What Carriers do You Use to Ship Items?


