





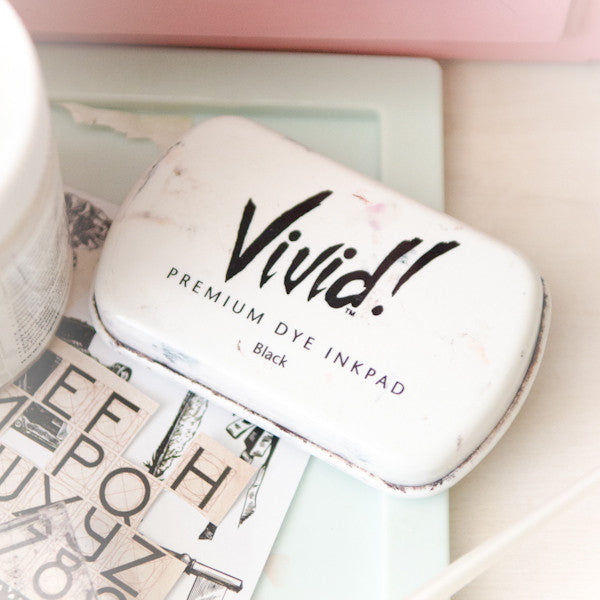
Darling Canvas with Honey Resin Starter Kit
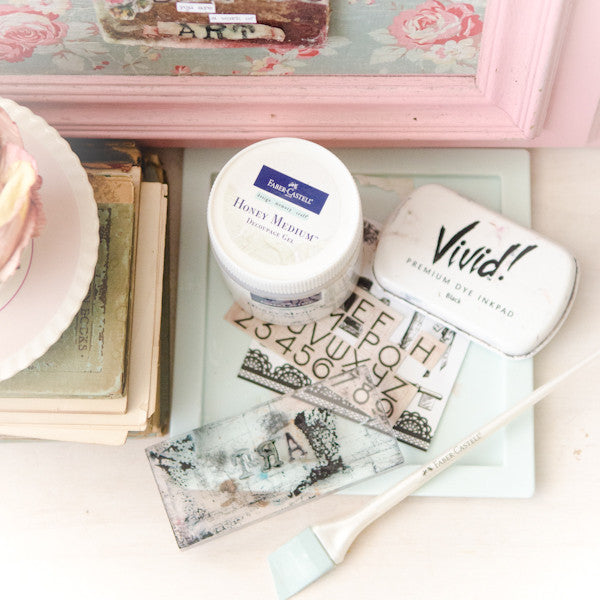
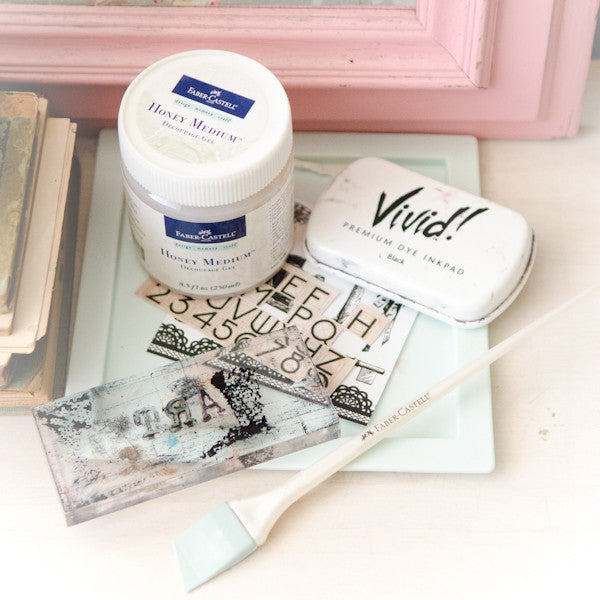
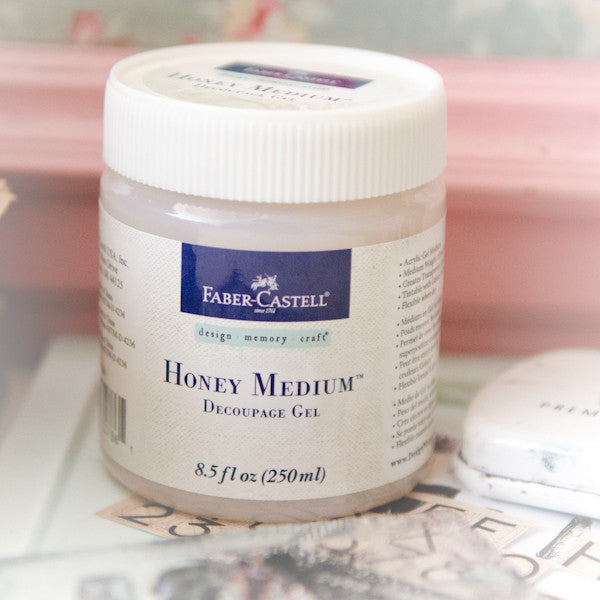
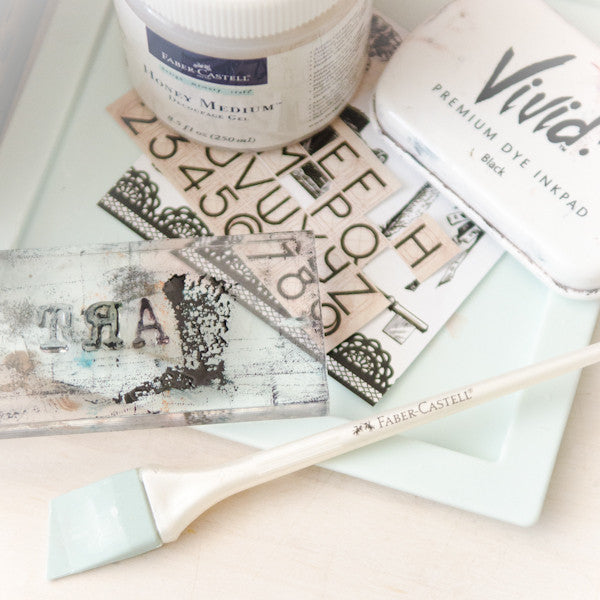
The new Honey Resin Starter Kit has tons of amazing options for creating fun layered effects in your artwork. It also has some really handy tools — a silicone tray, spatula brush, ephemera, and tons of glitter! Here are just a few ways I used the kit to transform an ordinary rectangle of cork.
Darling Canvas with Honey Resin Starter Kit Directions:
Image transfer
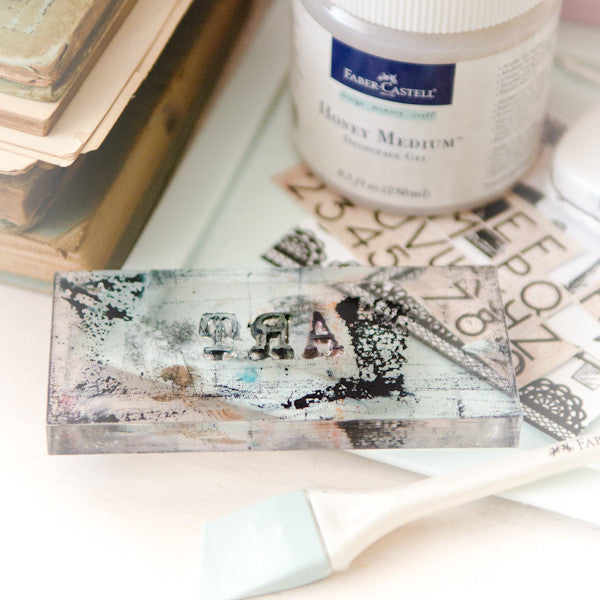
To make an image transfer with the kit, set the piece of ephemera inside the silicone tray. The ephemera will have to be a toner-printed picture in order for the image transfer to work. Spread a 1/8” layer of Honey Resin medium over the entire image, using the spatula to create an even layer. Let the medium dry completely (I found this took way longer than the estimated 1-2 hours on the package, but it was well worth the wait). Remove from tray, wet the back of the paper with a bit of water, and rub the paper away from the honey resin, leaving behind the image transfer. Attach the image transfer to a rectangle of cork with more honey resin medium. If you would like a crisper image, make sure that you do not saturate the image transfer with honey resin medium. Either flip over the piece, or use a different medium to attach the image transfer to the cork.
The Honey Resin Starter Kit is also great for creating layers that can be applied to any mixed-media project. For the lettering on the canvas, I arranged the ephemera in the silicone tray, then topped the entire phrase with a layer of resin. When dry, I trimmed away the excess and it created a lovely three-dimensional effect on my canvas.
Completing the Project
Add a Tim Holtz Small Talk Sticker to the canvas and stamp the remaining words onto the scroll ephemera from the Honey Resin Kit. Punch a hole in each corner with a sharp stick, and thread Divine Twine through for hanging.
Free Shipping on Subscriptions
Easy 60 Day Returns
Friendly Customer
Support


Darling Canvas with Honey Resin Starter Kit
Frequently asked questions
Looking for a quick answer? Here are some of our customer’s most frequently asked questions to help you along the way.
Thanks for your interest in our magazines! We encourage you to visit our Calls & Challenges page to see what our editors are looking for.
Ready to begin? Here is where you can find our Submission Guidelines.
Our subscriptions ship directly from our printer in Wisconsin. For this reason, we need to be notified of your change of address at least two months before the next issue comes out, or it will be sent to the address we had on file and provided to our printer at the time it was due.
How to Notify Us About Your Change of Address
- Email the following to customerservice@stampington.com:
- The publication(s) you subscribe to
- Your name and new address
- Your old address
2. Call to inform us of your new mailing address:
- Toll-Free: 1-877-782-6737 or International: 1-949-380-7318
Mail Forwarded by the Post Office
If you forward mail to your new address through the Post Office, it won't apply to periodicals/your magazine subscription unfortunately. Also, since mail forwarding only lasts for a short time-frame, we request that you still notify us of your address change to prevent any service interruption to your subscription.
Stampington & Company cannot be held responsible for replacing "lost" issues from your subscription, if we did not receive your change of address request at least two months prior to your next issue's release date.
Subscription issues should arrive within the first week of the month your publication is released. Please add up to two weeks for international delivery.
If your magazine has not arrived by the 20th of the month, please contact our customer service department, so we can check to make sure nothing is amiss with your subscription, and see if you're eligible for a replacement copy. International subscribers can receive a digital version of the magazine as a replacement if one attempt has already been made to deliver the print edition to you.
Stampington & Company cannot be held responsible for postal delays or circumstances outside of our control, but we will make every effort to make it right.
We offer FREE shipping on all magazine subscriptions and instant download purchases to our customers. You can also take advantage of free U.S. shipping on select pre-orders of your favorite magazines (discounted International rates will apply). Browse our selection of Pre-Orders With Free U.S. Shipping here.
What are my shipping charges?
Shipping charges are calculated by weight, shipping destination, and speed. You will be able to choose the best delivery method for your needs at checkout.
To help keep your costs down, we offer a discounted rate of $5.95 to ship a single magazine to you (within the United States).
Need your order fast? We offer the following expedited shipping options:
- 3-day delivery
- 2-day delivery
*Please contact us if you have any questions or special instructions regarding your rush order.
What Carriers do You Use to Ship Items?


