A Paper Playground Project
Years ago, I would spend hours in my craft space just playing around. Seeing what happened if I mixed these two paint colors together, or if I stamped with this medium instead of ink. Music playing, my creativity flowing, I just played. As social media began to take up more of my time, I was able to see what other artists were creating, and how often. They would post finished pieces all the time, and as a result I became concerned with creating with a goal in mind. I needed to finish my projects, not just play around.
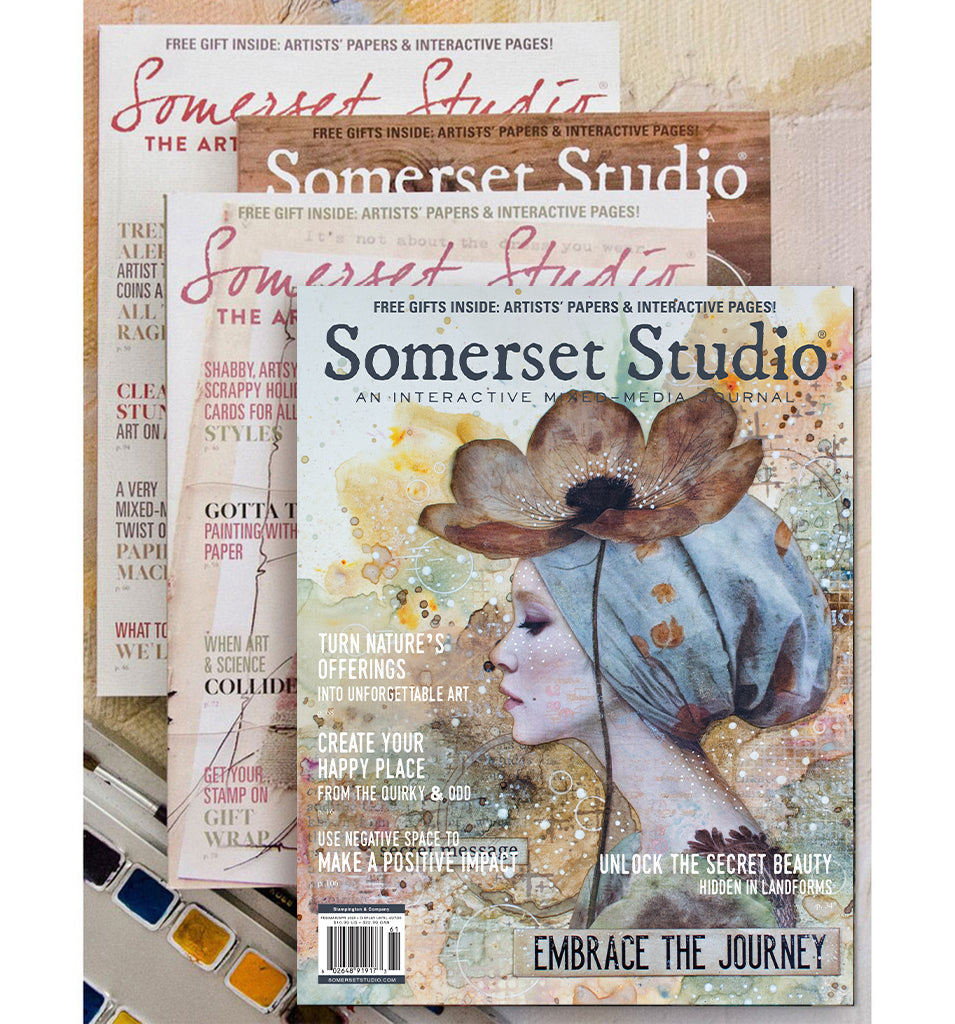
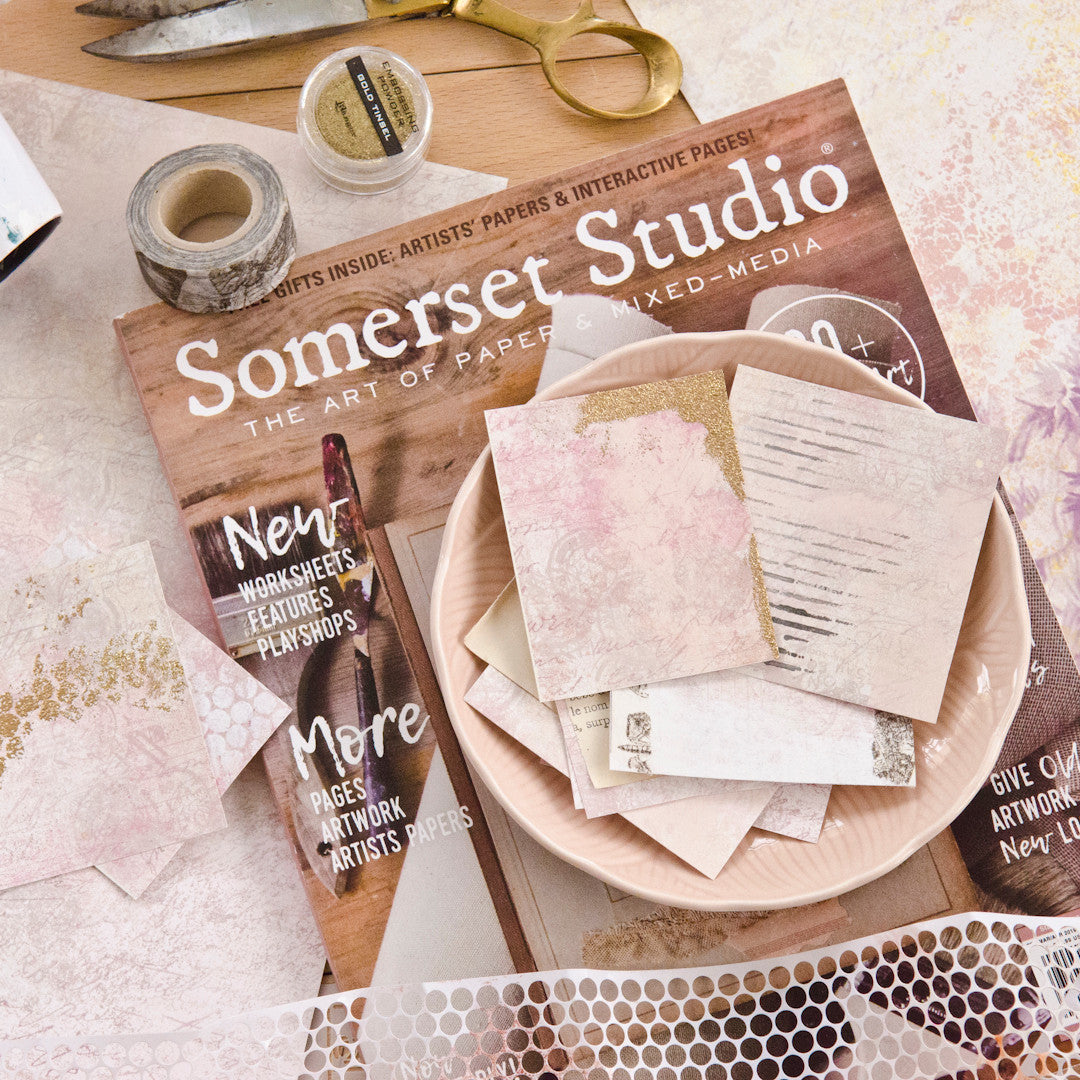
While working on the re-launch of Somerset Studio, I fell back in love with the process and the fun of creating with nothing in mind. Our goal with the new Somerset Studio was to continue to show the very best mixed-media art as well as add new activities that would encourage this kind of artistic play.
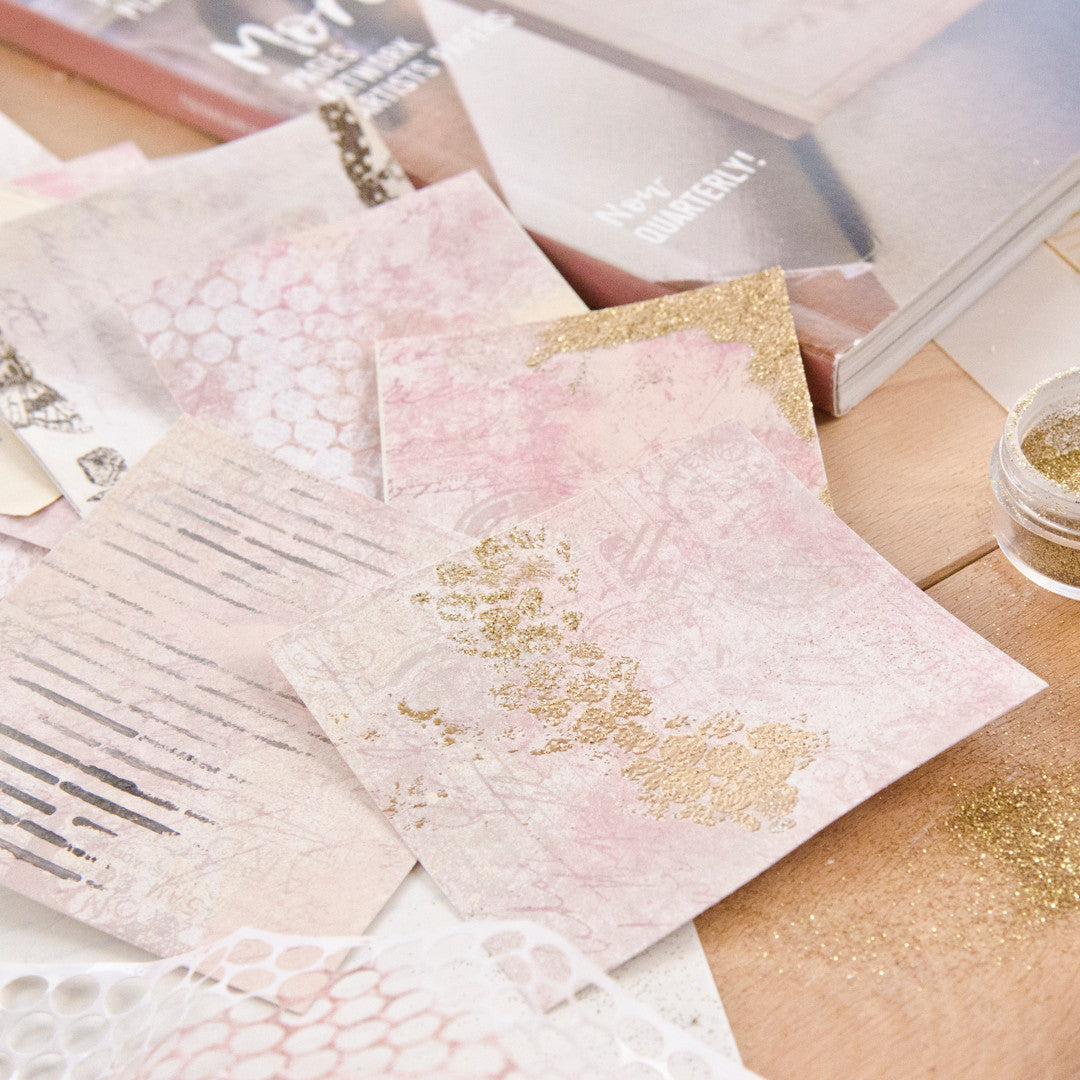
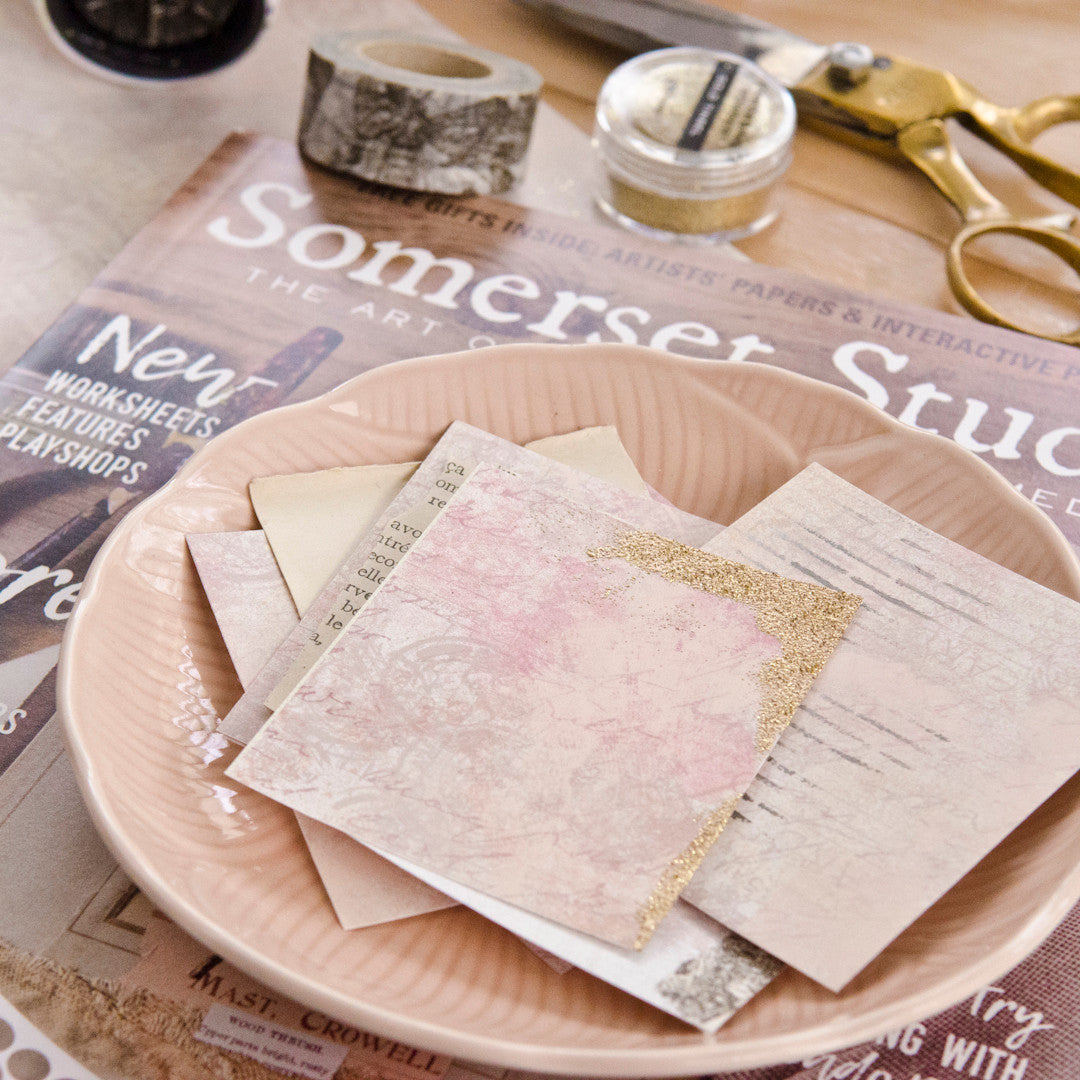
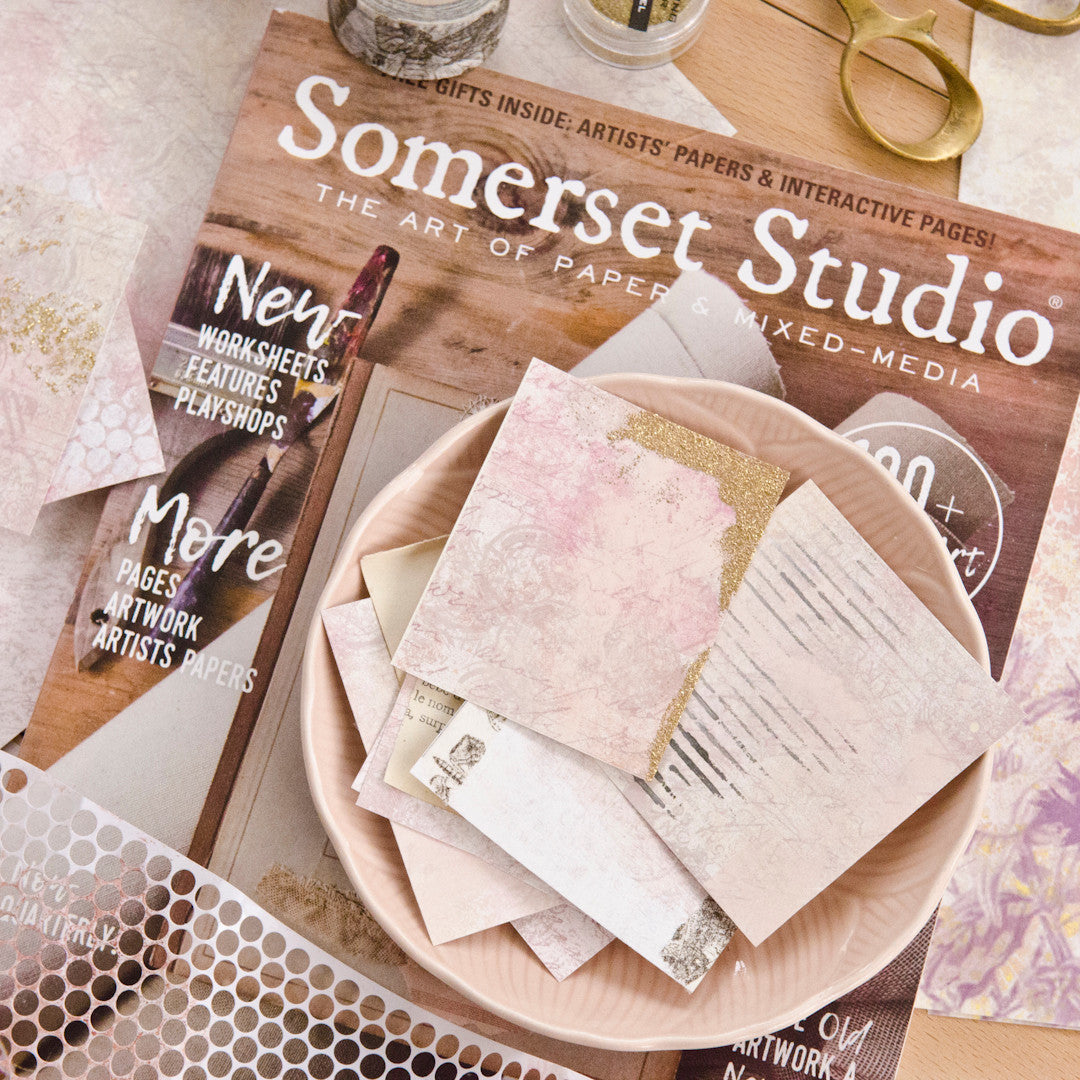
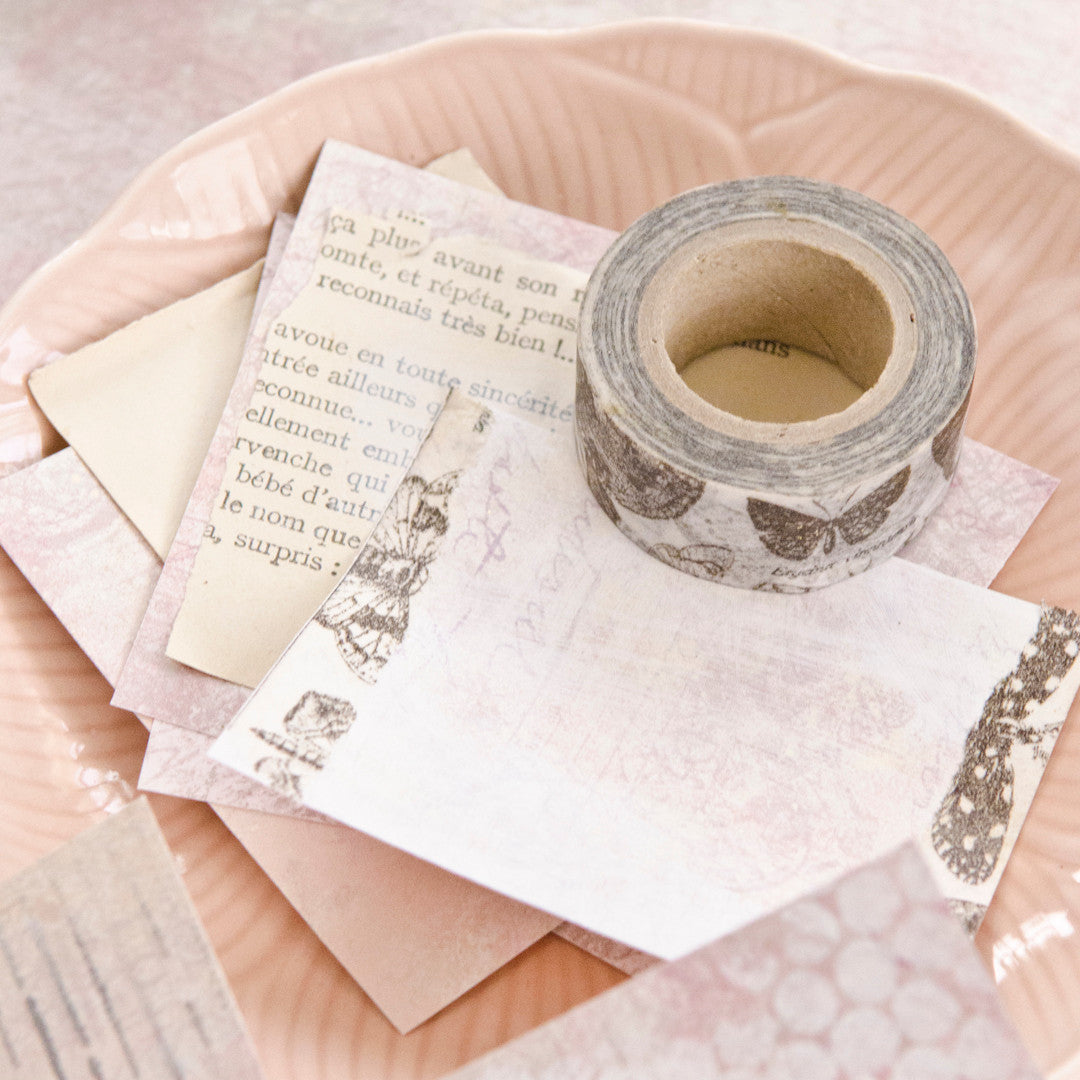
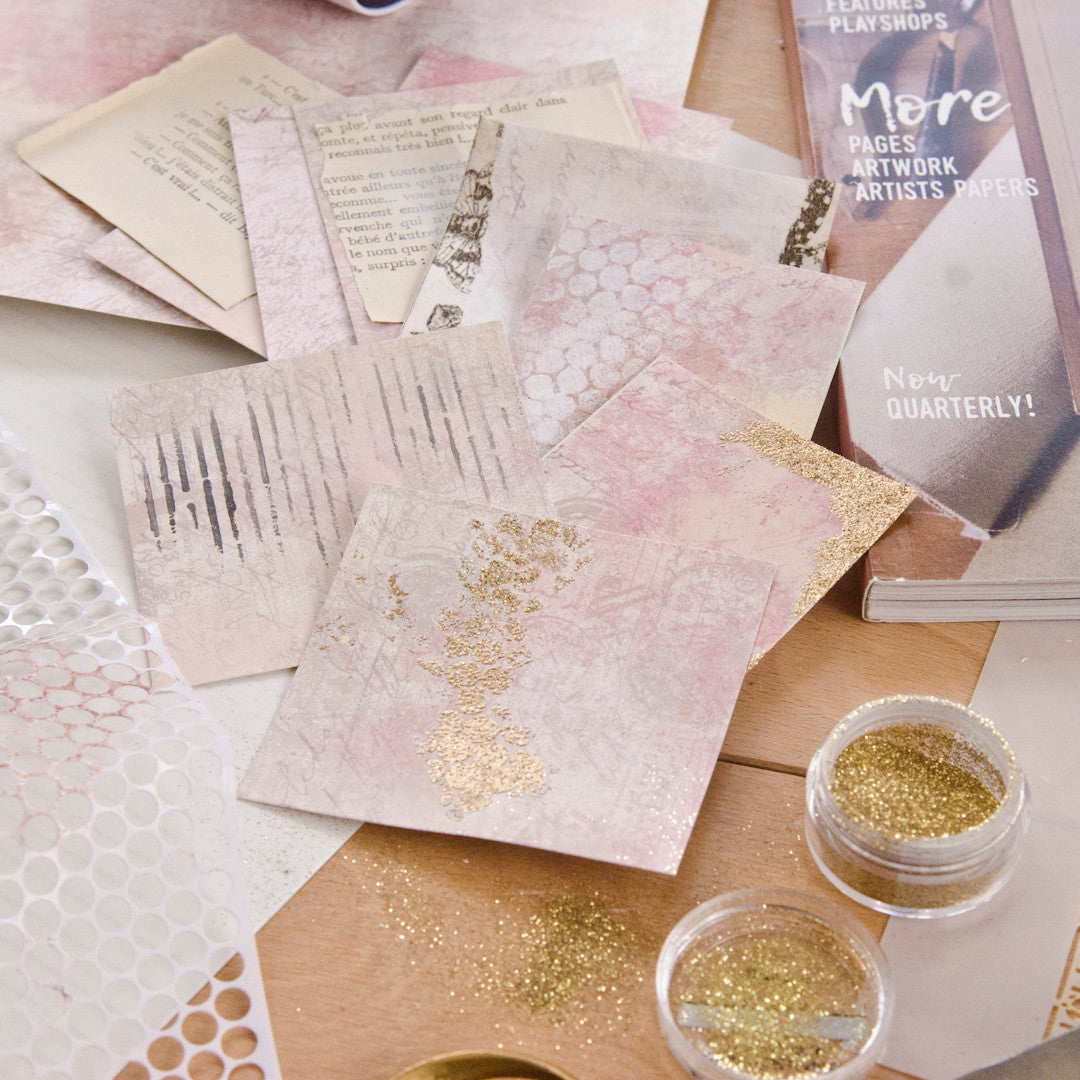
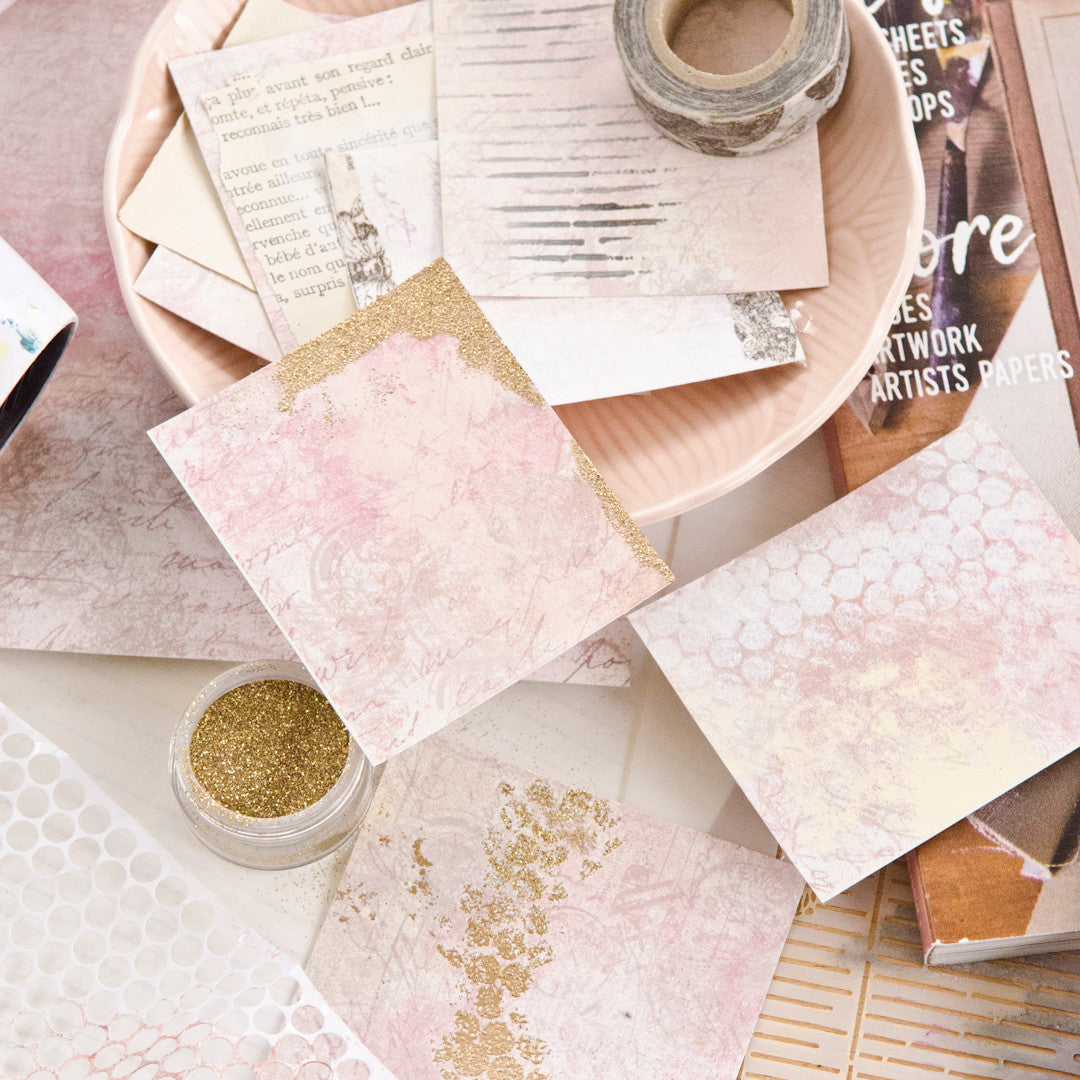
Each issue now includes 8 thick artists’ papers, which are now double-sided so if you don’t love the design on one side, you can use the backside. They’re also perforated, which makes it super easy to remove them from the magazine. When I got my copy, the first thing I did was remove the artists’ papers and cut them into small squares. I’ve recently become obsessed with playing on small sheets of paper. They seem more manageable than a full blank sheet of paper. I keep a box full of the paper squares, and when I get time, I pull some out as well as a few supplies and just play a game of “what if?”.
What if I just paint a wash of white paint over this design?
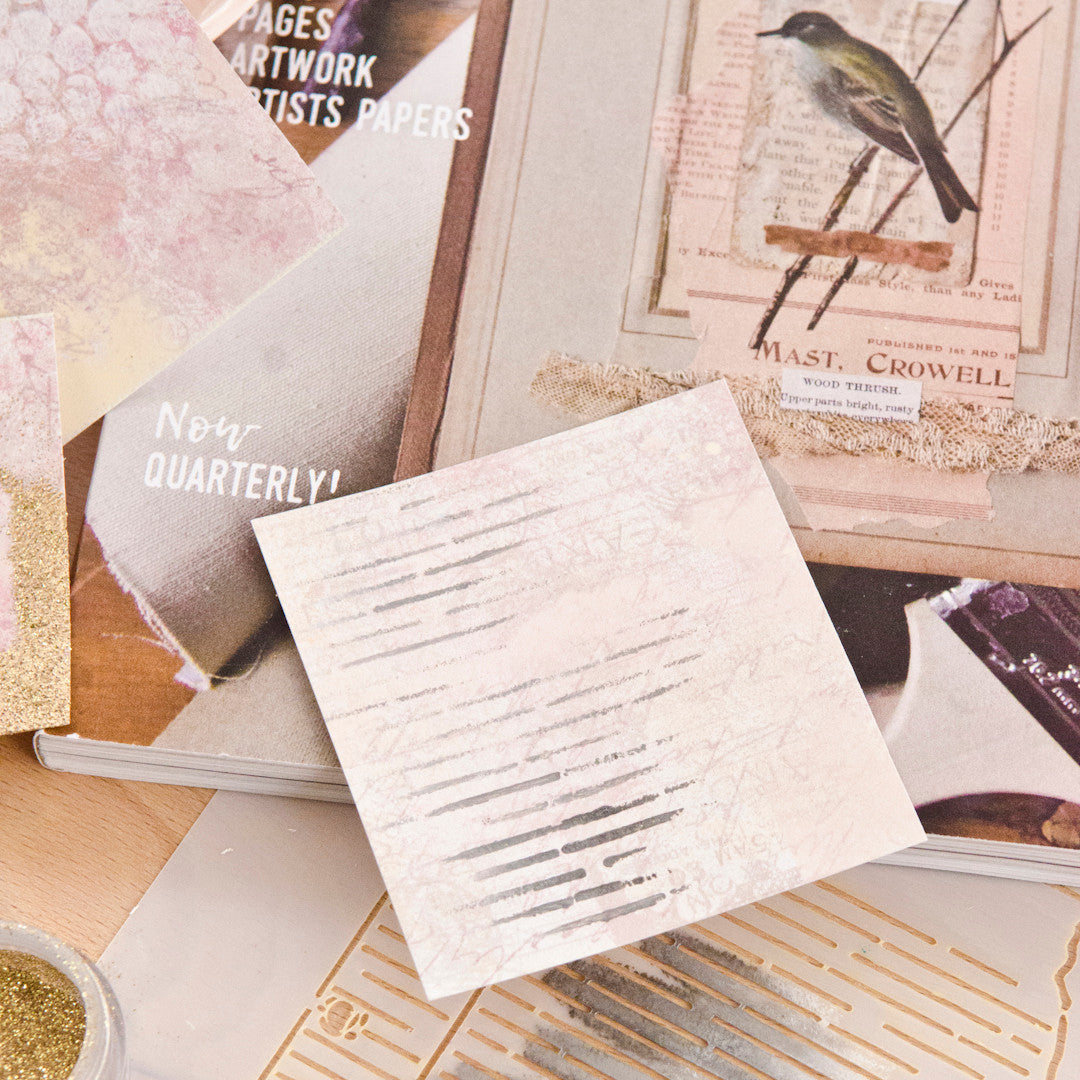
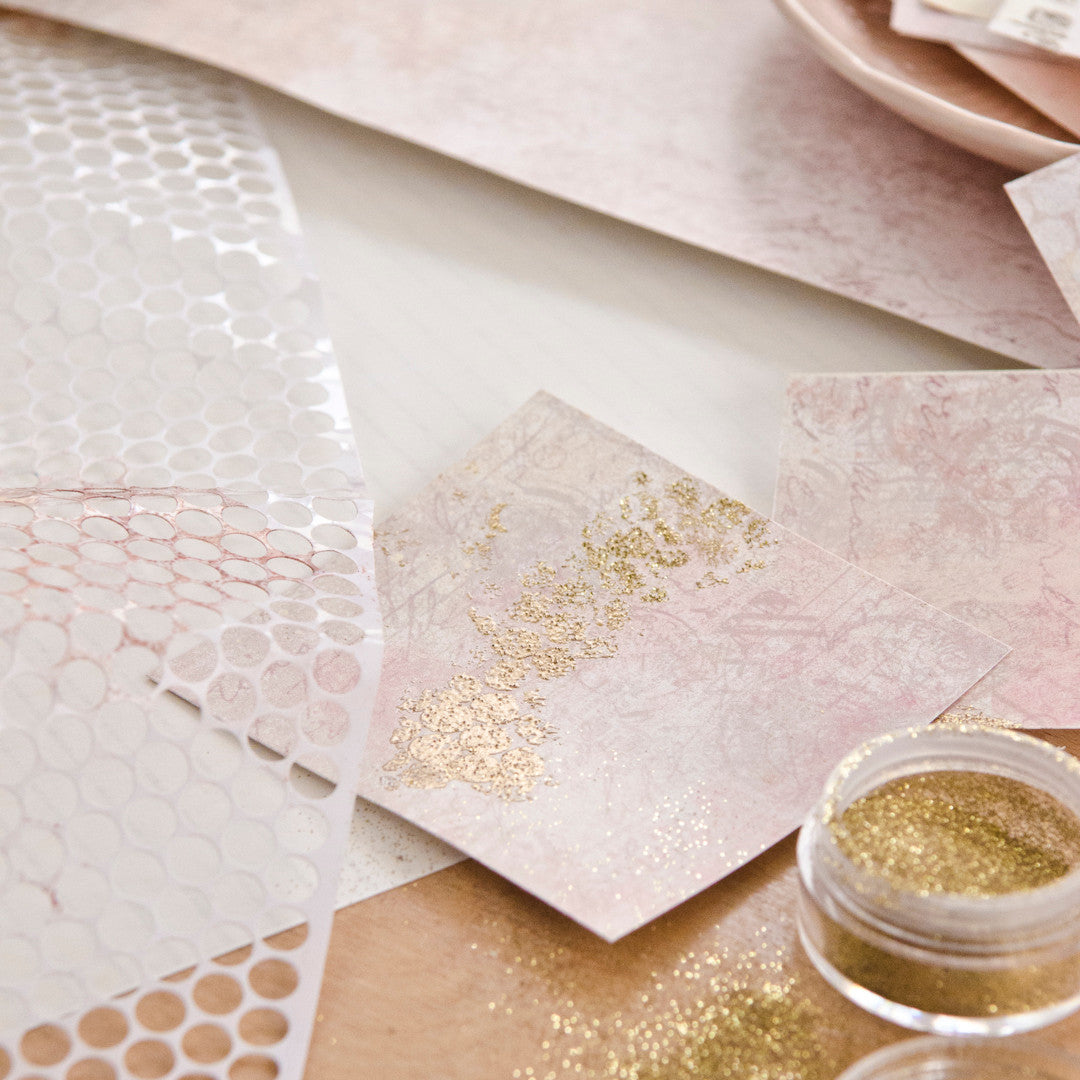
What if I add a little bit of stenciling to this?
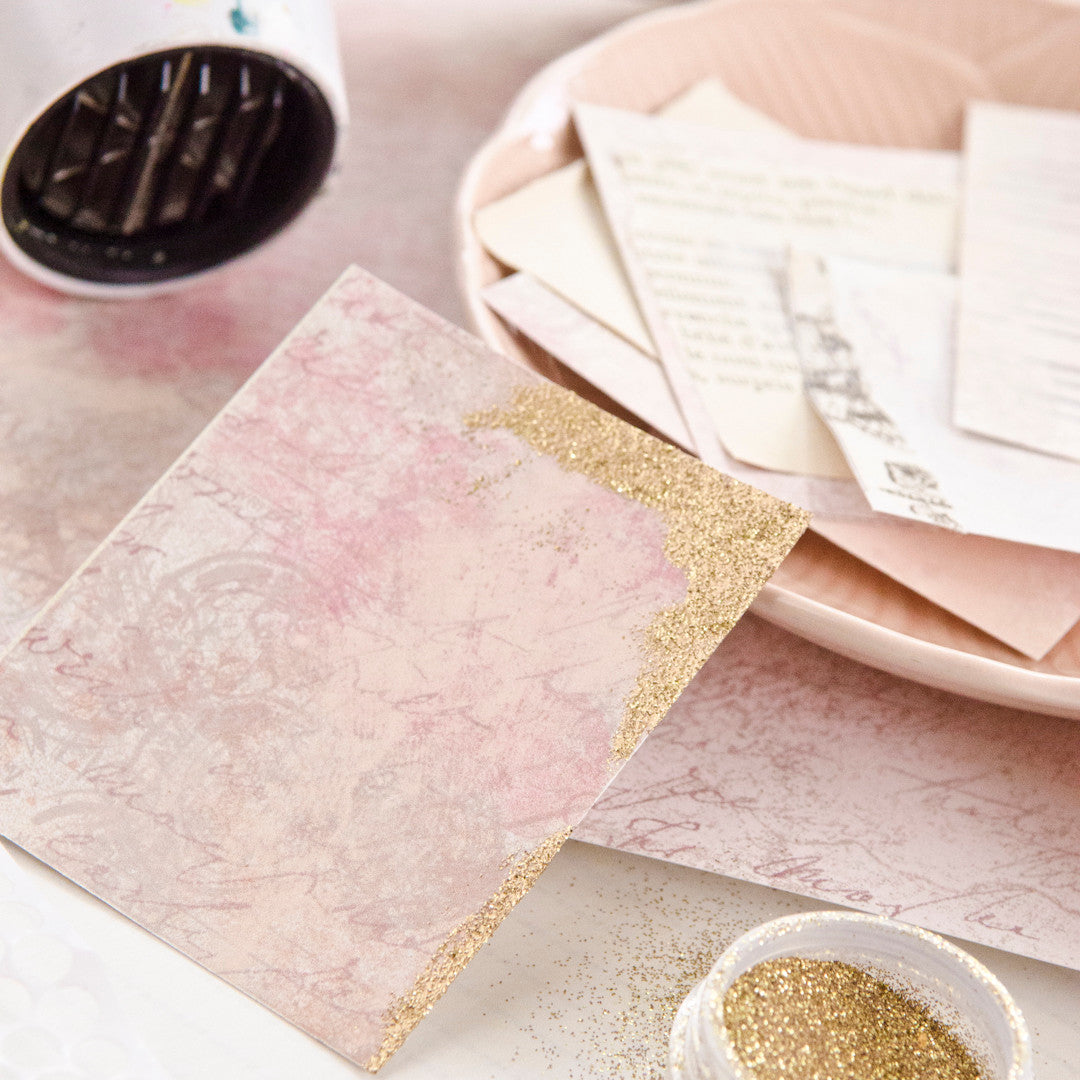
What if I add embossing with the help of a stencil?
By doing this, I’ve built up quite the stash of mini backgrounds, just waiting to be turned into something more. You could staple a few of them to create a mini book, punch a hole in one to create a gift card, or you could even add one to a note card to make a one-of-a-kind greeting. How do you use your artists’ papers? Post your ideas on Instagram and be sure to use the hashtag #somersetmade.
Free Shipping on Subscriptions
Easy 60 Day Returns
Friendly Customer
Support


A Paper Playground Project
Frequently asked questions
Looking for a quick answer? Here are some of our customer’s most frequently asked questions to help you along the way.
Thanks for your interest in our magazines! We encourage you to visit our Calls & Challenges page to see what our editors are looking for.
Ready to begin? Here is where you can find our Submission Guidelines.
Our subscriptions ship directly from our printer in Wisconsin. For this reason, we need to be notified of your change of address at least two months before the next issue comes out, or it will be sent to the address we had on file and provided to our printer at the time it was due.
How to Notify Us About Your Change of Address
- Email the following to customerservice@stampington.com:
- The publication(s) you subscribe to
- Your name and new address
- Your old address
2. Call to inform us of your new mailing address:
- Toll-Free: 1-877-782-6737 or International: 1-949-380-7318
Mail Forwarded by the Post Office
If you forward mail to your new address through the Post Office, it won't apply to periodicals/your magazine subscription unfortunately. Also, since mail forwarding only lasts for a short time-frame, we request that you still notify us of your address change to prevent any service interruption to your subscription.
Stampington & Company cannot be held responsible for replacing "lost" issues from your subscription, if we did not receive your change of address request at least two months prior to your next issue's release date.
Subscription issues should arrive within the first week of the month your publication is released. Please add up to two weeks for international delivery.
If your magazine has not arrived by the 20th of the month, please contact our customer service department, so we can check to make sure nothing is amiss with your subscription, and see if you're eligible for a replacement copy. International subscribers can receive a digital version of the magazine as a replacement if one attempt has already been made to deliver the print edition to you.
Stampington & Company cannot be held responsible for postal delays or circumstances outside of our control, but we will make every effort to make it right.
We offer FREE shipping on all magazine subscriptions and instant download purchases to our customers. You can also take advantage of free U.S. shipping on select pre-orders of your favorite magazines (discounted International rates will apply). Browse our selection of Pre-Orders With Free U.S. Shipping here.
What are my shipping charges?
Shipping charges are calculated by weight, shipping destination, and speed. You will be able to choose the best delivery method for your needs at checkout.
To help keep your costs down, we offer a discounted rate of $5.95 to ship a single magazine to you (within the United States).
Need your order fast? We offer the following expedited shipping options:
- 3-day delivery
- 2-day delivery
*Please contact us if you have any questions or special instructions regarding your rush order.
What Carriers do You Use to Ship Items?


