Whether you’re a professional or aspiring artist, having a dedicated space to express your artistic talents is vital. Your art studio is most likely where you'll spend a lot of time, yet designing and organizing it isn't always easy. Explore in this blog 8 essential tips to help you set up a functional and inspiring home art studio.
1. Choose the Right Space
The first step in designing your home art studio is selecting the perfect location. While space constraints may limit your options, consider these factors when choosing a spot:
- Natural Light: Ample natural light is crucial for accurate color rendering and reducing eye strain. If possible, choose a room with large windows or skylights. North-facing windows provide consistent, indirect light, making them ideal for artists.
- Isolation: Opt for a space isolated from the rest of your home to minimize distractions. This separation also protects your work from spills or accidents. If you live with others, consider soundproofing your home art studio to lower noise levels.
- Ventilation: When working with solvents, paints, or other materials with intense odors, proper ventilation is fundamental. An exhaust system along with windows can help maintain a healthy indoor environment.
- Access to Utilities: Ensure your home art studio has easy access to water for cleaning brushes and a power source for your tools and lighting.
How Much Space Do You Need?
The space you need for your home art studio depends on your artistic medium, project size, and personal preferences. Generally, aim for an area that accommodates your workspace, storage, and ventilation needs. That said, a small space is still perfectly okay if there's enough room for your projects and comfortable movement.
2. Plan Your Layout
Once you've chosen a location, it's time to plan the layout of your home art studio. Consider the following aspects:
- Workspace: Determine the size and placement of your work surfaces, tables, and easels. Ensure enough room to accommodate your preferred artistic medium, whether painting, drawing, mixed-media, or crafting.
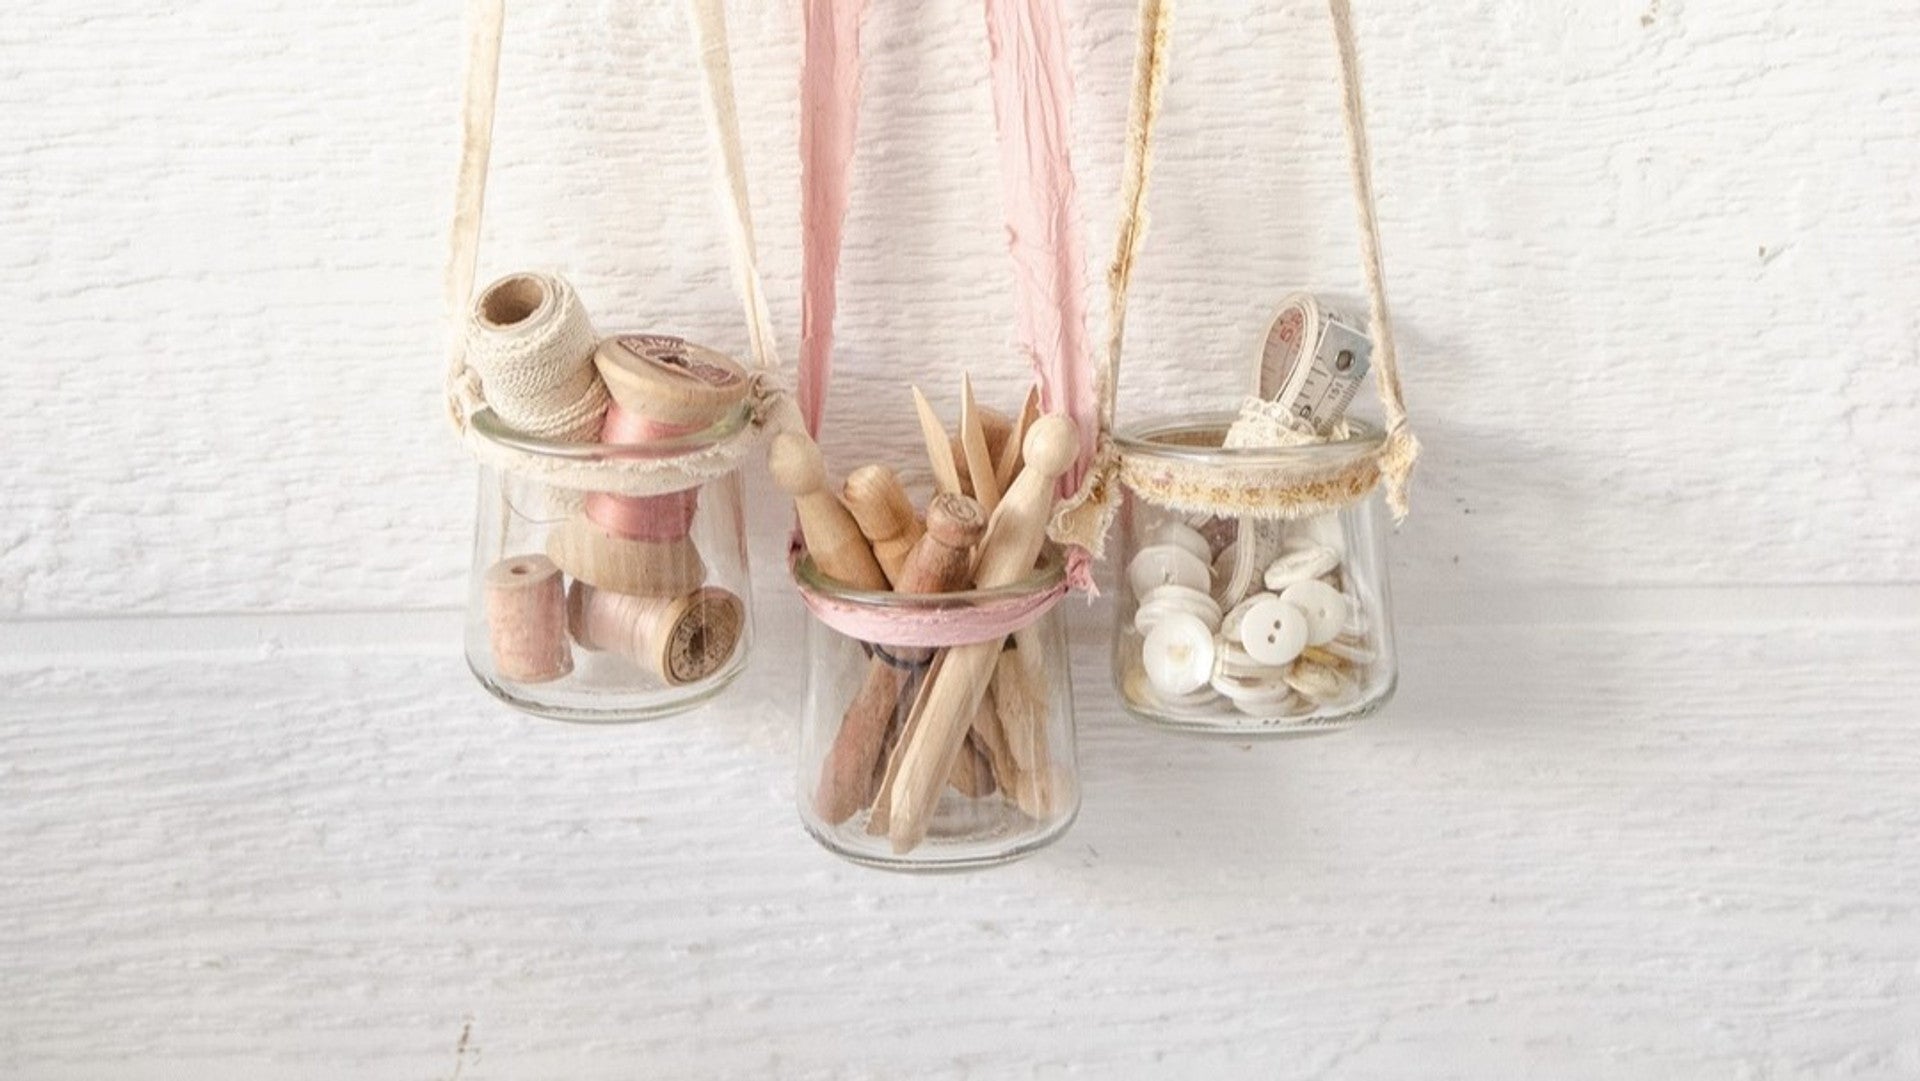
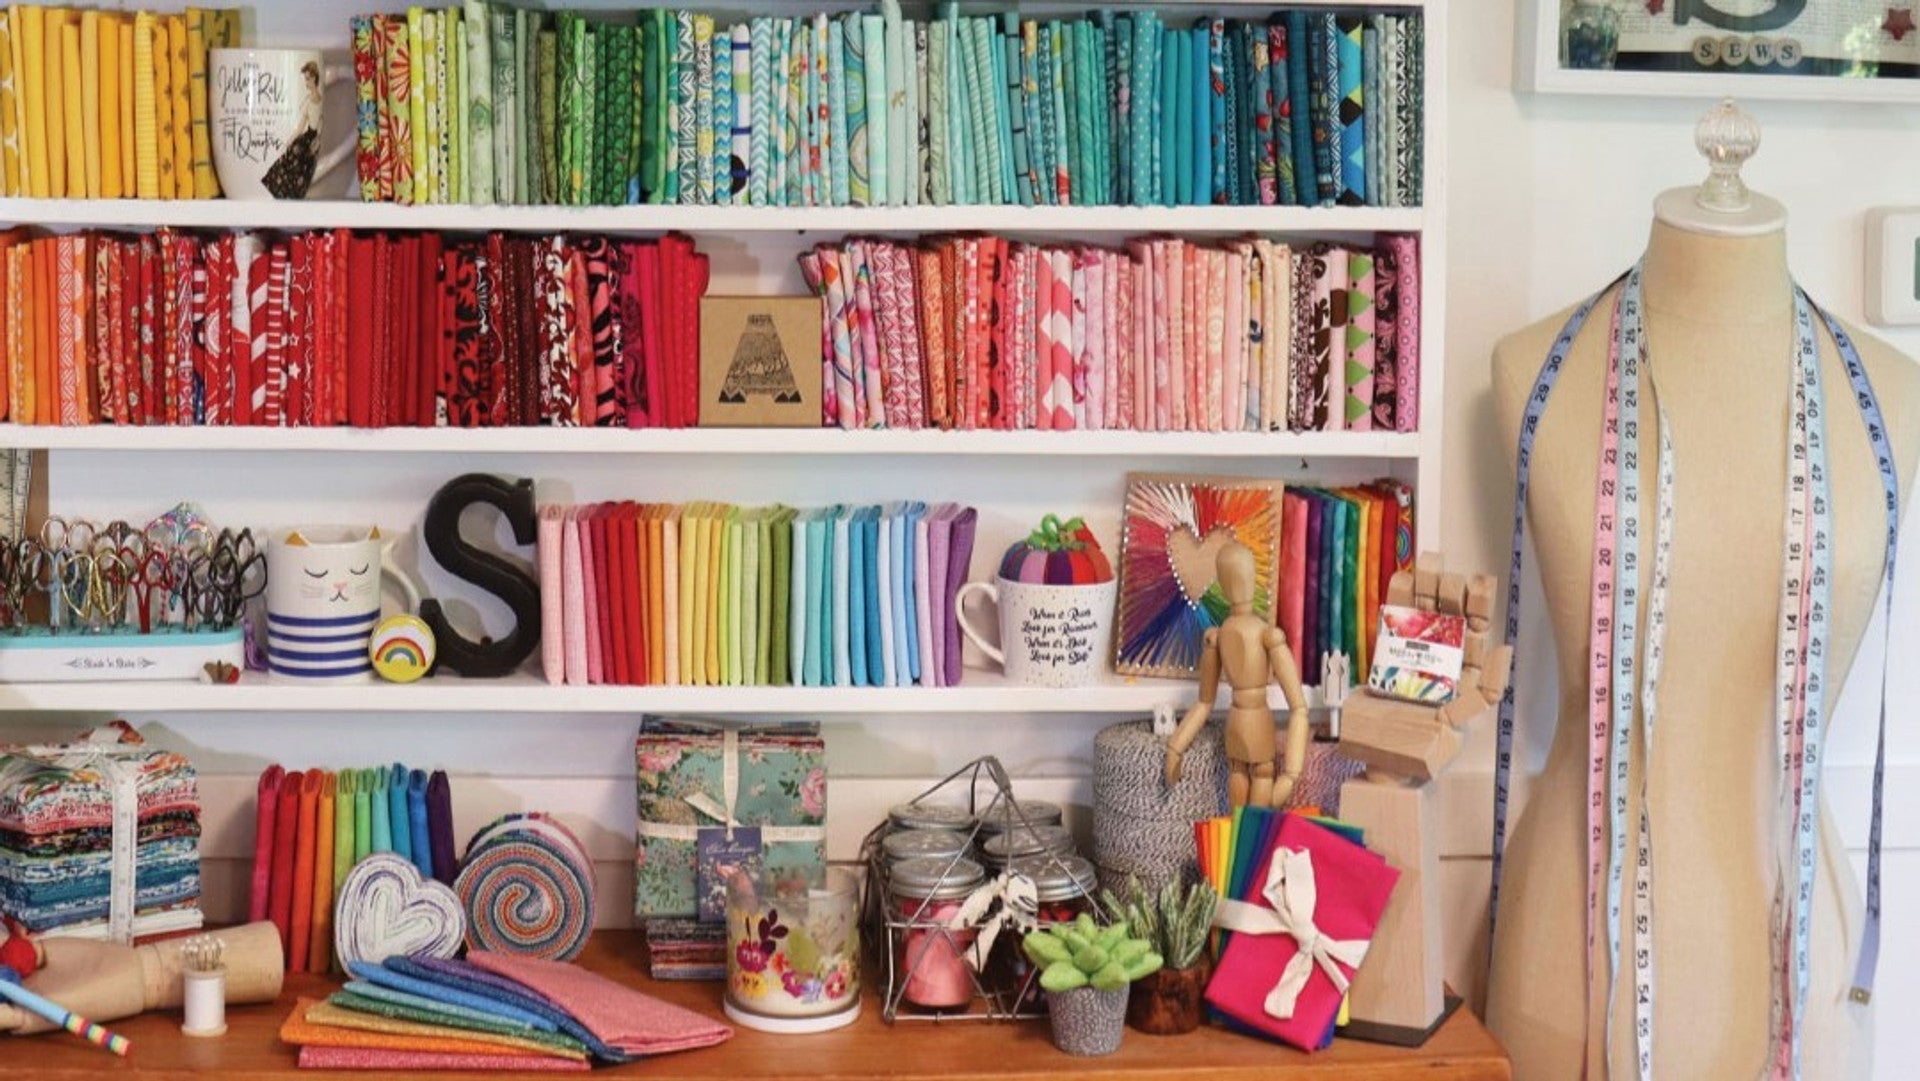
- Storage: Art supplies can quickly clutter your space if not properly organized. Invest in shelves, drawers, cabinets, and storage containers to keep your materials tidy and easily accessible. Use clear containers or transparent jars for small items like brushes, pens, and beads. Labeling or color-coding your storage can help you quickly locate needed items while working on your projects. Not only does adequate storage keep your studio clutter-free, but it also prolongs the lifespan of your art supplies.
- Inspiration Corner: Create a dedicated area in your home art studio for inspiration. Hang art pieces, mood boards, or photographs that motivate and inspire you. This space can become a visual break when you need a creative boost.
- Flexibility: Design your home art studio with flexibility in mind. Consider movable furniture and modular storage solutions adaptable to your changing needs.
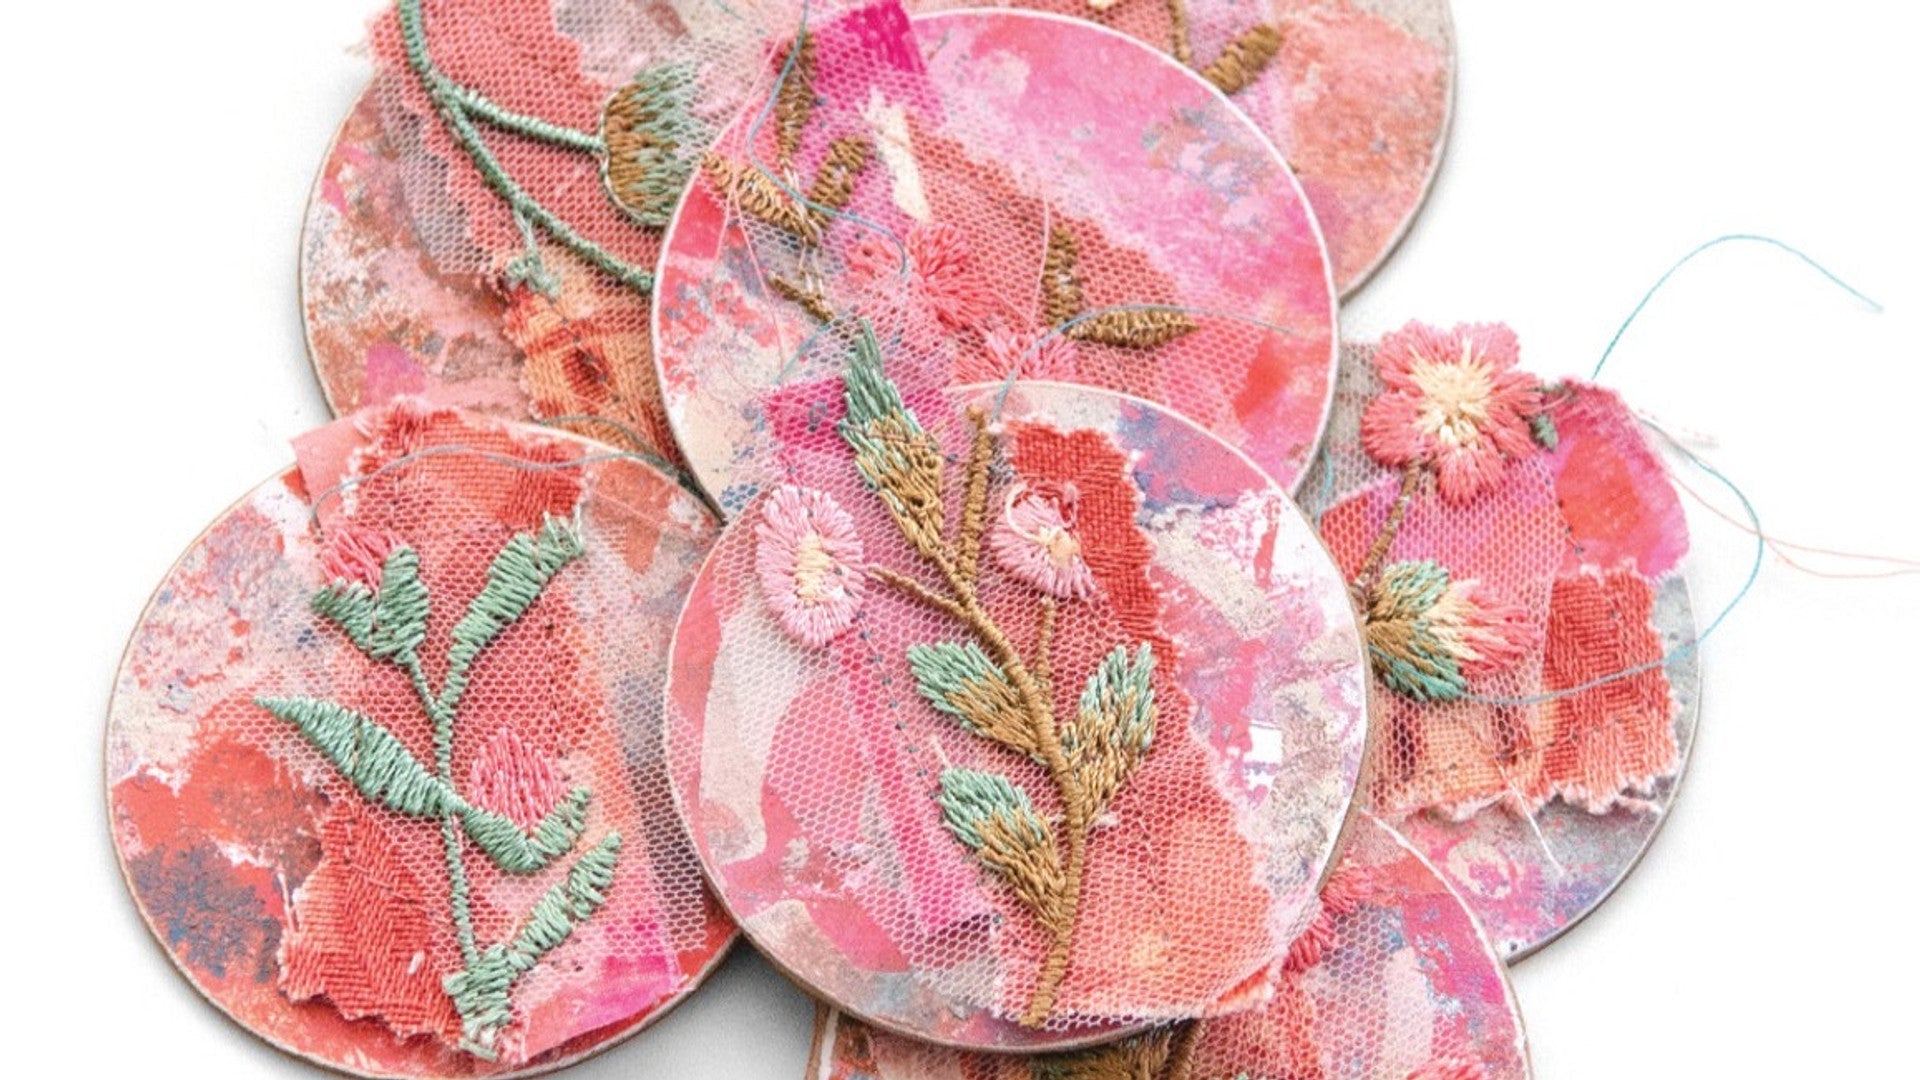
ROCIO CHACON AND YESHEN VENEMA⎟ IN HER STUDIO AUTUMN 2022
3. Prioritize Comfort and Ergonomics
Spending long hours in your home art studio can take a toll on your comfort and posture. Pay attention to ergonomics so that you can work comfortably for extended periods:
- Seating: Invest in an ergonomic chair or stool with proper support for your back. Pick one that allows you to work at the right height.
- Lighting: Proper lighting is crucial for art-making. Combine natural light with adjustable task lighting to minimize shadows and reduce eye strain. Consider using daylight-balanced bulbs to mimic natural sunlight.
- Flooring: Choose a comfortable, easy-to-clean flooring material that suits your artistic medium. Hardwood or laminate flooring works well for many artists. Meanwhile, those working with ceramics or messy materials may prefer concrete or tile.
- Climate Control: Maintain a comfortable temperature and humidity level in your studio for comfort. Not to mention ensuring your materials stay in good condition.
Is Lighting Important?
Lighting is one of the critical factors. The existing lighting in a room is sometimes not enough. Natural daylight isn't enough either because it isn't consistent throughout the day. So it's beneficial to have bright and even light.
You can install a standing tripod light or a hanging light overhead for a good lighting environment. For a smaller space, separate your light sources and consider using LED lights at least CRI 90+. On the other hand, fluorescent tubes might work better for a larger home art studio.
Remember to position your lighting strategically to eliminate shadows and glare. Also, don't forget to install blackout curtains or blinds to control the intensity of natural light.
4. Invest in Quality
Quality materials, tools, and furniture can be a game-changer for your art-making process and the final results. While it's necessary to stay within your budget, high quality can make a difference:
- Brushes and Tools: Choose brushes, pens, and tools appropriate for your chosen medium. Good tools can provide better control and precision in your work.
- Paints and Pigments: Invest in artist-grade paints, pigments, and other materials that offer superior color vibrancy and longevity.
- Paper and Canvas: Select acid-free paper or canvas to ensure your artwork lasts without yellowing or deteriorating over time.
- Furniture: Don't skimp on the quality of your work surfaces or easel. Invest in a sturdy table or workbench that suits your creative needs. Consider adjustable tables that you can raise while standing or lower for sitting. A comfortable chair with proper back support is instrumental, especially if you plan to spend long hours working on your art.
IN HER STUDIO SPRING 2022
5. Create an Organized Storage System
An organized storage system helps keep your art supplies accessible and in good condition. Here's how to set up an efficient storage system:
- Categorize Supplies: Sort your art supplies by type and size. Store similar items together to make it easy to find what you need.
- Labels and Containers: Use clear containers and labels to keep your materials organized and visible. Doing so also helps prevent mix-ups and wasted time searching for specific items.
- Vertical Storage: Utilize wall-mounted shelves, pegboards, or cabinets with vertical storage to maximize space and keep your studio clutter-free.
- Rolling Carts: Get rolling storage carts with multiple drawers or shelves to keep frequently used materials within arm's reach.
5 Simple and Creative Storage Solutions
As a bonus, here are 5 DIY storage solutions – quick and easy projects – from the pages of In Her Studio Spring 2022:
Clever Crate Storage
Everywhere you turn at flea markets, there are vintage crates to be found. Next time you find one, turn it on its side and use it as clever storage. You can easily personalize it with a coat or two of paint. The nooks and crannies are perfect for storing smaller bits and pieces. You can get even more organized by labeling the spaces with their contents.
IN HER STUDIO SPRING 2022
Elevated Vintage Finds
As makers and artists, we want beautiful yet functional creative spaces. One excellent solution is to look for attractive, albeit simple, containers for all our supplies. You can find these at vintage and antique stores. Use tags or paint to label them for better organization or to add a touch of style to these containers.
Portable Crafty Caddy
Using just a few coats of paint and a rub-on, you can make a fabulous craft caddy from a simple wooden utensil holder. Keep all of your supplies for one project in this caddy. Or easily transport your supplies with it.
On a (Piano) Roll
Did you know the boxes that antique piano rolls come in are just the right size to fit a selection of decorative tape? Place your favorites inside one of these and display it atop your work table for an inspiring source of color and pattern.
Uniquely Ruffled Storage
For an extra-feminine way to organize your home art studio, adorn an empty tin can with ruffled fabric for storage that is chic and unique. Pleat long textile strips, machine-stitch the folds in place, and adhere the ruffles around a can. Make it eco-friendly, thrifty, and personal by using old or damaged clothing as your fabric choice.
If you seek more creative ideas and helpful advice like these, check out our In Her Studio magazine. In Her Studio takes readers on a tour through the creative spaces and lives of female artists, designers, and makers. Within these pages, you'll discover studios in every style and size, alongside insights from a wide range of artists – click here to learn more.
AMY SIMMONDS⎟ IN HER STUDIO WINTER 2023
6. Customize Your Workstations
Personalizing your workstations is essential to create a home art studio that suits your unique artistic style. Here are some ideas for customization:
- Color Scheme: Choose a color palette that resonates with your artistic sensibilities. Bold colors stimulate creativity, while soft, neutral tones create a calming atmosphere.
- Inspiration Board: Hang a corkboard or bulletin board to pin up reference images, quotes, or sketches that inspire you.
- Personal Touches: Add personal touches like photographs or artwork to infuse your personality and creativity into your studio.
- Plants and Nature: Add plants and natural elements to your home art studio to create a calming atmosphere. Greenery can also improve air quality.
- Art Magazines and References: Keep a collection of art books, magazines, and reference materials on hand for inspiration and research. Don't miss out on our Somerset Studio magazine if you love mixed-media art and are looking for inspiration. Somerset Studio features 176 pages filled with art pieces, mixed-media tips, techniques, on-trend projects, and artistic prompts.
7. Think About Workflow
Efficiency in your home art studio leads to productivity and creativity. Plan your art studio organization with the workflow in mind. Consider how you move between different stages of your creative process and arrange your tools and supplies accordingly.
For example, if you're a painter, keep your paints, brushes, and palettes close to your easel. If you're a photographer, have your camera equipment, backdrops, and props easily accessible. This careful planning can save you valuable time and energy during your creative sessions.
8. Maintain a Clean Space
A clean and organized home art studio is a productive studio. Develop a routine for cleaning and maintaining your space:
- Regular Cleaning: Dedicate time to cleaning your home art studio each week.
- Declutter: Periodically, go through your art supplies and discard items you no longer need or use. Donate or recycle materials when possible.
- Tool Maintenance: Clean and maintain your art tools and equipment to ensure they stay in good working condition.
Want more inspiration for your home art studio? Click here.
Read more

Found object art began to take shape in 1912 when Picasso made his cubist constructions from various scavenged materials, adding such things as matchboxes and newspapers. Dada and surrealist artists then made extensive use of f...

Creative people can easily come up with new upcycling ideas using everyday items, and this extends to items that are on their way to the trash bin. We all go through a mountain of glass jars in the kitchen every year, so instea...


Leave a comment
All comments are moderated before being published.
This site is protected by hCaptcha and the hCaptcha Privacy Policy and Terms of Service apply.