


Spring Garden Projects That Refresh the Landscape
Spring rarely arrives all at once. It begins quietly, with the soil loosening underfoot and the first shoots pushing through beds that only weeks ago looked dormant. This early stretch of the season holds a particular kind of promise. Not everything has filled in yet, making it the perfect opportunity to refresh the landscape with projects that set the tone for the growing season ahead.
Restoring the Garden’s Edges
Winter weather has a way of softening boundaries. Lawn creeps into beds, mulch shifts, and pathways blur into surrounding soil. Reestablishing those edges is often the first step toward refreshing the landscape.
Using a sharp edging tool, cut a clean line between the lawn and planting beds. The crisp boundary will immediately give the garden a more intentional appearance, even before new growth begins to fill in. After redefining the border, remove any encroaching grass and loosen the top layer of soil within the bed.
A fresh layer of mulch completes the work. Spread evenly across the soil surface, mulch retains moisture, moderates temperature, and suppresses early weeds.

JESS BUTTERMORE⎟ IN HER GARDEN SUMMER 2023
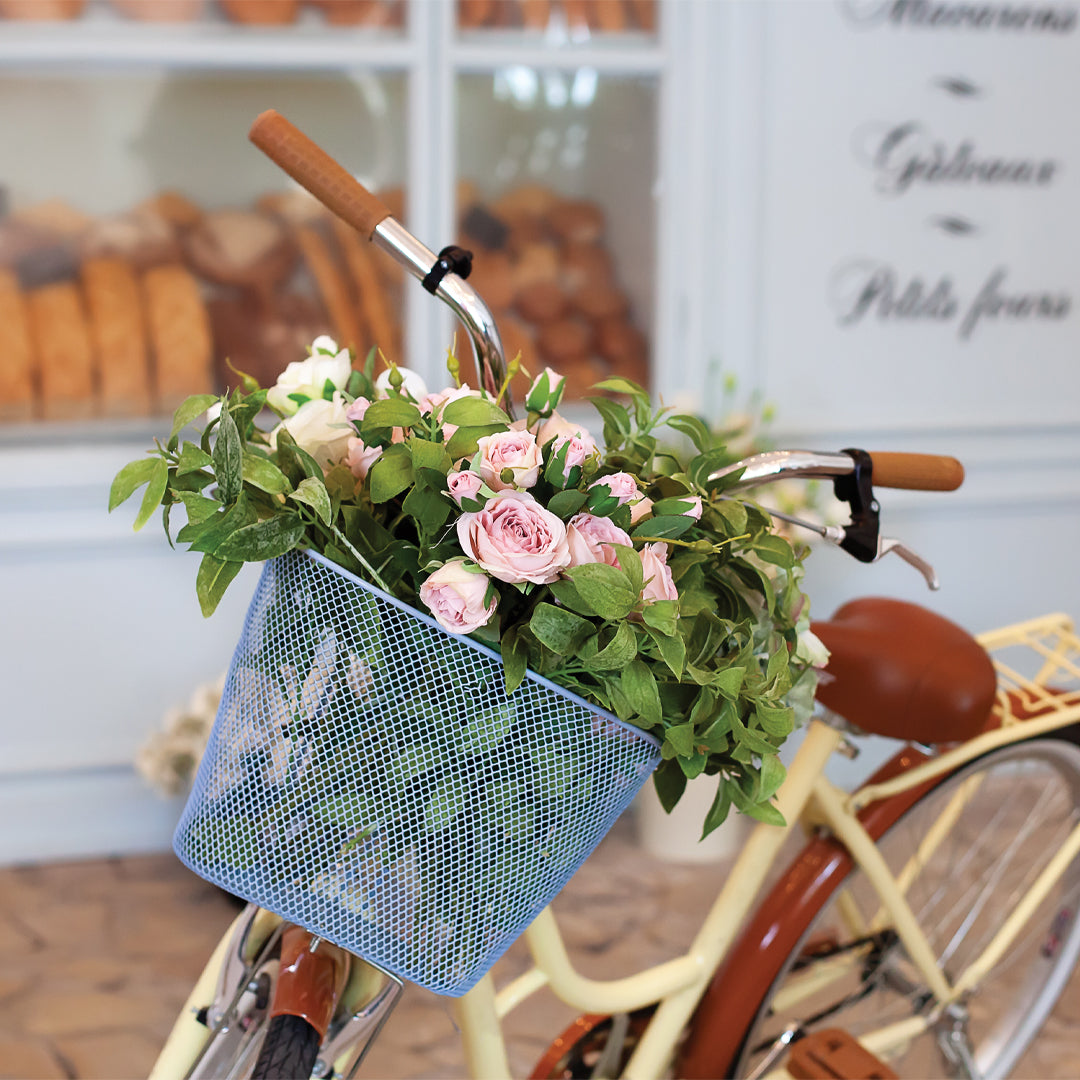
Adding Containers
Placed near entryways, along paths, or beside seating areas, containers bring color and structure to spaces that might otherwise feel sparse in early spring. Choose plants that thrive in cooler conditions. Pansies, violas, and primroses bring steady color, while small evergreen herbs such as thyme or rosemary add fragrance and texture.
“In addition to our garden beds, we incorporated several containers in various sizes and textures throughout the space. Several terra-cotta pots, which I find to be timeless, provide a striking contrast to the green foliage and the black beds. Galvanized buckets, metal stock tanks, and other vintage metal containers add character and balance.” — Jess Buttermore from In Her Garden Summer 2023

IN HER GARDEN SUMMER 2025
Containers Galore
Any trip to a thrift store will illustrate just how many containers we discard or replace in our lives. While many are kitchen or serving related — like colanders, teapots, cookie jars, and more — others require a bit of “outside the box” thinking, like a rattan magazine rack!
It might sound crazy, but even fabric or leather objects can play a role in the story of your garden. Shoes, purses, vintage luggage, and more can be transformed into charming planters or included in a whimsical vignette. Even if you enjoy a distressed appearance, it’s still a good idea to line these items with plastic sheeting before planting in them, as they will be very susceptible to moisture. And don’t forget to drill or cut drainage holes as needed.
See more ways to repurpose “junk” in your garden in In Her Garden Summer 2025.

NIKI MEINERS⎟ IN HER GARDEN SPRING 2023
A Garden DIY: Geometric Concrete Planters
Geometric designs can be used in your garden decor to create a glamorous effect and are a great way to introduce color, pattern, and form. These little pots make a big impact.
For the molds, you can use any disposable containers you have on hand. You will need a larger container for the body of the planter, and a smaller container to set inside to create the cavity for soil and a plant. For a smooth finish on the planter, wrap any cardboard containers in plastic wrap.
To achieve a lightweight and durable planter, I prepare the mortar mixture (QUIKRETE) following the manufacturer’s instructions, but also add a handful of plaster of Paris and a little extra water. Stir in the water a little bit at a time until you have achieved the consistency of thick pancake batter.
Pour the mortar mixture into the chosen mold, but not all the way to the top. Insert the smaller container/form into the center, gently pressing it down to the desired depth. Pour more mortar mixture into the outside mold to fill any remaining empty space. Let the mixture set in the mold until solid but not completely dry. Remove the containers/forms, and scrape off any rough edges. Allow the planter to set and cure for 24–48 hours, depending on the weather and humidity.
Once the planter is dry, use sandpaper to give the piece a smooth finish, and wipe off any dust. Apply painter’s or masking tape to the planter to create a geometric pattern. Apply paint to the planter and allow it to dry before adding a second coat. Repeat as many times as needed to achieve a solid covering. Remove the tape. A coat of wax finish can be applied to seal the paint and concrete. — Niki Meiners from In Her Garden Spring 2023
Dividing and Replanting Perennials
As perennial plants reappear, clumps that have grown dense over the years often benefit from division. Carefully lifting and separating the clump allows each section more room to grow. This process gradually reshapes the garden without requiring entirely new plantings.
Introducing Small Garden Details
Sometimes the smallest additions bring the greatest sense of renewal. A new birdbath tucked into a quiet corner, a rustic bench beneath a flowering tree, or a cluster of garden markers along an herb border can subtly shift the atmosphere of a garden.

“NANCYFANGLES” BROWN⎟ IN HER GARDEN SPRING 2024
A Garden DIY: Corky Birdhouse Plant Stakes
To make, straighten a wire coat hanger, and cut it into several pieces to use as the birdhouse posts. Using the larger of the drill bits, drill a hole (not too deep) a little higher than halfway down the cork to form the birdhouse door. Use a black permanent marker to enhance the hole by coloring inside it and evening-off any jagged edges to form a circle shape. Drill a small hole underneath the door just deep enough to stick the twig piece into to form the perch. Using the smaller bit, drill a hole into the bottom of the cork to slide the wire post into.
Add a spot of glue onto the top of the post, and use a hammer to secure the cork onto the post. Put a spot of glue on one end of the perch, and push the perch into the hole until it is secure. Glue an acorn cap onto the top of the cork to form a roof. If desired, glue a smaller cap onto a larger cap for a more whimsical roof.
Glue a ring of moss around the bottom of the acorn cap where it meets with the top of the cork to add some visual interest and a natural touch. Roll moss into a small ball using the palms of your hands, slide it up the post, and glue it to the bottom of the cork. Poke the stake into a plant, and enjoy! — “Nancyfangles” Brown from In Her Garden Spring 2024
Discover more spring garden projects in In Her Garden Spring 2026.
You Might Also Like...


Read more

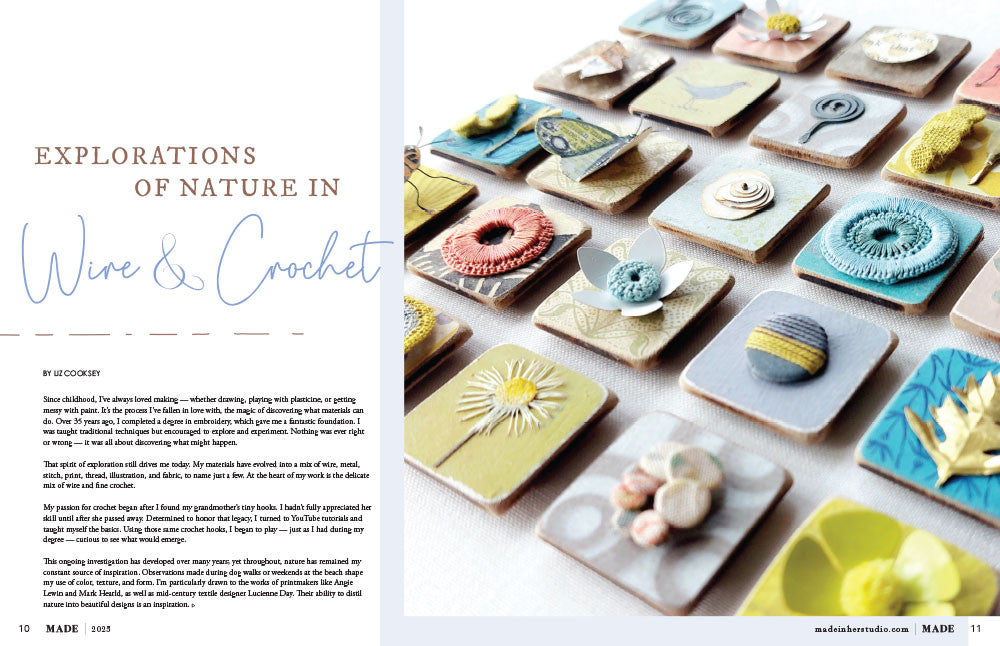
We’ve compiled a collection of handcrafted mixed-media jewelry designs that illustrate what’s possible when you push creative boundaries. Discover them here.
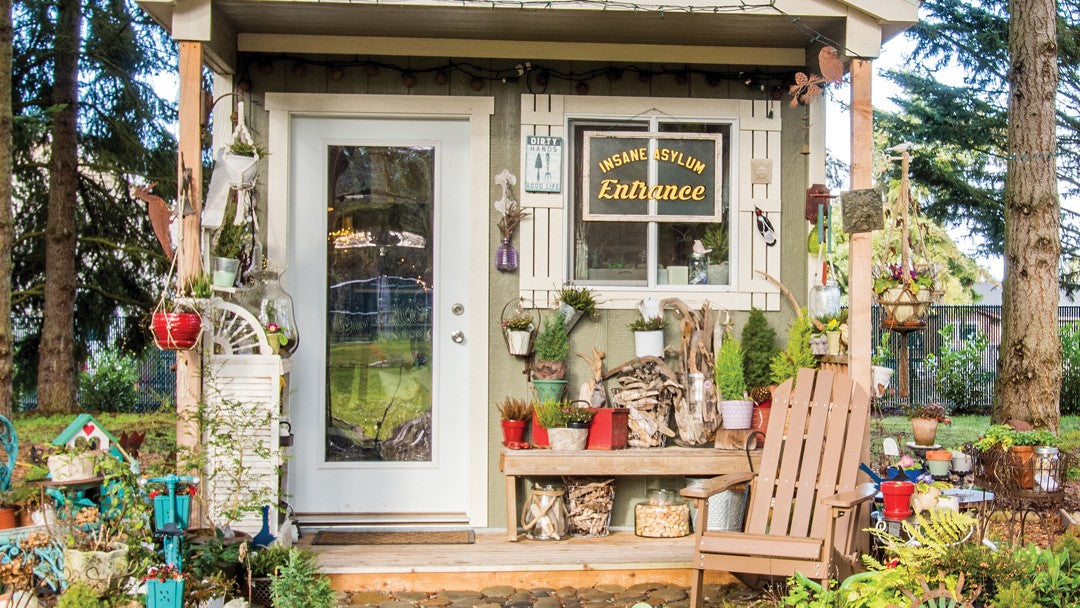
Here is a collection of creative shed studios that would make a lovely addition to any property or to a vision board of artistic goals.

Leave a comment
All comments are moderated before being published.
This site is protected by hCaptcha and the hCaptcha Privacy Policy and Terms of Service apply.