Where the Heart Is Canvas
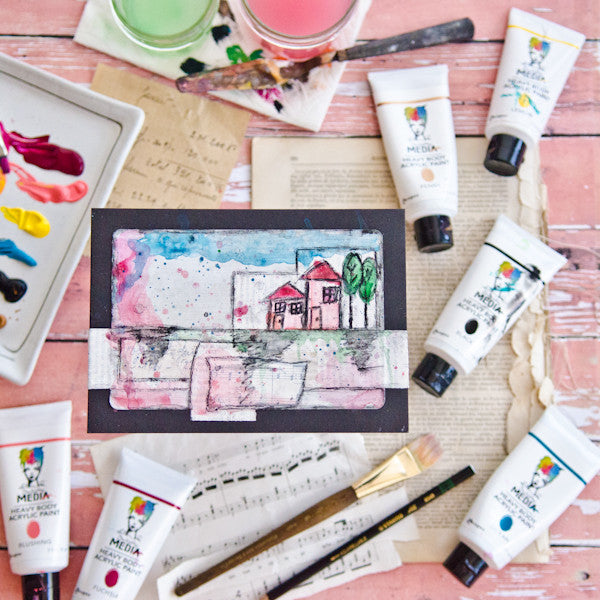
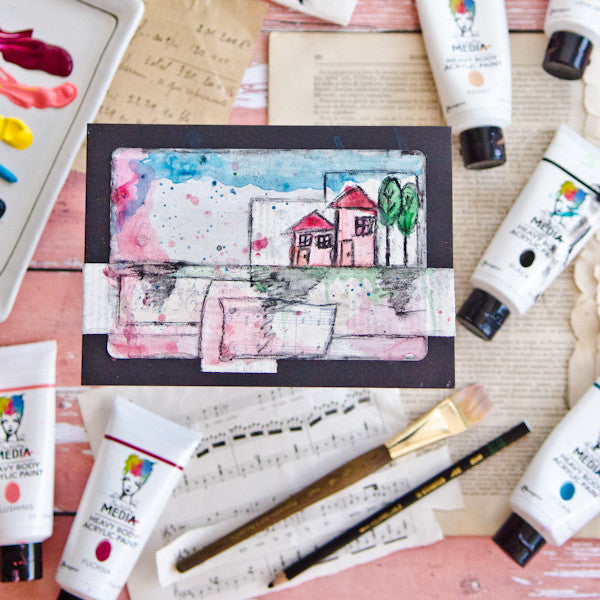
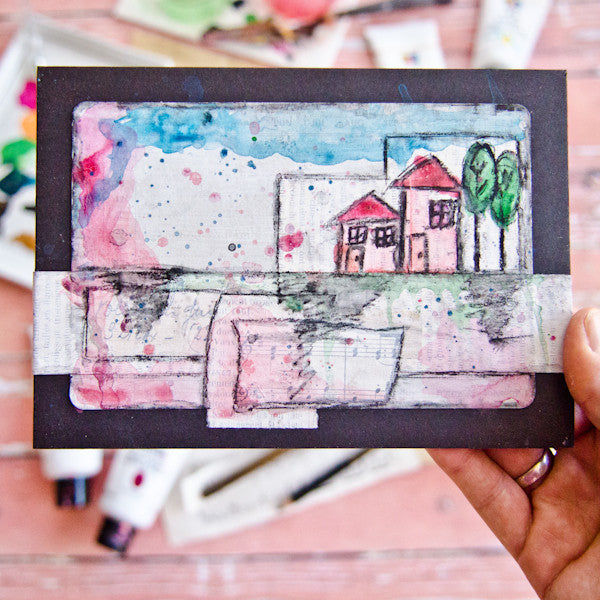
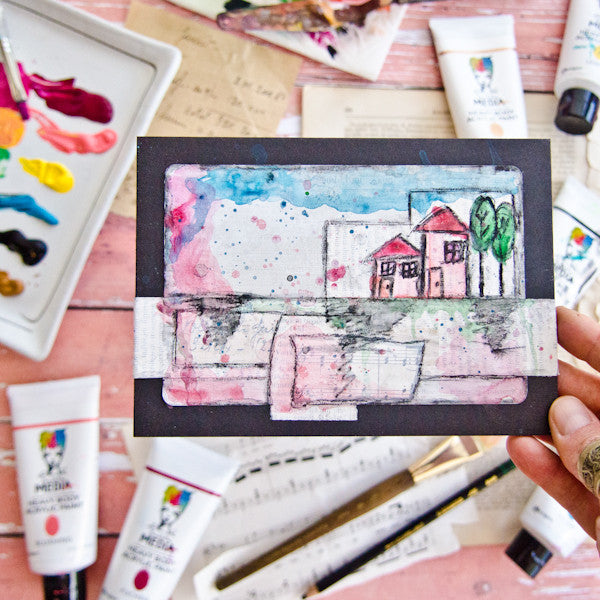
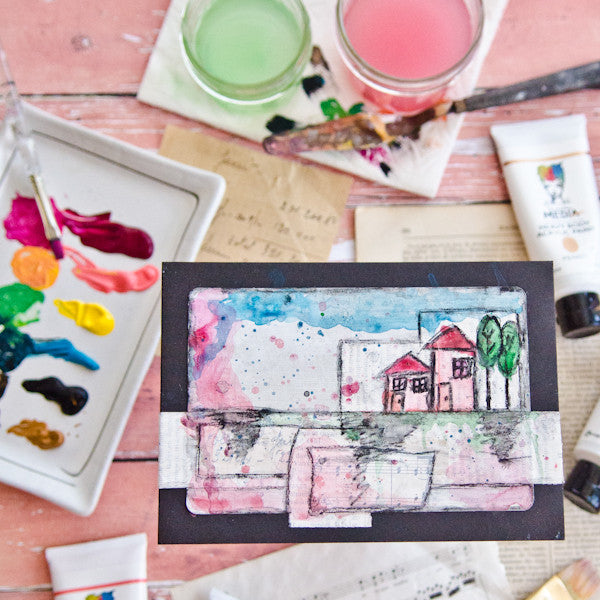
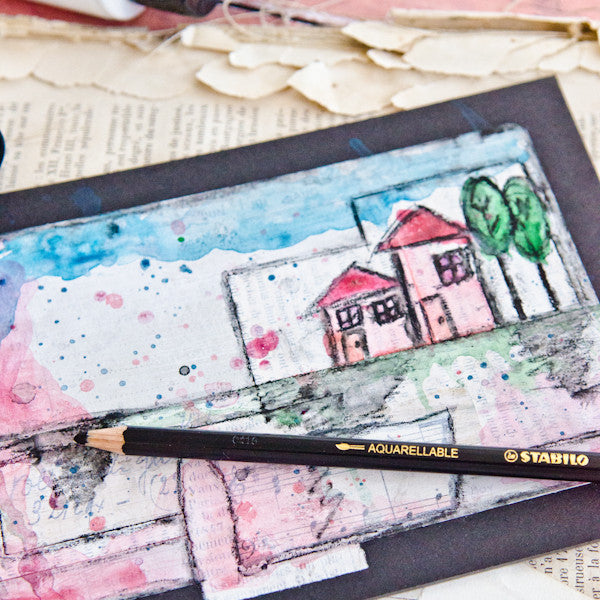
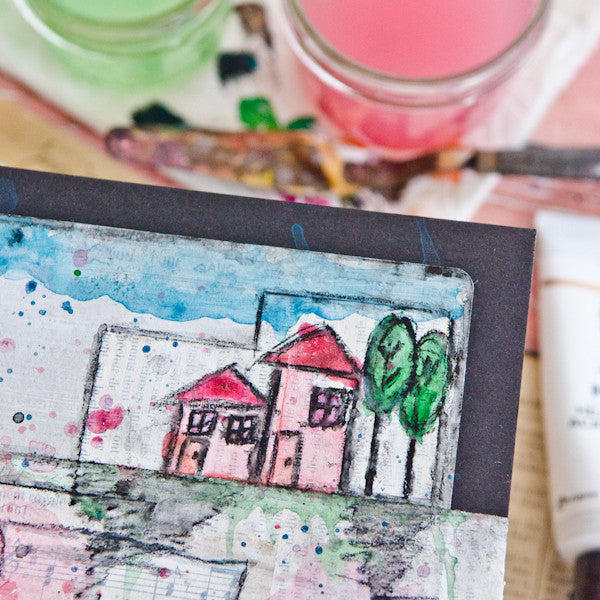
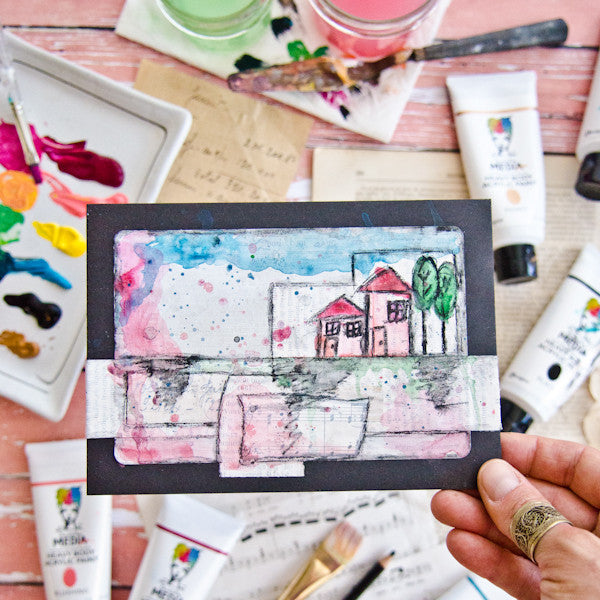
Other people in the office can attest to the fact that I am obsessed with getting a tiny house. I’ve been watching the TV shows about tiny houses, doing research on different types and builders, and generally obsessing over tiny houses in my free time. My Tiny House Pinterest board has officially taken on a life of its own and I know more about the plumbing in a tiny house than I do about anything in my own house now. This dream may be a long ways off, but I continue to picture my little house amidst the trees on a plot of land. When creating this project, I modeled it from the picture in my mind of the perfect tiny house (yes, my tiny house will be pink) and the picturesque quality that this dream will always possess.
Where the Heart Is Canvas Directions:
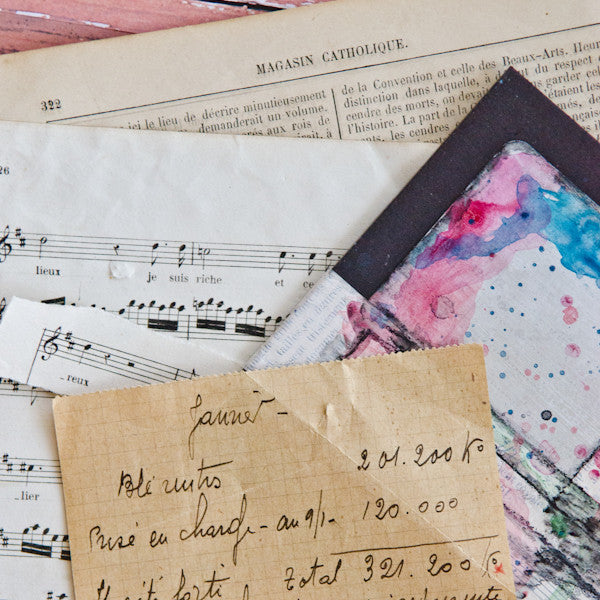
Lay out strips of ephemera on top of a journaling card or ledger paper. There should be two vertical strips of book text where the houses will be and one long strip of book text along the horizon.
Once you are satisfied with the layout, take a picture so that you have a reference of where everything was, then prime each piece with a very thin coat of gesso. The text and patterns should still be easily visible.
Adhere each piece of ephemera, book text, music paper, and journaling card to a black canvas board with gel medium. Do NOT seal over the top of the ephemera with gel medium.
Sketch houses with pencil onto ephemera pieces. For trees, draw in a stem, and a tall oval shape.
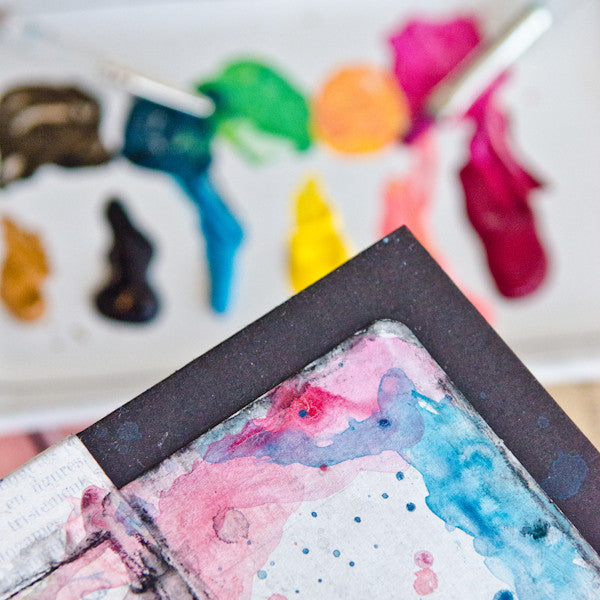
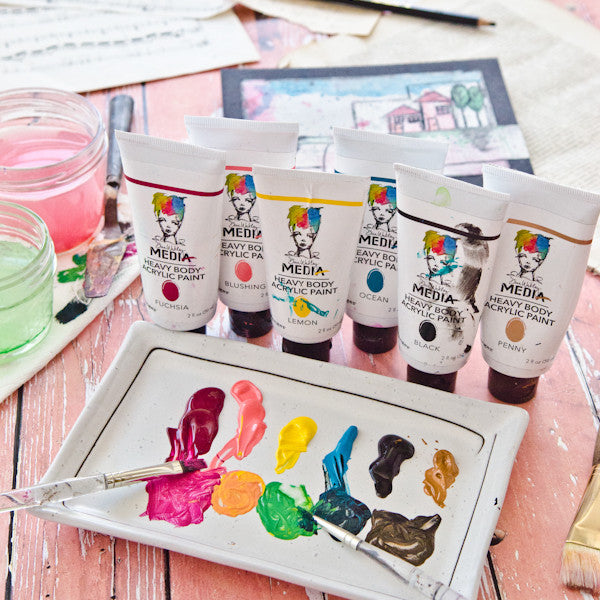
For each paint color, mix the colors using the Color Mixing list below, then add plenty of water until the paint is thoroughly transparent. If it is still not transparent enough, then dab brush in paint and dip back into water before touching it to the page.
Dina Wakley has a wonderful tutorial for using her paints to create watercolor effects on Somerset Place.
To achieve a wonderful mixed-media look, don’t worry about being in the lines perfectly and on the houses, make the color darker where there are shadows and leave some blank space where light would be brightest.
After each color, drip some splatters onto the page with the remaining paint. When you are satisfied with a paint color, use a heat tool to dry it so that it doesn’t mix, bleed, or move later on.
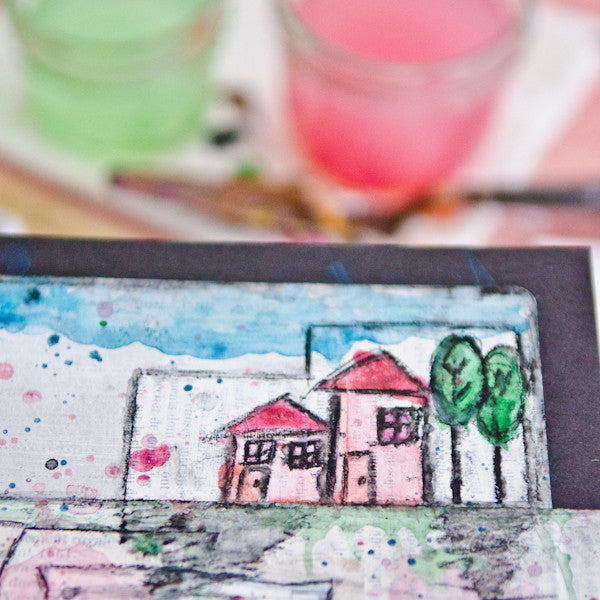
For the grass, paint a line across the horizon in green, then add additional water with your brush, tilt the canvas, and tap it against your work table to get a few drips and smears.
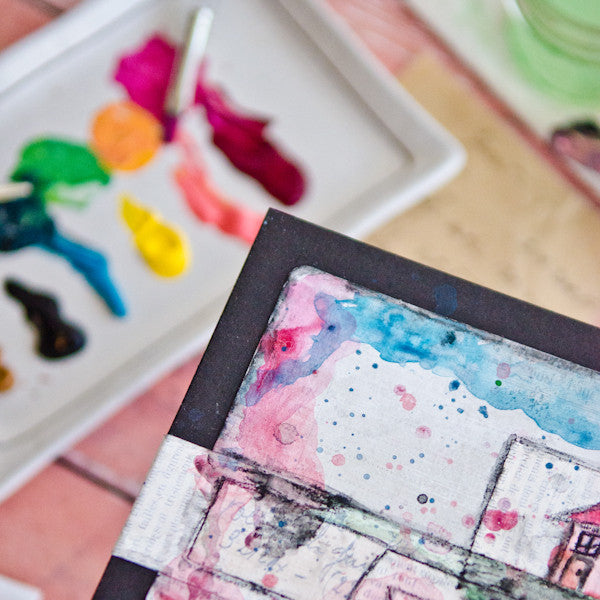
For sky, paint a stripe across the top of the canvas, add more water with your brush, then gently shake the canvas to create a more organic shape. The goal is to create a puddle shape, so drips mean that the shake was too hard. When the blue has dried, add a splash of the house’s color to the side of the canvas, dilute with additional water from your brush, shake, and tilt to form drips. Repeat on other spots of the canvas to frame your houses.
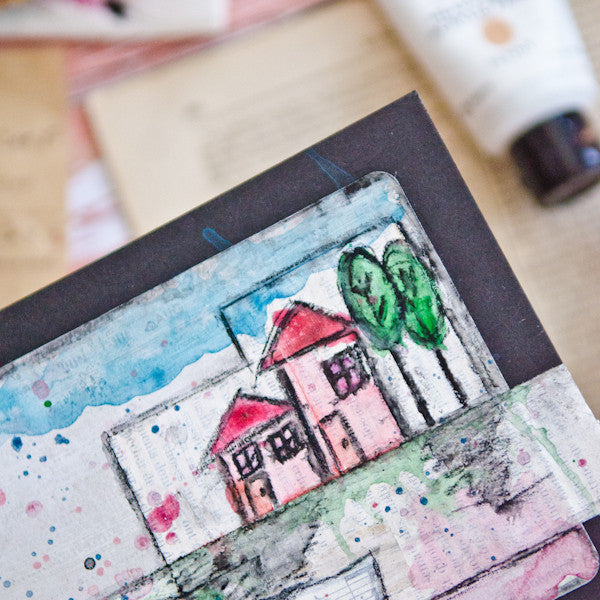
For the trees, color far outside the lines to create a more organic tree shape. Use plenty of water and use a greener color, then add a very small amount of black and add some shading to the trees.
To finish, outline your houses and trees with a Stabilo All Marking Pencil. Draw your lines quickly and messily to achieve the look pictured. Wet with your brush to blend slightly, and dab away any excess color with a paper towel. Repeat as many times as necessary to create defined lines.
Outline each piece of ephemera with the Stabilo pencil, wet with water, and dab away most of the color to create a shadowy effect.
Color Mixing
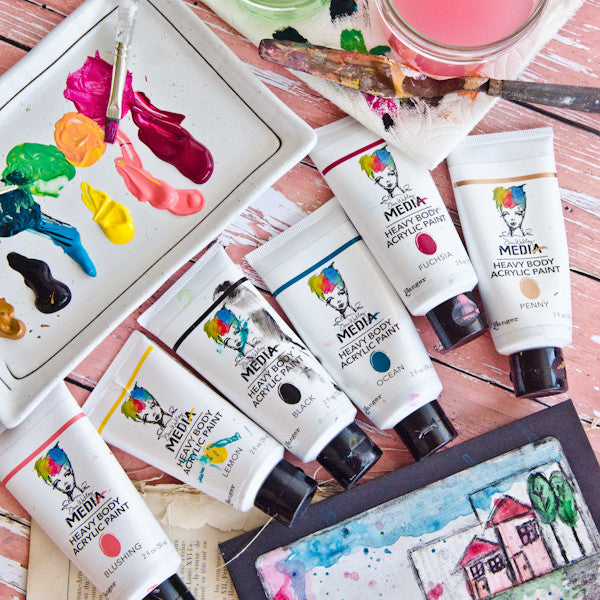
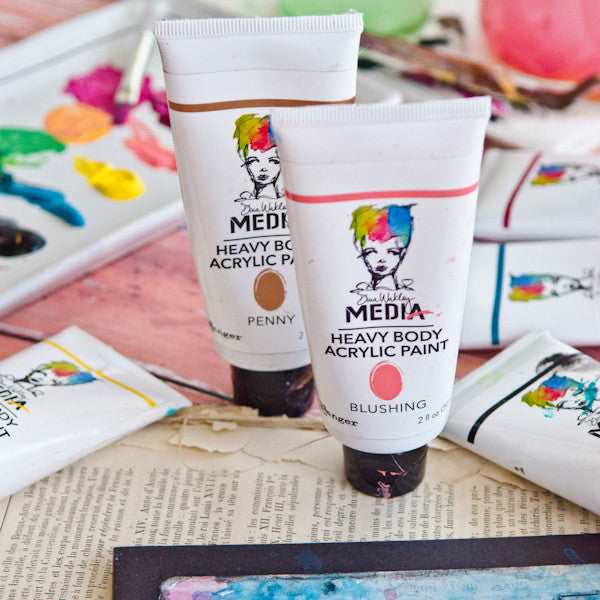
Roof = Fuchsia + a little Blushing + Penny (removes some of the brightness, and adds a little shine)
House = Roof + a lot more Blushing
Windows = House + Ocean + touch of Black
Sky= Ocean
Grass = Ocean + Lemon + a touch of Penny
Trees= paint first with Grass, then Grass + a touch of Black (for highlights)
Free Shipping on Subscriptions
Easy 60 Day Returns
Friendly Customer
Support


Where the Heart Is Canvas
Frequently asked questions
Looking for a quick answer? Here are some of our customer’s most frequently asked questions to help you along the way.
Thanks for your interest in our magazines! We encourage you to visit our Calls & Challenges page to see what our editors are looking for.
Ready to begin? Here is where you can find our Submission Guidelines.
Our subscriptions ship directly from our printer in Wisconsin. For this reason, we need to be notified of your change of address at least two months before the next issue comes out, or it will be sent to the address we had on file and provided to our printer at the time it was due.
How to Notify Us About Your Change of Address
- Email the following to customerservice@stampington.com:
- The publication(s) you subscribe to
- Your name and new address
- Your old address
2. Call to inform us of your new mailing address:
- Toll-Free: 1-877-782-6737 or International: 1-949-380-7318
Mail Forwarded by the Post Office
If you forward mail to your new address through the Post Office, it won't apply to periodicals/your magazine subscription unfortunately. Also, since mail forwarding only lasts for a short time-frame, we request that you still notify us of your address change to prevent any service interruption to your subscription.
Stampington & Company cannot be held responsible for replacing "lost" issues from your subscription, if we did not receive your change of address request at least two months prior to your next issue's release date.
Subscription issues should arrive within the first week of the month your publication is released. Please add up to two weeks for international delivery.
If your magazine has not arrived by the 20th of the month, please contact our customer service department, so we can check to make sure nothing is amiss with your subscription, and see if you're eligible for a replacement copy. International subscribers can receive a digital version of the magazine as a replacement if one attempt has already been made to deliver the print edition to you.
Stampington & Company cannot be held responsible for postal delays or circumstances outside of our control, but we will make every effort to make it right.
We offer FREE shipping on all magazine subscriptions and instant download purchases to our customers. You can also take advantage of free U.S. shipping on select pre-orders of your favorite magazines (discounted International rates will apply). Browse our selection of Pre-Orders With Free U.S. Shipping here.
What are my shipping charges?
Shipping charges are calculated by weight, shipping destination, and speed. You will be able to choose the best delivery method for your needs at checkout.
To help keep your costs down, we offer a discounted rate of $5.95 to ship a single magazine to you (within the United States).
Need your order fast? We offer the following expedited shipping options:
- 3-day delivery
- 2-day delivery
*Please contact us if you have any questions or special instructions regarding your rush order.
What Carriers do You Use to Ship Items?


