Therein Lies the Rub Projects by Christen Olivarez
I have to admit that I haven’t given rub-ons much thought in a few years. It wasn’t until we recently polled our Facebook fans about the products they loved and the majority of them expressed their love for rub-ons that I even realized they were still being made! To me, I thought they were solely for scrapbooking and card-making, two crafts I haven’t done in a long time. Once I saw the designs that are out there, I saw that they could be used in so many different ways! Imagine my surprise when walking the floor of the annual Craft & Hobby Association show just a couple days ago and I noticed a ton of new rub-ons in the various booths. Who knew? Rub-ons are back and in a big way.
On a Journal
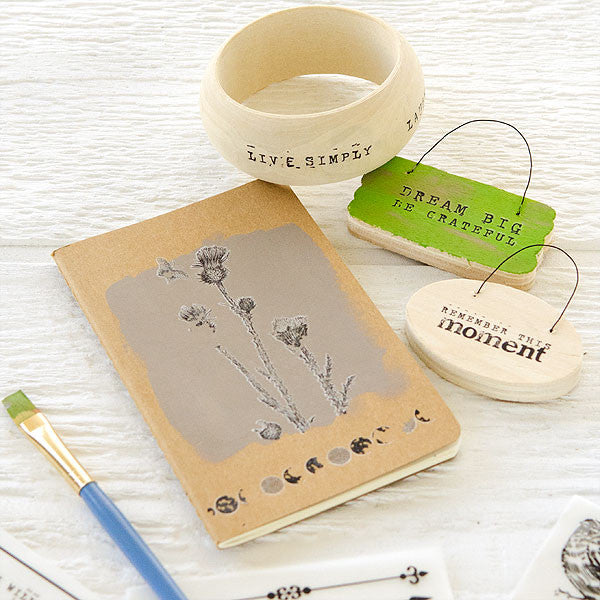
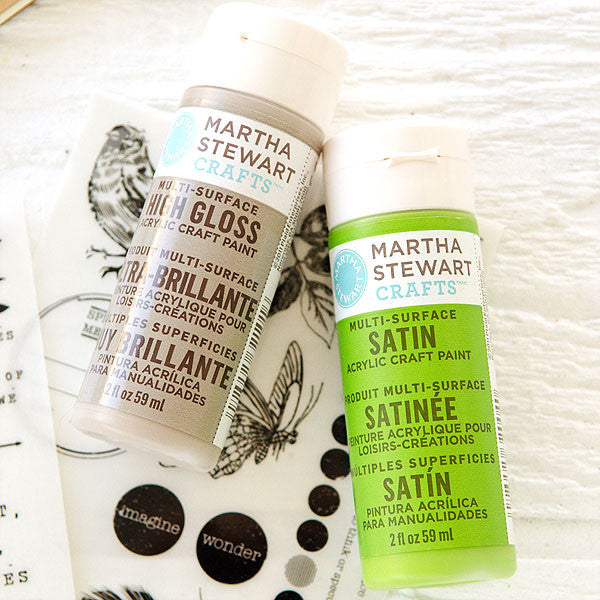
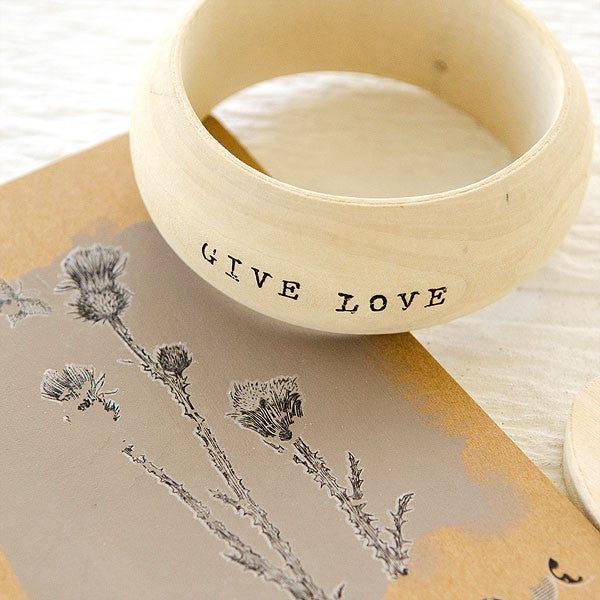
I knew I wanted to keep the designs simple, allowing the rub-ons to take center stage. I keep a supply of Kraft-colored Moleskine journals as well as a lot of blank wooden surfaces in my craft stash, so I grabbed them and some paint and got to work. For the journal, I just did a quick messy layer of gray paint. Once it was dry, I used a portion of a flower rub-on from the Secret Bird Society set directly on top of the paint. Sometimes stamps smudge when applied to paint with the wrong ink, so rub-ons are a great alternative.
On Vintage Signs
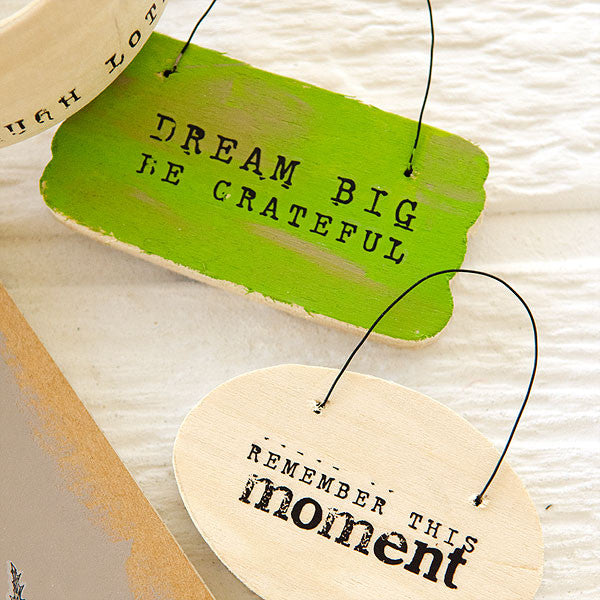
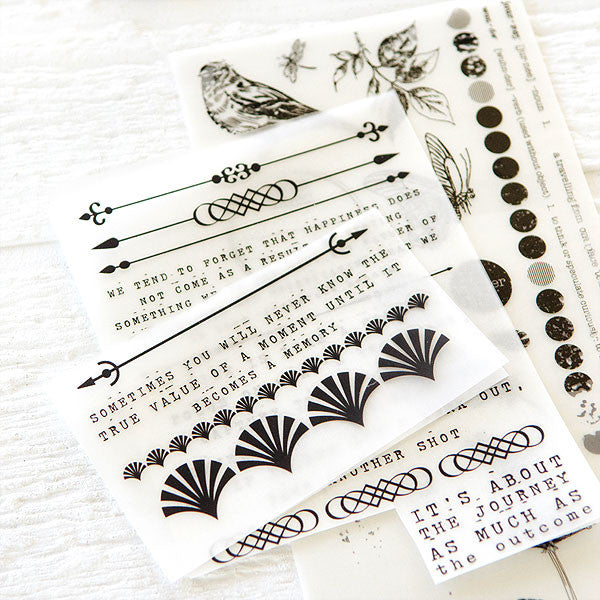
I had been wanting to use these small wooden signs I found at my local craft store, but wasn’t sure what to do with them. Once I saw the In the Attic collection of rub-ons, I knew they’d go great on the signs. They rub on easily to flat, wooden surfaces.
On a Bracelet
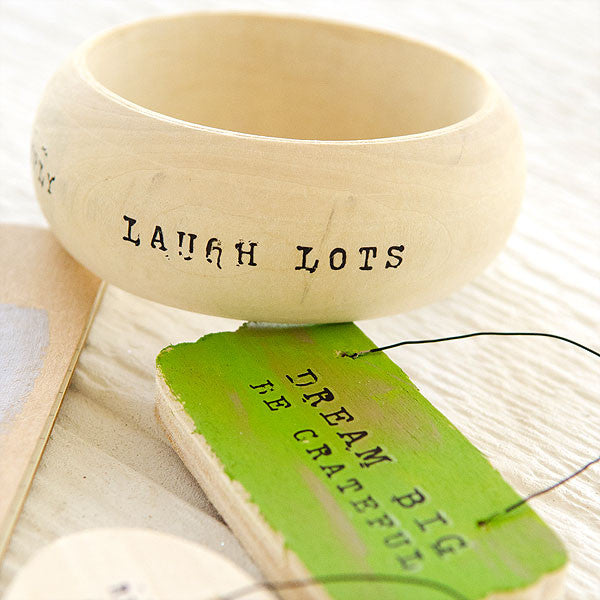
I loved the In the Attic collection so much that I wanted to make an accessory to wear. Keeping the wood its natural color, I applied the rub-ons around a blank bracelet. Because of the curved surface of the bracelet, I had to tape the rub-on down to keep it in place as I applied it. If you do this project, I advise using a flat bracelet, as the one I chose was a little tricky.
I have to admit that I’m a little hooked on rub-ons now. They are great for one-time use, rather than investing in a pricey rubber stamp that you might not use as often as you thought you would. They adhere to just about any surface, and there are so many designs that you’re sure to find something to suit your personal taste.
 | About the Artist: Interests: art, slow food, writing, books, yarn, authentic living Follow Christen on Her Blog: thedeliberatelife.typepad.com |
Free Shipping on Subscriptions
Easy 60 Day Returns
Friendly Customer
Support


Therein Lies the Rub Projects by Christen Olivarez
Frequently asked questions
Looking for a quick answer? Here are some of our customer’s most frequently asked questions to help you along the way.
Thanks for your interest in our magazines! We encourage you to visit our Calls & Challenges page to see what our editors are looking for.
Ready to begin? Here is where you can find our Submission Guidelines.
Our subscriptions ship directly from our printer in Wisconsin. For this reason, we need to be notified of your change of address at least two months before the next issue comes out, or it will be sent to the address we had on file and provided to our printer at the time it was due.
How to Notify Us About Your Change of Address
- Email the following to customerservice@stampington.com:
- The publication(s) you subscribe to
- Your name and new address
- Your old address
2. Call to inform us of your new mailing address:
- Toll-Free: 1-877-782-6737 or International: 1-949-380-7318
Mail Forwarded by the Post Office
If you forward mail to your new address through the Post Office, it won't apply to periodicals/your magazine subscription unfortunately. Also, since mail forwarding only lasts for a short time-frame, we request that you still notify us of your address change to prevent any service interruption to your subscription.
Stampington & Company cannot be held responsible for replacing "lost" issues from your subscription, if we did not receive your change of address request at least two months prior to your next issue's release date.
Subscription issues should arrive within the first week of the month your publication is released. Please add up to two weeks for international delivery.
If your magazine has not arrived by the 20th of the month, please contact our customer service department, so we can check to make sure nothing is amiss with your subscription, and see if you're eligible for a replacement copy. International subscribers can receive a digital version of the magazine as a replacement if one attempt has already been made to deliver the print edition to you.
Stampington & Company cannot be held responsible for postal delays or circumstances outside of our control, but we will make every effort to make it right.
We offer FREE shipping on all magazine subscriptions and instant download purchases to our customers. You can also take advantage of free U.S. shipping on select pre-orders of your favorite magazines (discounted International rates will apply). Browse our selection of Pre-Orders With Free U.S. Shipping here.
What are my shipping charges?
Shipping charges are calculated by weight, shipping destination, and speed. You will be able to choose the best delivery method for your needs at checkout.
To help keep your costs down, we offer a discounted rate of $5.95 to ship a single magazine to you (within the United States).
Need your order fast? We offer the following expedited shipping options:
- 3-day delivery
- 2-day delivery
*Please contact us if you have any questions or special instructions regarding your rush order.
What Carriers do You Use to Ship Items?


