The Coloring Studio Meets Mixed-Media Project by Bekah Ellington
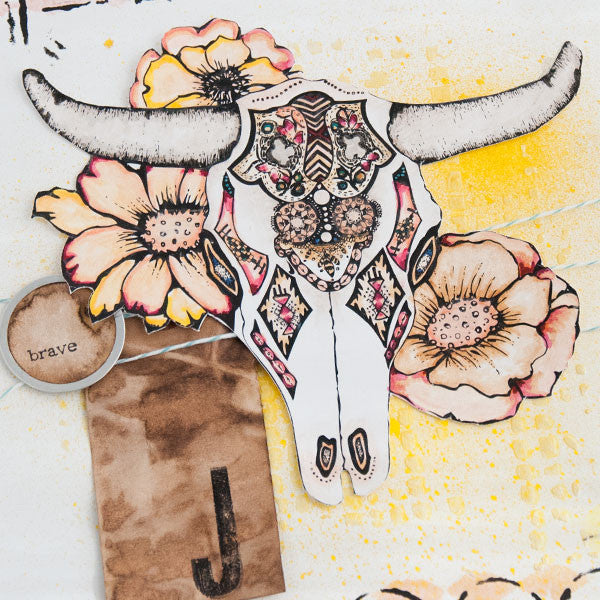
So what do you do with all those amazing pages you spent time on in your coloring book? Well, that exact question is what I wanted to find a solution to. I wanted an idea that would allow me to display my finished coloring pages in a unique and individual way.
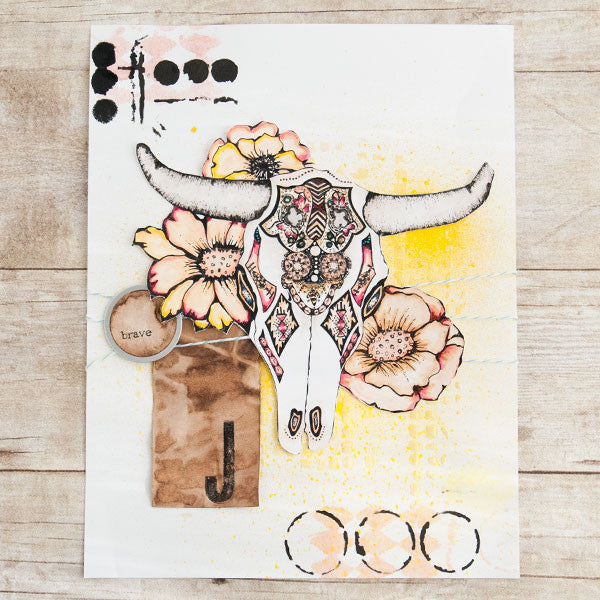
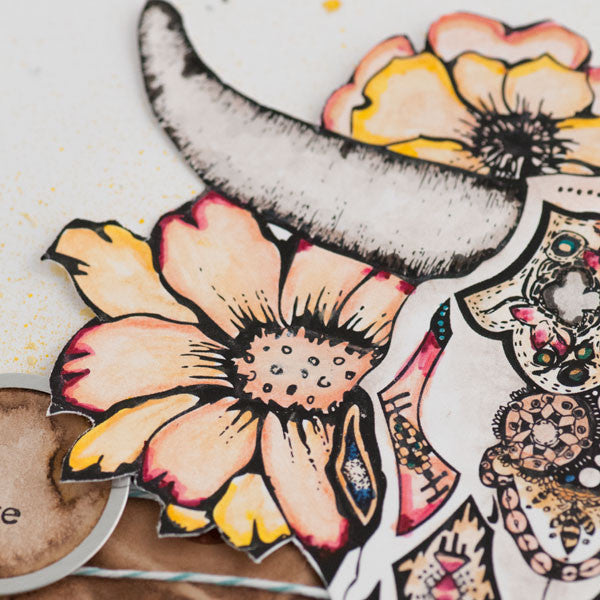
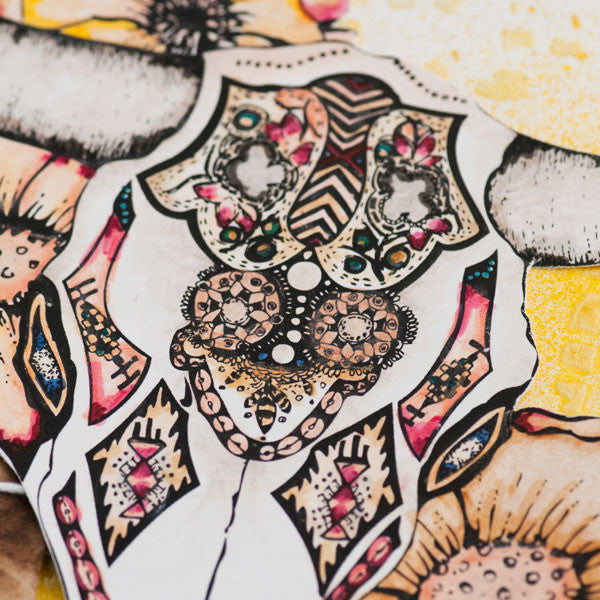
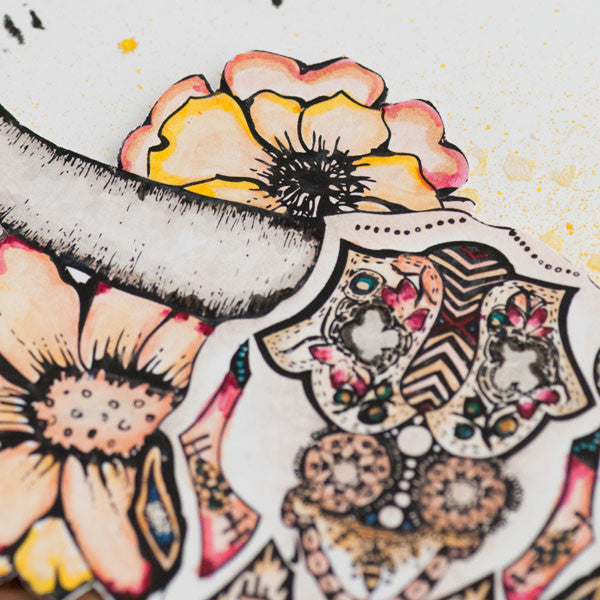
For this piece I took a finished coloring page and made it into a flowing piece of art that I could display either in a frame or in my art journal.
To start out, I wanted to keep with a rustic theme that matched the artwork but made sure that it wasn’t inundated by neutrals by bringing in splashes of blues. I wanted to use a mixture of mixed- media and different techniques in the background in order to really give the piece an “outside of the coloring book” look. Illustration by Leslie Sabella from The Coloring Studio.
The Coloring Studio Meets Mixed-Media Project Directions
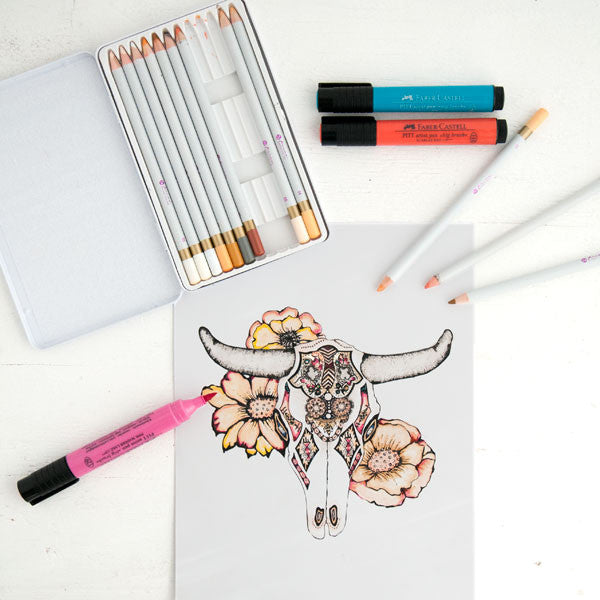
Color in an image with Neutral Prima Marketing Watercolor Pencils. Use water and a fine-tipped brush to blend and shade.
Once the piece is completely dry, use Faber-Castell Brush Pens to add pops of color.
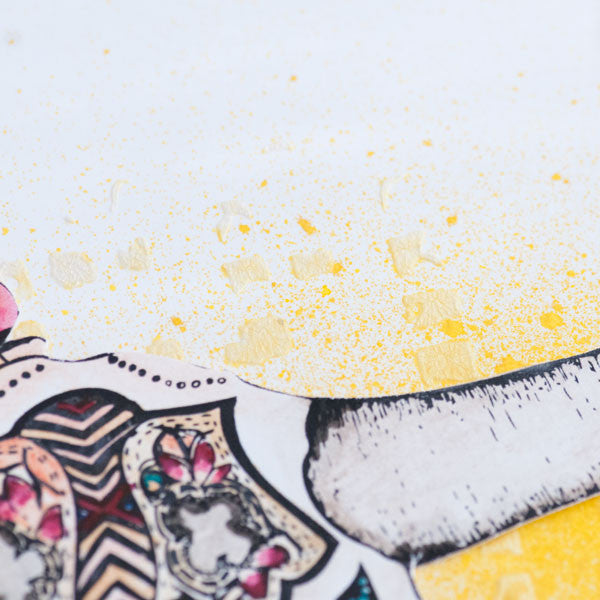
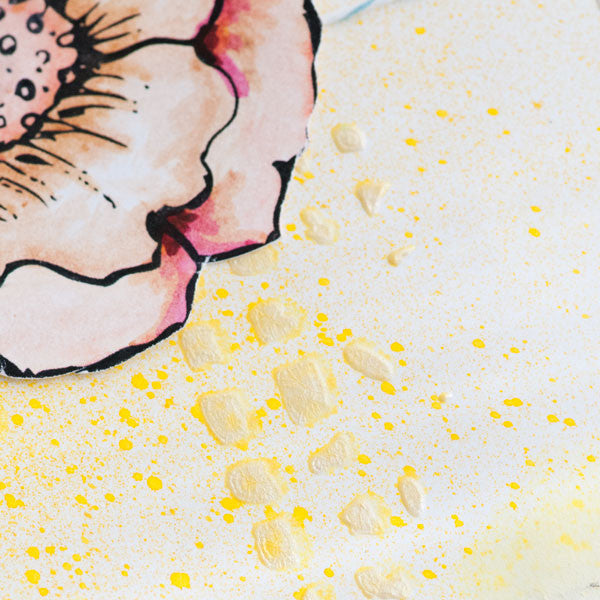
Next, stencil Platinum Crackle Texture Paste using a palette knife onto a sheet of cardstock or a journal page. Let dry.
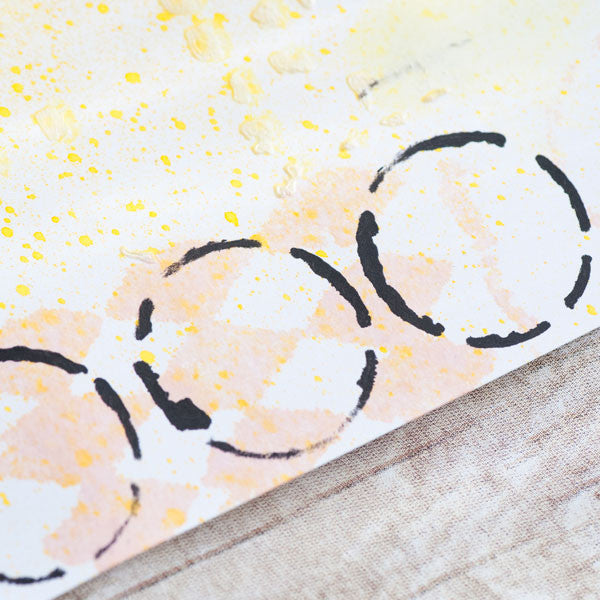
Spritz center of page with yellow ink spray.
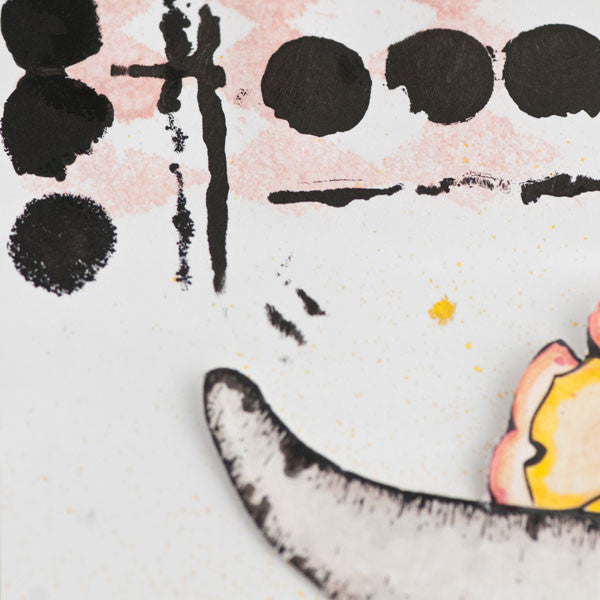
Stencil circle, lines, and dots with black acrylic paint using the Mini Ink Blending Tool. Once the paint is dry, using the same stencil, spritz pink ink spray through the harlequin pattern.
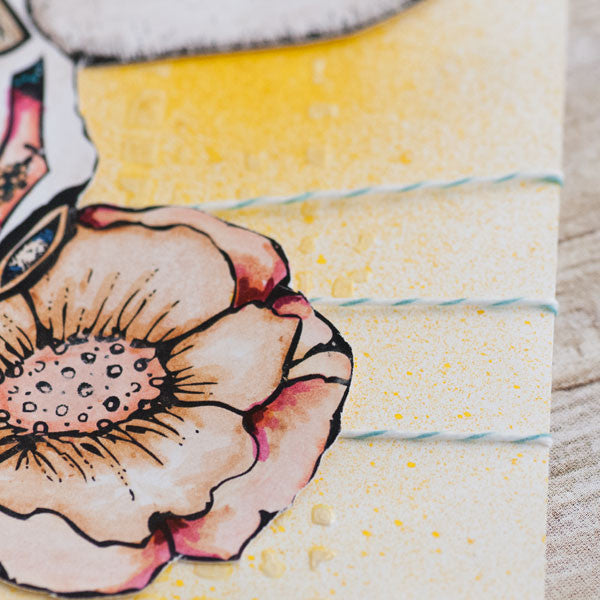
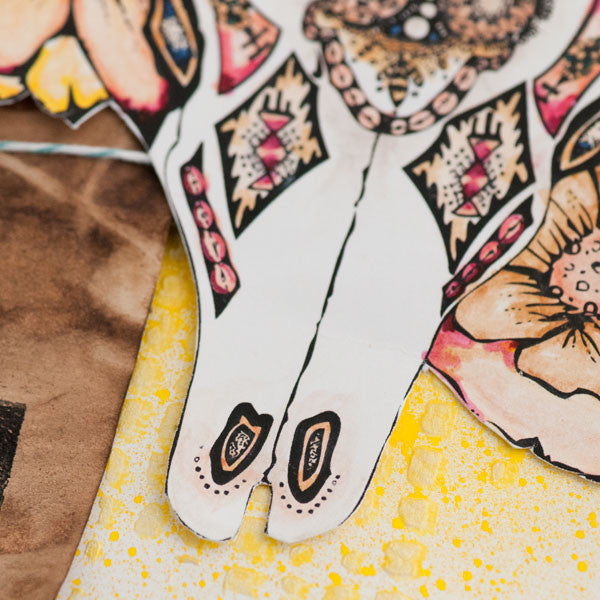
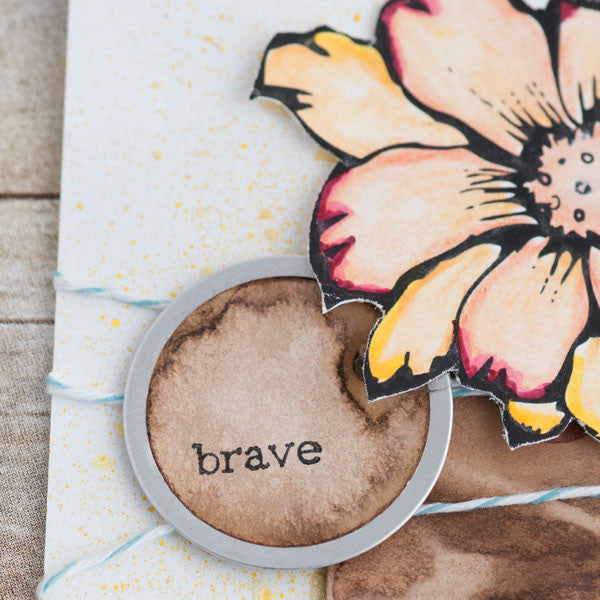
Arrange metal rimmed grubby tag and large grubby tag and image onto the background. Before attaching all of the elements, wrap layout with teal Baker’s Twine.
Attach image and tags with glue dots.
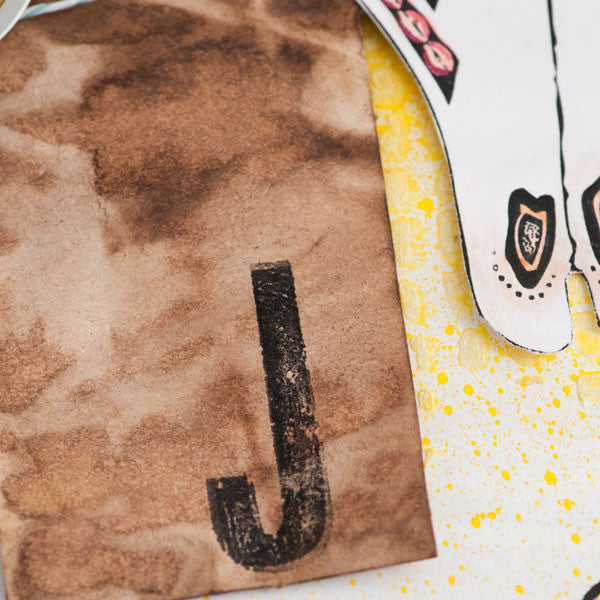
Stamp word onto small metal rimmed grubby tag, and letter onto large grubby tag with black ink.
| About the Artist: Bekah Ellington displays her daily crafting and life discoveries on her Instagram @bekah_ellington. Interests: Watercolor, scuba diving, running, baking, event planning, and, of course, crafting. |
Free Shipping on Subscriptions
Easy 60 Day Returns
Friendly Customer
Support


The Coloring Studio Meets Mixed-Media Project by Bekah Ellington
Frequently asked questions
Looking for a quick answer? Here are some of our customer’s most frequently asked questions to help you along the way.
Thanks for your interest in our magazines! We encourage you to visit our Calls & Challenges page to see what our editors are looking for.
Ready to begin? Here is where you can find our Submission Guidelines.
Our subscriptions ship directly from our printer in Wisconsin. For this reason, we need to be notified of your change of address at least two months before the next issue comes out, or it will be sent to the address we had on file and provided to our printer at the time it was due.
How to Notify Us About Your Change of Address
- Email the following to customerservice@stampington.com:
- The publication(s) you subscribe to
- Your name and new address
- Your old address
2. Call to inform us of your new mailing address:
- Toll-Free: 1-877-782-6737 or International: 1-949-380-7318
Mail Forwarded by the Post Office
If you forward mail to your new address through the Post Office, it won't apply to periodicals/your magazine subscription unfortunately. Also, since mail forwarding only lasts for a short time-frame, we request that you still notify us of your address change to prevent any service interruption to your subscription.
Stampington & Company cannot be held responsible for replacing "lost" issues from your subscription, if we did not receive your change of address request at least two months prior to your next issue's release date.
Subscription issues should arrive within the first week of the month your publication is released. Please add up to two weeks for international delivery.
If your magazine has not arrived by the 20th of the month, please contact our customer service department, so we can check to make sure nothing is amiss with your subscription, and see if you're eligible for a replacement copy. International subscribers can receive a digital version of the magazine as a replacement if one attempt has already been made to deliver the print edition to you.
Stampington & Company cannot be held responsible for postal delays or circumstances outside of our control, but we will make every effort to make it right.
We offer FREE shipping on all magazine subscriptions and instant download purchases to our customers. You can also take advantage of free U.S. shipping on select pre-orders of your favorite magazines (discounted International rates will apply). Browse our selection of Pre-Orders With Free U.S. Shipping here.
What are my shipping charges?
Shipping charges are calculated by weight, shipping destination, and speed. You will be able to choose the best delivery method for your needs at checkout.
To help keep your costs down, we offer a discounted rate of $5.95 to ship a single magazine to you (within the United States).
Need your order fast? We offer the following expedited shipping options:
- 3-day delivery
- 2-day delivery
*Please contact us if you have any questions or special instructions regarding your rush order.
What Carriers do You Use to Ship Items?


