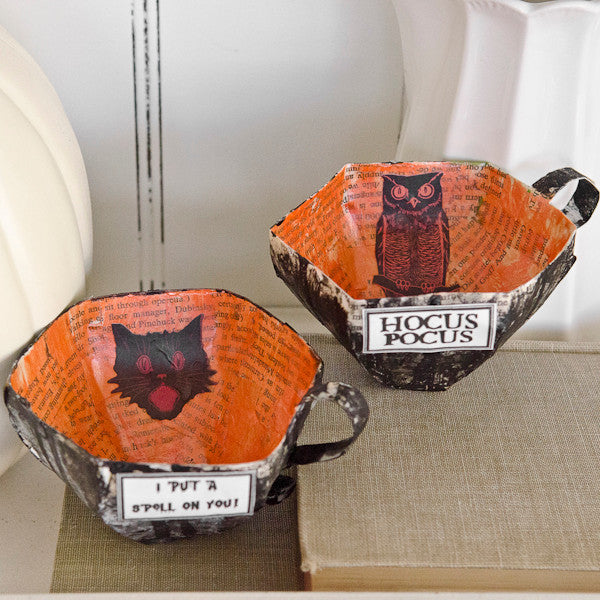

Papier-Mâché Teacups Two Ways Project by Catherine Garmany
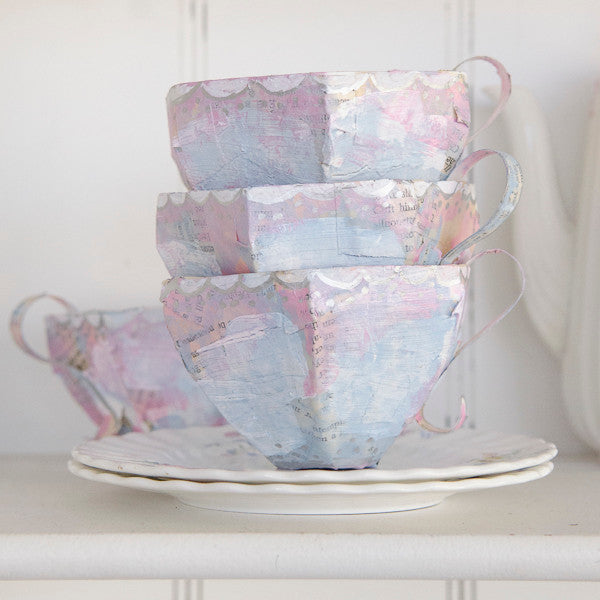
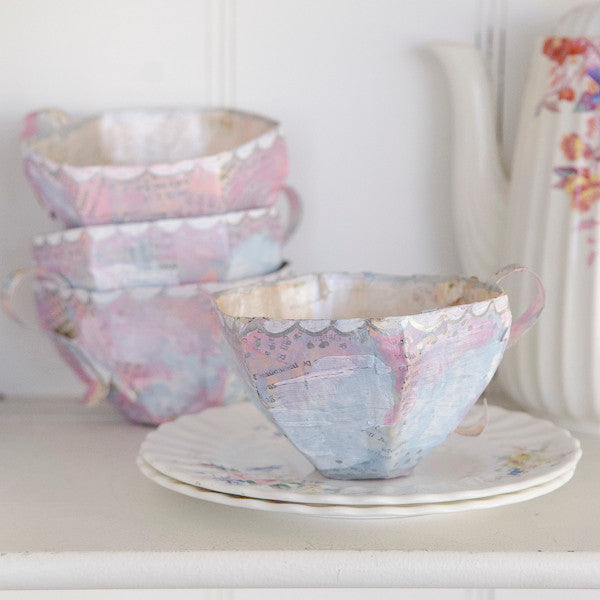
I used a teacup template I found online from Ann Wood Handmade for the general shape of the teacup and inspiration. I used heavy card-stock for the base with which to work from. You never know how many teacups you might want to make. These took less time than I thought and were a great deal of fun!
I could easily see myself doing something like this for a girl’s tea party (including the girls’ names on their cups) or a book club get-together (names of favorite authors or books included).
Materials:
- Teacup template
- Card stock (heavier weight paper should be used for this, it will make it much stronger)
- Glue
- Water
- Paints
- Stickers, buttons or other ephemera to attach
- Scissors
- Pencil
Papier-Mâché Teacups Two Ways Project Instructions
After you have cut out your templates bring all your segments together and tape them together. Make sure to tape both the inside and the outside of each section. This will help the teacup maintain its shape as you are applying the papier-mâché.
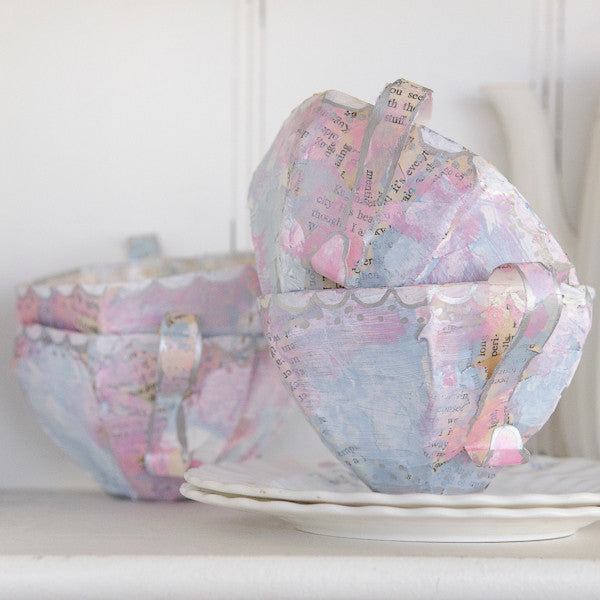
Attach the handle as you see fit. I decided to attach the top of the handle inside the teacup for more support. You could wait until your cup is dry and simply hot glue them to the outside of the teacup.
Once the teacup has been completely taped, press the teacup from the inside to help ensure a uniform shape. Go all around the teacup.
You can add a simple base to your teacup by cutting out a rounded circle from cardboard and taping/gluing it to the bottom. I chose to skip this process. I have seen others add fancy scalloped bottoms to their teacups. Get creative and see what happens. Happy accidents are the best!
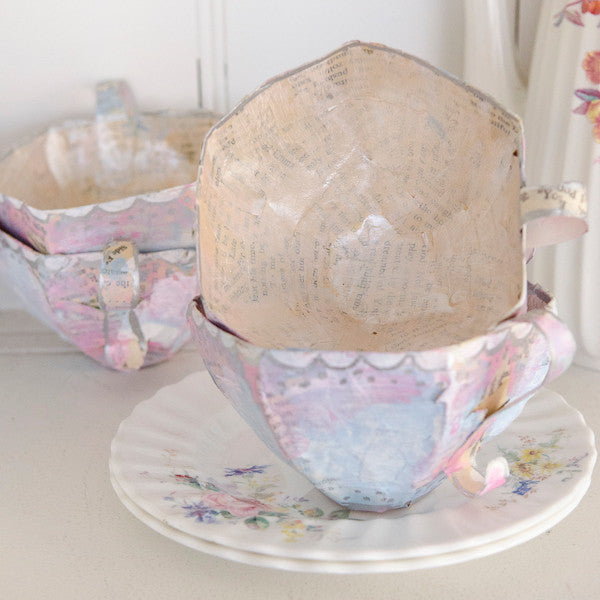
I used pages from an old book that was damaged beyond repair. I tore up small segments of the paper, most about the size of the palm of your hand, some smaller. Have some pieces that are smaller than a quarter to work on the edging and small areas. Set them aside while you prepare your glue.
You can use wall paper paste or papier-mâché paste, but I had a large bottle of all purpose glue on hand and decided to use that. Keep in mind if you use wallpaper paste, it is toxic and you should use non-toxic glue like white glue when you are doing any crafts with children.
I used a four-part glue to one part water ratio and it worked out great! I found the paper dried fairly quickly. When applying the paste, make sure to squeeze excess off the paper using your fingers. The paper should be moist, but not dripping wet.
Although I did add a bit of papier-mâché to the handle, you could simply paint it or add glitter for decoration.
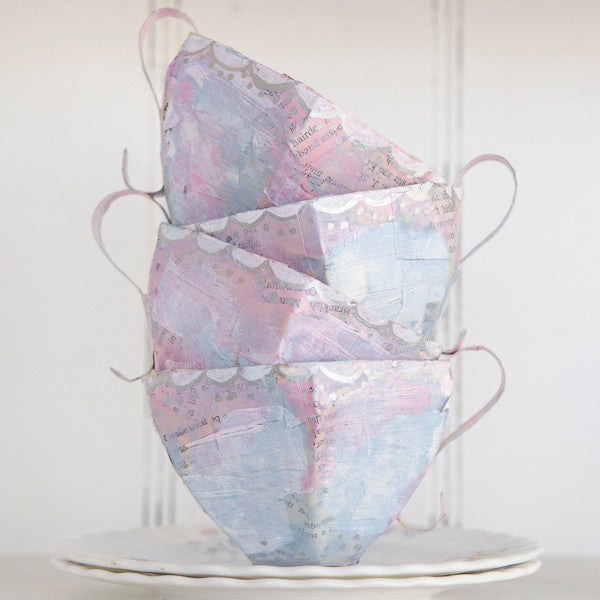
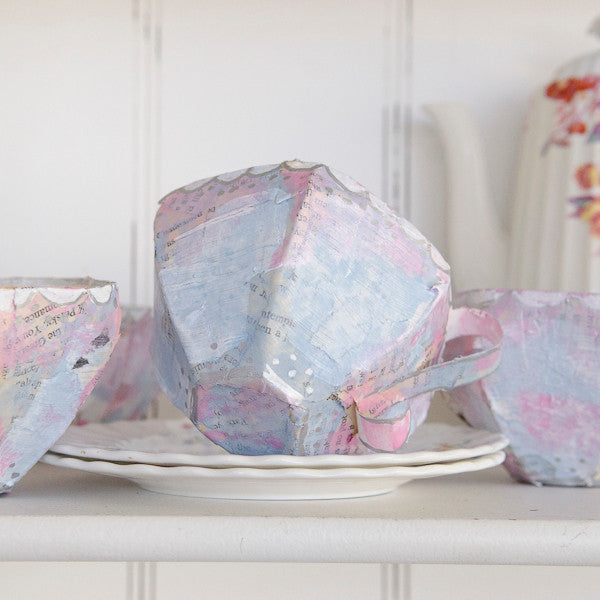
Once dry, I used a splotchy base coat of white. I wanted to make sure the printed page was still visible in the finished design. I then highlighted with iridescent blues and pinks. I used a silver paint pen around the top to add more detail with abstract scalloping and dot work.
I added the handle to the teacup while everything was still wet. That way, I was able to add additional layers over the top of the handle on the inside of the cup. This helps add strength to the overall design of the handle.
For the Halloween Teacups
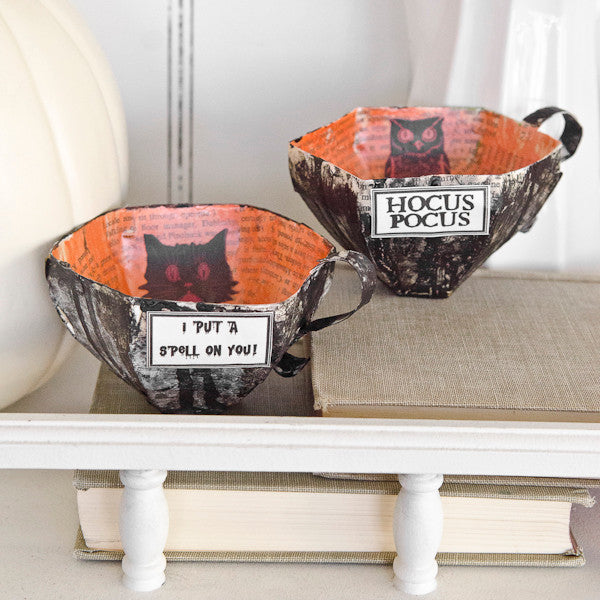
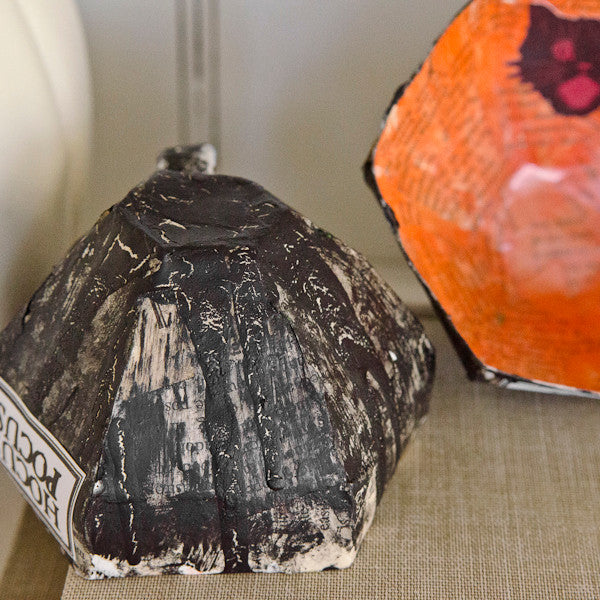
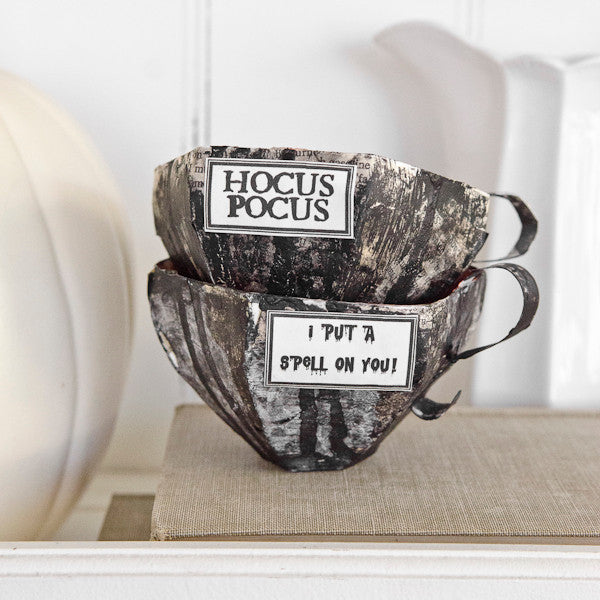
I used iridescent white as a base on the inside and went over it with an iridescent orange. After painting a watered down black base on the outside of the teacup, I tipped it over and let gravity take over with drips cascading down the outside, reminiscent of blood drops.
Once the teacup was dried, I added imagery from Tim Holtz Idea-ology Ephemera Pack. I just used the glue paste to attach the images to the inside of the cup. I printed out the “Hocus Pocus” on my home computer, cut it out and adhered it the same way.
About the Artist
Catherine Garmany has a background in art and dabbles in watercolor, mixed-media, and assemblage art. She loves to figure out new ways to utilize objects. Catherine lives in Southern California with her husband and sons. She has recently launched her own blog at veryclevergirl.com.
Free Shipping on Subscriptions
Easy 60 Day Returns
Friendly Customer
Support


Papier-Mâché Teacups Two Ways Project by Catherine Garmany
Frequently asked questions
Looking for a quick answer? Here are some of our customer’s most frequently asked questions to help you along the way.
Thanks for your interest in our magazines! We encourage you to visit our Calls & Challenges page to see what our editors are looking for.
Ready to begin? Here is where you can find our Submission Guidelines.
Our subscriptions ship directly from our printer in Wisconsin. For this reason, we need to be notified of your change of address at least two months before the next issue comes out, or it will be sent to the address we had on file and provided to our printer at the time it was due.
How to Notify Us About Your Change of Address
- Email the following to customerservice@stampington.com:
- The publication(s) you subscribe to
- Your name and new address
- Your old address
2. Call to inform us of your new mailing address:
- Toll-Free: 1-877-782-6737 or International: 1-949-380-7318
Mail Forwarded by the Post Office
If you forward mail to your new address through the Post Office, it won't apply to periodicals/your magazine subscription unfortunately. Also, since mail forwarding only lasts for a short time-frame, we request that you still notify us of your address change to prevent any service interruption to your subscription.
Stampington & Company cannot be held responsible for replacing "lost" issues from your subscription, if we did not receive your change of address request at least two months prior to your next issue's release date.
Subscription issues should arrive within the first week of the month your publication is released. Please add up to two weeks for international delivery.
If your magazine has not arrived by the 20th of the month, please contact our customer service department, so we can check to make sure nothing is amiss with your subscription, and see if you're eligible for a replacement copy. International subscribers can receive a digital version of the magazine as a replacement if one attempt has already been made to deliver the print edition to you.
Stampington & Company cannot be held responsible for postal delays or circumstances outside of our control, but we will make every effort to make it right.
We offer FREE shipping on all magazine subscriptions and instant download purchases to our customers. You can also take advantage of free U.S. shipping on select pre-orders of your favorite magazines (discounted International rates will apply). Browse our selection of Pre-Orders With Free U.S. Shipping here.
What are my shipping charges?
Shipping charges are calculated by weight, shipping destination, and speed. You will be able to choose the best delivery method for your needs at checkout.
To help keep your costs down, we offer a discounted rate of $5.95 to ship a single magazine to you (within the United States).
Need your order fast? We offer the following expedited shipping options:
- 3-day delivery
- 2-day delivery
*Please contact us if you have any questions or special instructions regarding your rush order.
What Carriers do You Use to Ship Items?


