Making Your Own Metallic Embossed Paper Project by Jo West
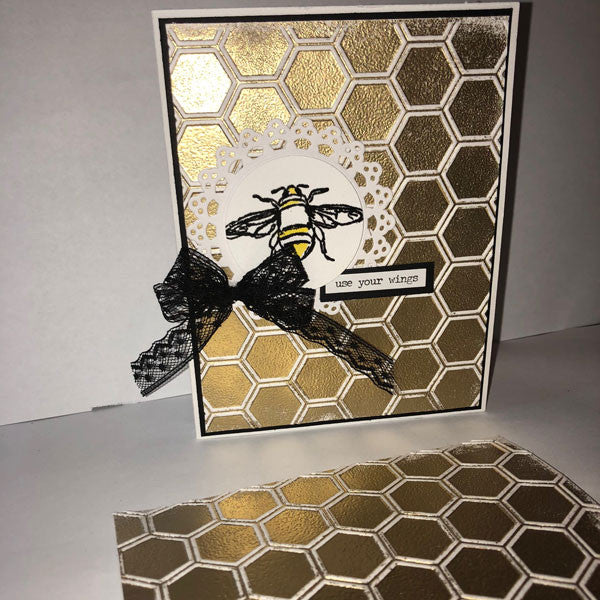
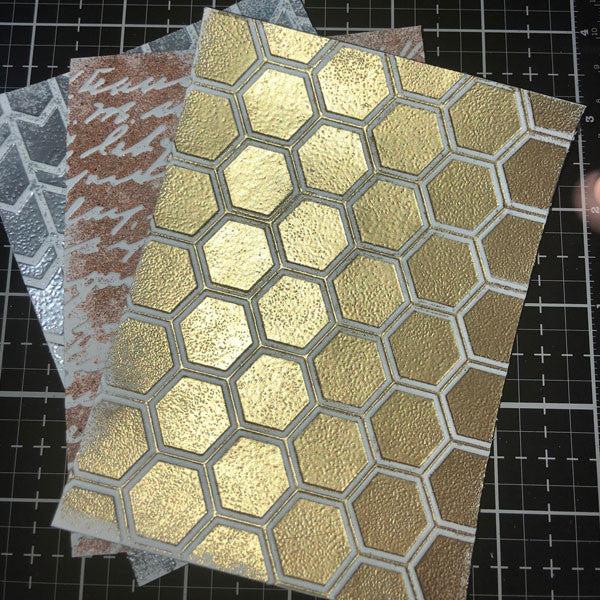
Have you ever heard the expression that "Necessity is the mother of invention"? This tutorial was created out of my desire to use a piece of shiny metallic paper that had a pattern in it. Despite tearing my little studio apart, there was no such thing in my stash of goodies. I knew that I could make inked paper with an embossing folder, so why not a heat embossed metallic paper? Believe it or not, it turned out to be quite simple!
Tools & Supplies:
- Embossing Machine - I used a BigShot
- Dry Embossing Folders
- Heat Gun
- Small paint brush or Q-tip
- White Cardstock
- Clear Embossing Ink
- Gold Embossing Powder
To Make:
Gather your tools and supplies.
Cut your cardstock to desired size.
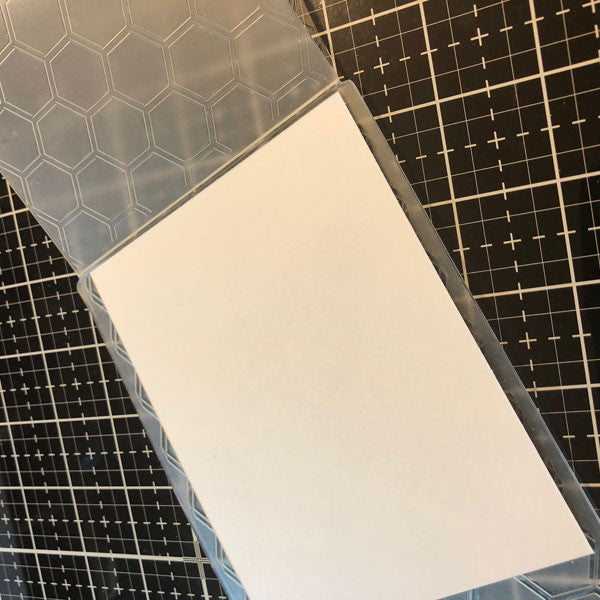
Find the debossed side of your embossing folder. This is the side that is somewhat flat and creates the recessed relief image into the paper.
Ink the entire surface of the debossed side with embossing ink. Place your paper onto the embossing folder, close it, and run it through your embossing machine.
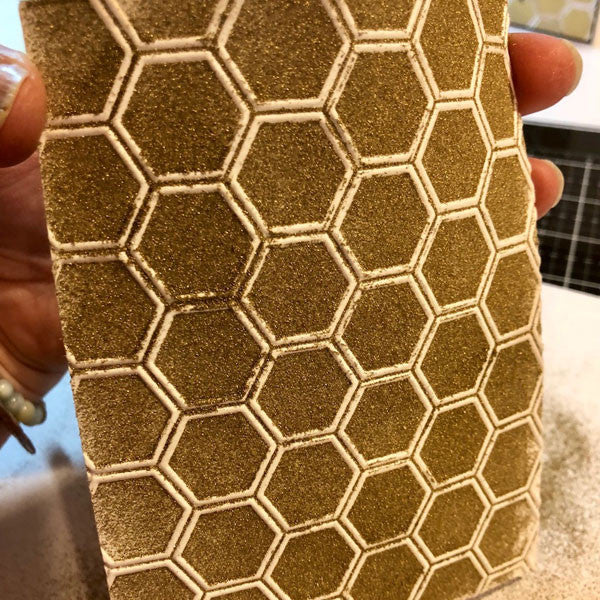
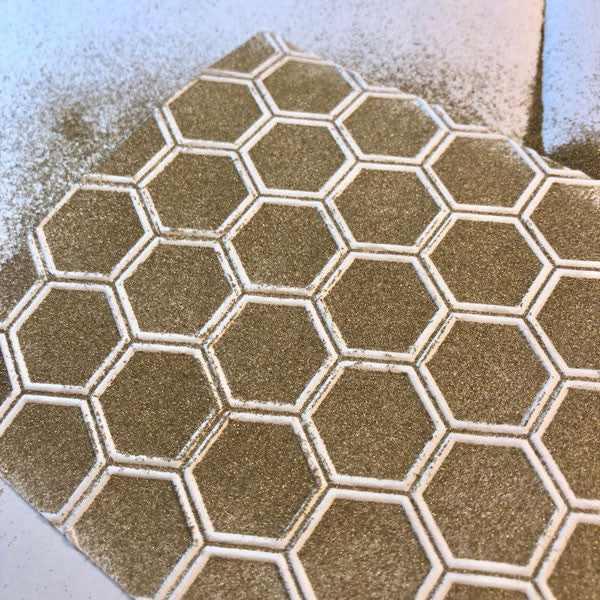
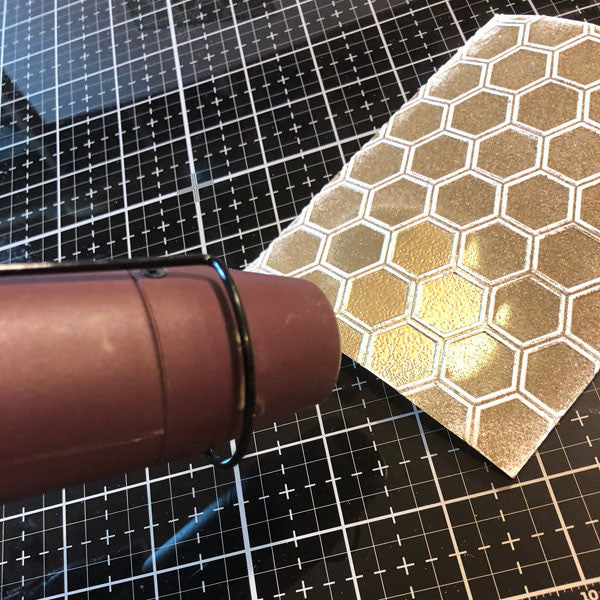
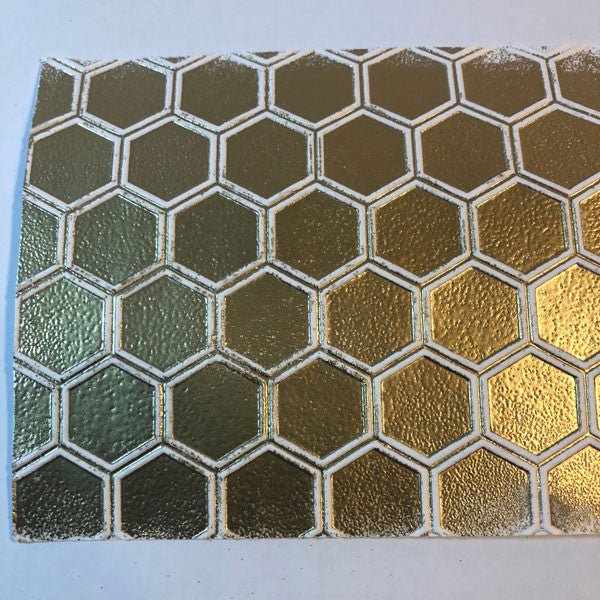
It is important to place the paper onto the folder as opposed to sliding the paper into the folder. Once you have dry embossed the paper, cover the debossed side with embossing powder. Shake off excess powder. If any powder sticks to the design area gently wipe it away with a paint brush or Q-tip.
Use your heat gun to melt the embossing powder. And there you have it! I hope you have enjoyed this technique and try it with many different embossing powders.
About the Artist:
Jo West, of Burnaby, British Columbia, Canada, has been published in many Stampington publications and was also featured as our Guest Artist profile in Take Ten Magazine. Her advice to beginning stampers: Read stamping magazines, go online, look at all of the different styles, and try to figure out which style suits you most at this time in your life. A big “Thanks!” to Jo West for contributing this project! To see more of her artwork, follow her on Instagram (@paper_play).
Free Shipping on Subscriptions
Easy 60 Day Returns
Friendly Customer
Support


Making Your Own Metallic Embossed Paper Project by Jo West
Frequently asked questions
Looking for a quick answer? Here are some of our customer’s most frequently asked questions to help you along the way.
Thanks for your interest in our magazines! We encourage you to visit our Calls & Challenges page to see what our editors are looking for.
Ready to begin? Here is where you can find our Submission Guidelines.
Our subscriptions ship directly from our printer in Wisconsin. For this reason, we need to be notified of your change of address at least two months before the next issue comes out, or it will be sent to the address we had on file and provided to our printer at the time it was due.
How to Notify Us About Your Change of Address
- Email the following to customerservice@stampington.com:
- The publication(s) you subscribe to
- Your name and new address
- Your old address
2. Call to inform us of your new mailing address:
- Toll-Free: 1-877-782-6737 or International: 1-949-380-7318
Mail Forwarded by the Post Office
If you forward mail to your new address through the Post Office, it won't apply to periodicals/your magazine subscription unfortunately. Also, since mail forwarding only lasts for a short time-frame, we request that you still notify us of your address change to prevent any service interruption to your subscription.
Stampington & Company cannot be held responsible for replacing "lost" issues from your subscription, if we did not receive your change of address request at least two months prior to your next issue's release date.
Subscription issues should arrive within the first week of the month your publication is released. Please add up to two weeks for international delivery.
If your magazine has not arrived by the 20th of the month, please contact our customer service department, so we can check to make sure nothing is amiss with your subscription, and see if you're eligible for a replacement copy. International subscribers can receive a digital version of the magazine as a replacement if one attempt has already been made to deliver the print edition to you.
Stampington & Company cannot be held responsible for postal delays or circumstances outside of our control, but we will make every effort to make it right.
We offer FREE shipping on all magazine subscriptions and instant download purchases to our customers. You can also take advantage of free U.S. shipping on select pre-orders of your favorite magazines (discounted International rates will apply). Browse our selection of Pre-Orders With Free U.S. Shipping here.
What are my shipping charges?
Shipping charges are calculated by weight, shipping destination, and speed. You will be able to choose the best delivery method for your needs at checkout.
To help keep your costs down, we offer a discounted rate of $5.95 to ship a single magazine to you (within the United States).
Need your order fast? We offer the following expedited shipping options:
- 3-day delivery
- 2-day delivery
*Please contact us if you have any questions or special instructions regarding your rush order.
What Carriers do You Use to Ship Items?


