
Get Organized: White and Gold Embossed Jars
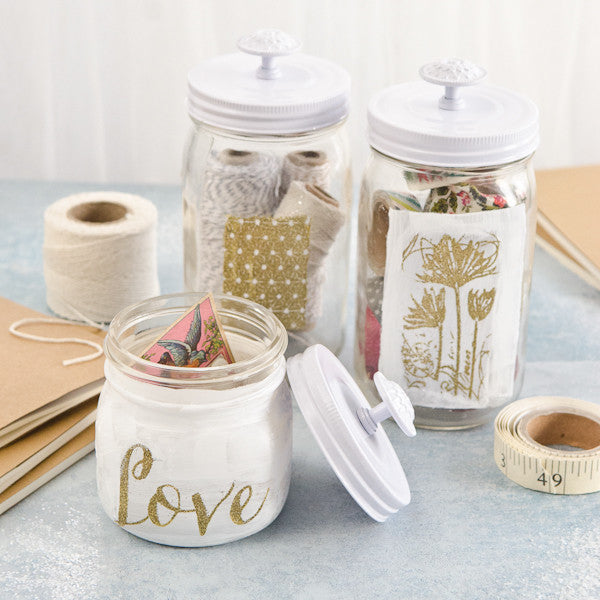
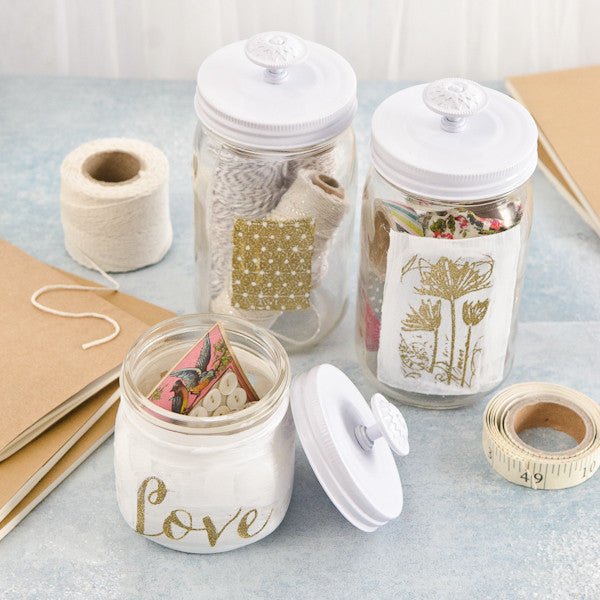
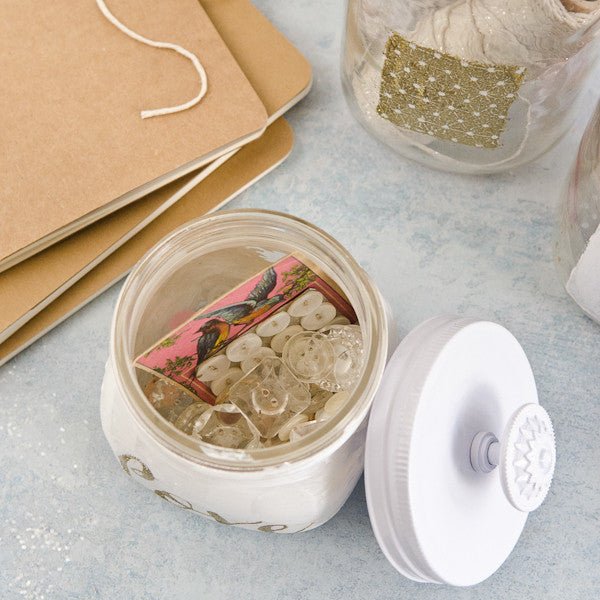
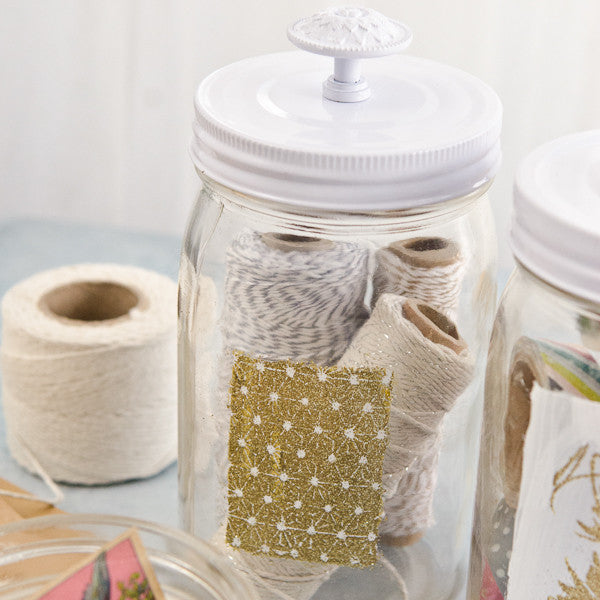
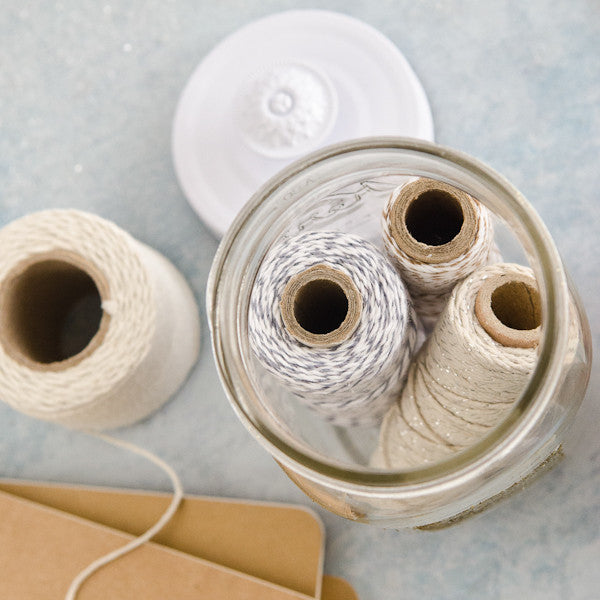
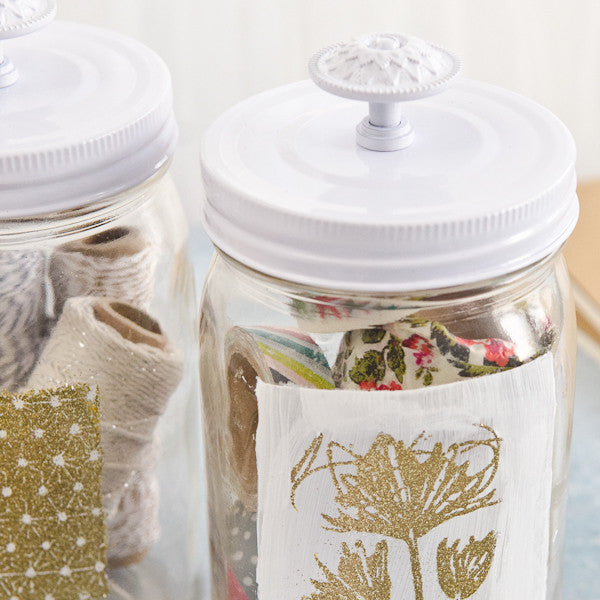
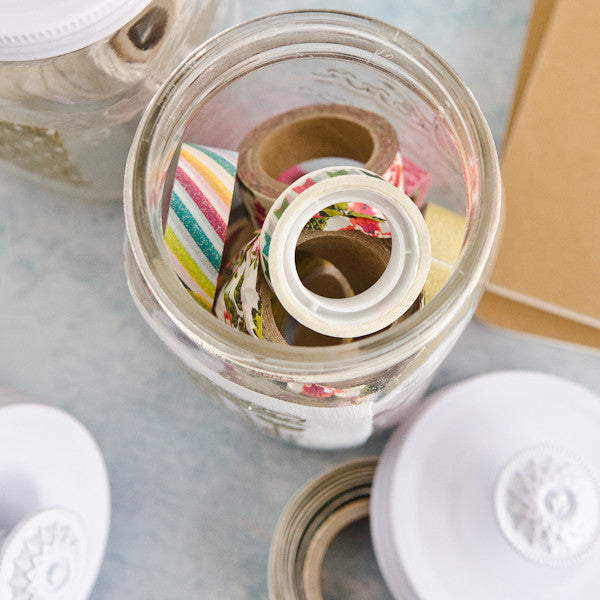
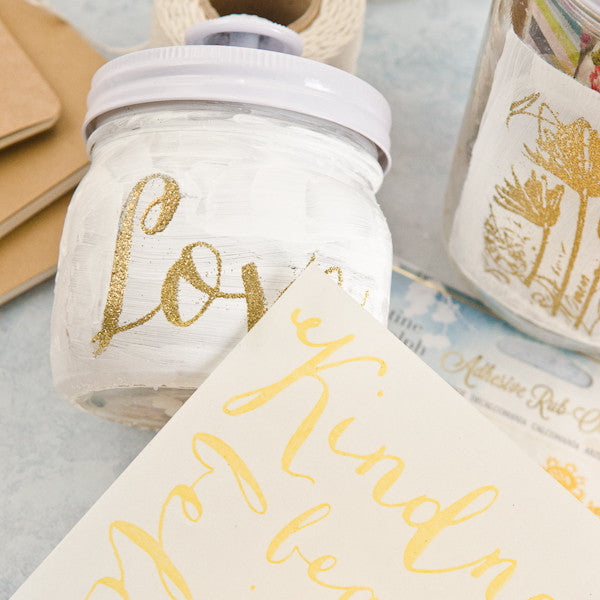
Recently, I’ve been trying to whittle down my craft stash. I have supplies everywhere — under my bed, in my desk drawers, covering the closet, and on top of the dog’s crate. I even store my buttons in my sock drawer! In an effort to reclaim my living quarters and get organized, I made these jars so that my most treasured supplies can stay contained, but also be displayed to their best advantage. I am hoping that putting them out where I can see them will keep me inspired and creating.
White and Gold Embossed Jars Directions:
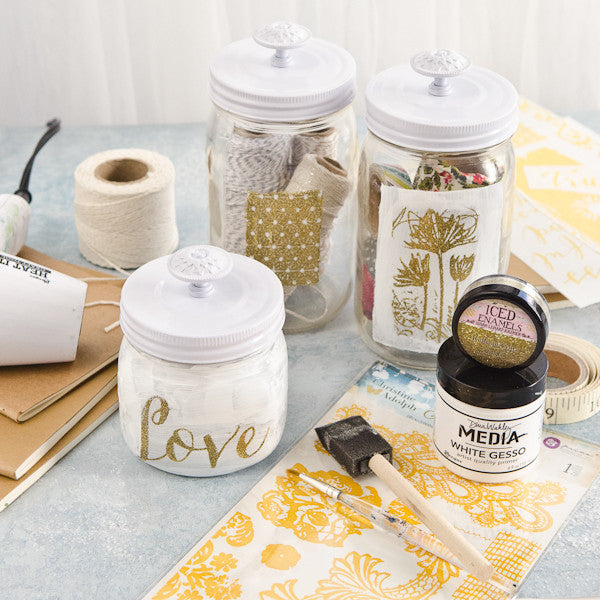
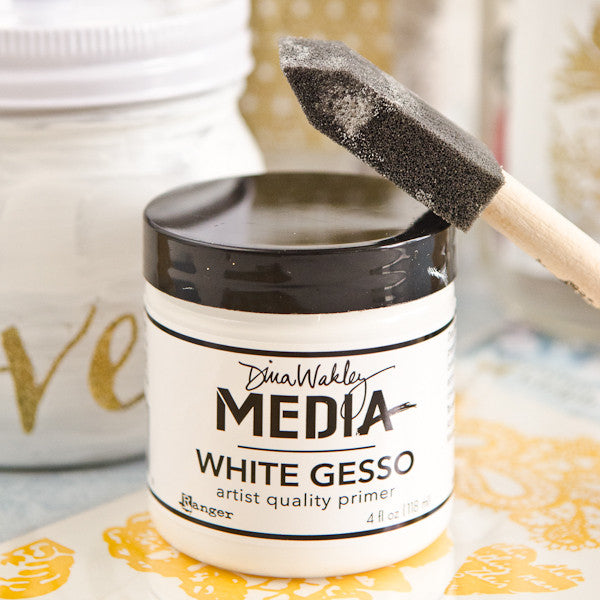
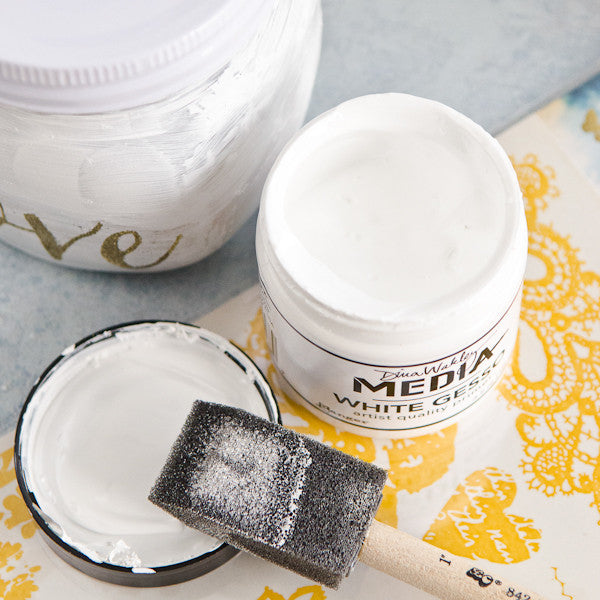
Tape off a shape on the Mason jar with masking tape or washi tape. Paint inside the tape with white gesso. Tip: The rub-ons seem to adhere well to certain types of glass, but won’t adhere at all to other types. Try a small test area to determine if the rub-ons will stick to the glass. If it sticks, you do not need to gesso the area first.
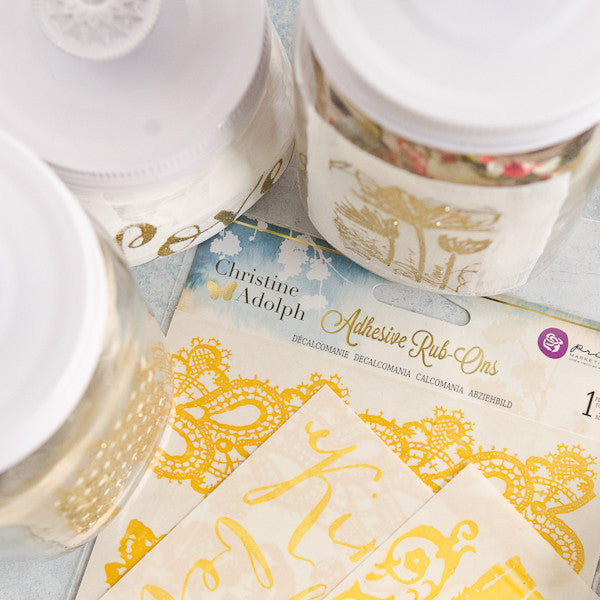
When gesso is completely dry, rub-on Christine Adolph’s Adhesive Rub-Ons onto the white area.
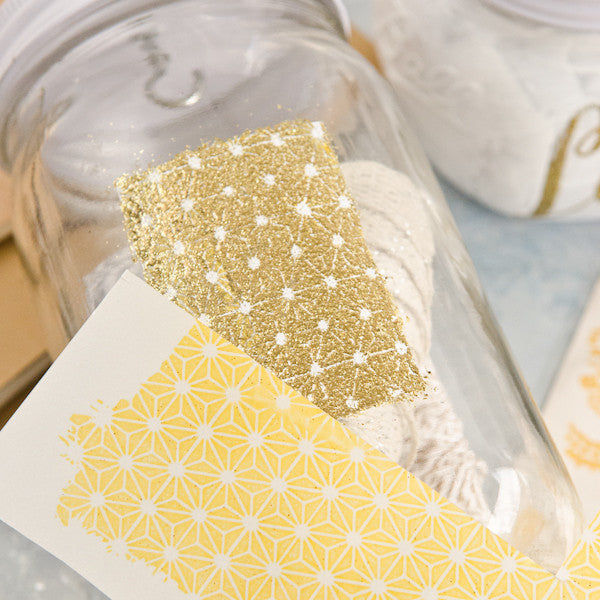
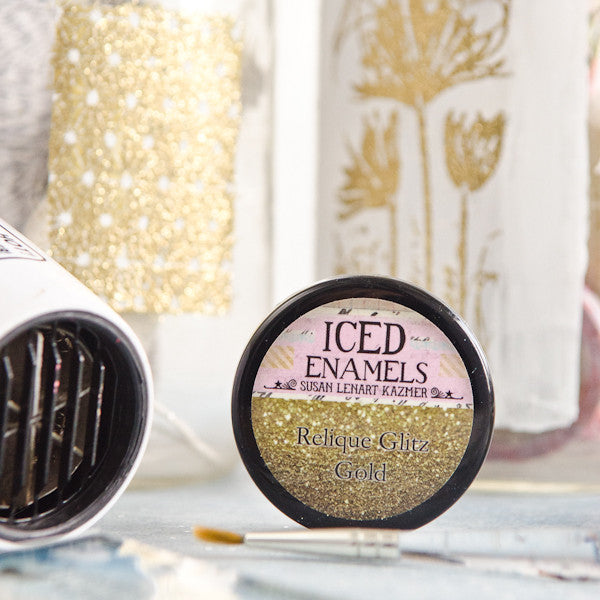
Peel off the backing and sprinkle with Gold Relique Powder. Brush off excess and set with a heat tool.
Tip: This design has a tendency to chip. To ensure that the design is permanent, etch the area before you apply the gesso to give the gesso more tooth to grab onto, and seal the embossed design with a clear acrylic sealer. Top with a Cosmo Cricket Show Topper and fill with your favorite crafting supplies.
Free Shipping on Subscriptions
Easy 60 Day Returns
Friendly Customer
Support


Get Organized: White and Gold Embossed Jars
Frequently asked questions
Looking for a quick answer? Here are some of our customer’s most frequently asked questions to help you along the way.
Thanks for your interest in our magazines! We encourage you to visit our Calls & Challenges page to see what our editors are looking for.
Ready to begin? Here is where you can find our Submission Guidelines.
Our subscriptions ship directly from our printer in Wisconsin. For this reason, we need to be notified of your change of address at least two months before the next issue comes out, or it will be sent to the address we had on file and provided to our printer at the time it was due.
How to Notify Us About Your Change of Address
- Email the following to customerservice@stampington.com:
- The publication(s) you subscribe to
- Your name and new address
- Your old address
2. Call to inform us of your new mailing address:
- Toll-Free: 1-877-782-6737 or International: 1-949-380-7318
Mail Forwarded by the Post Office
If you forward mail to your new address through the Post Office, it won't apply to periodicals/your magazine subscription unfortunately. Also, since mail forwarding only lasts for a short time-frame, we request that you still notify us of your address change to prevent any service interruption to your subscription.
Stampington & Company cannot be held responsible for replacing "lost" issues from your subscription, if we did not receive your change of address request at least two months prior to your next issue's release date.
Subscription issues should arrive within the first week of the month your publication is released. Please add up to two weeks for international delivery.
If your magazine has not arrived by the 20th of the month, please contact our customer service department, so we can check to make sure nothing is amiss with your subscription, and see if you're eligible for a replacement copy. International subscribers can receive a digital version of the magazine as a replacement if one attempt has already been made to deliver the print edition to you.
Stampington & Company cannot be held responsible for postal delays or circumstances outside of our control, but we will make every effort to make it right.
We offer FREE shipping on all magazine subscriptions and instant download purchases to our customers. You can also take advantage of free U.S. shipping on select pre-orders of your favorite magazines (discounted International rates will apply). Browse our selection of Pre-Orders With Free U.S. Shipping here.
What are my shipping charges?
Shipping charges are calculated by weight, shipping destination, and speed. You will be able to choose the best delivery method for your needs at checkout.
To help keep your costs down, we offer a discounted rate of $5.95 to ship a single magazine to you (within the United States).
Need your order fast? We offer the following expedited shipping options:
- 3-day delivery
- 2-day delivery
*Please contact us if you have any questions or special instructions regarding your rush order.
What Carriers do You Use to Ship Items?


