Trick or Treat and Bling its Halloween Project by Kristen Robinson
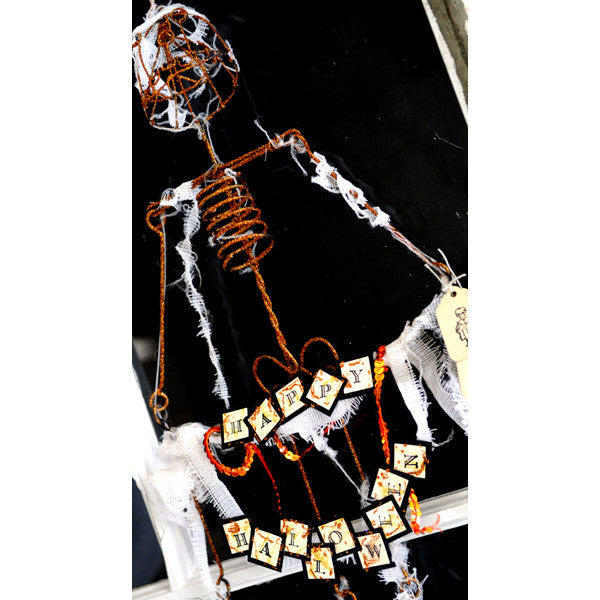
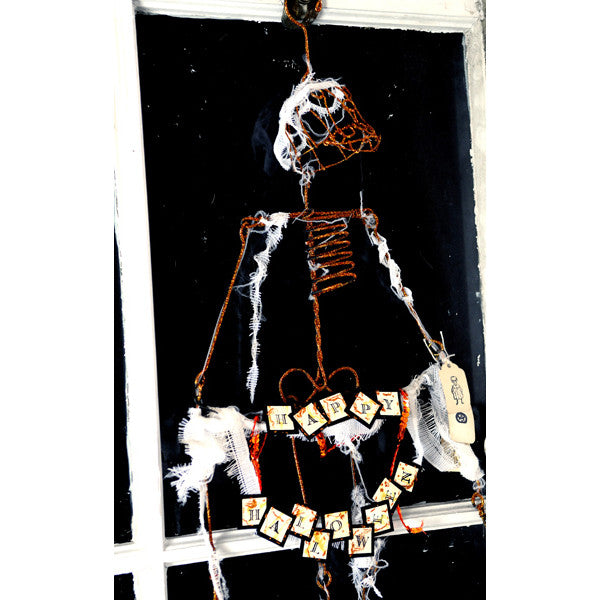
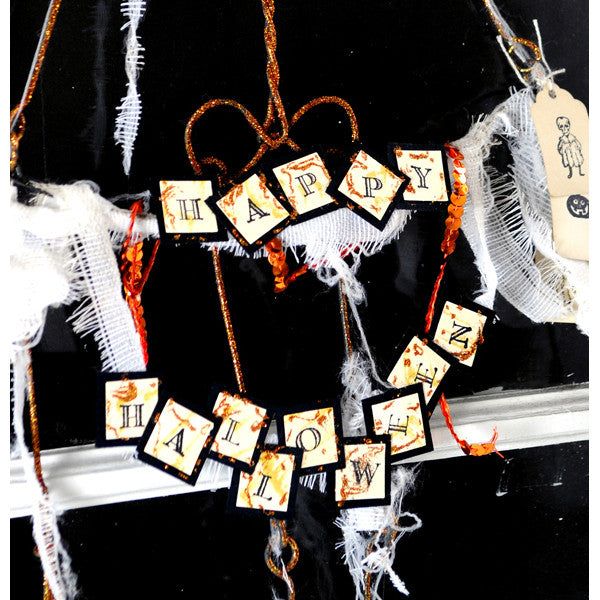
Orange glitter and a bit of bling bring all that’s fun to Halloween. A dash of glitter plays amongst shredded mummy threads on this amazing wire form skeleton, creating the perfect Halloween greeting.
Begin by spraying the front of your wire form with a spray adhesive - do so in a well ventilated area per manufacturer's instructions. Once the front is adequately covered begin applying orange glitter or to the entire form and repeat this process to the back if so desired. If possible hang your skeleton from a hook to insure proper drying. Once the glitter is dry spray the skeleton with a coat of varnish again in a well ventilated area per manufacturer’s instructions.
Cut strips of cheese cloth or gauze to various lengths, and smudge with Walnut Stain Distressed Ink by Ranger. Drape the pieces of cloth or gauze over your skeleton in a random and mummy like fashion.
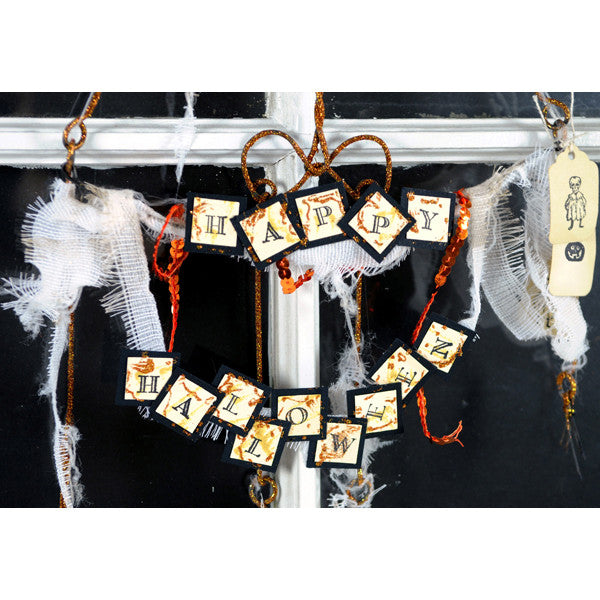
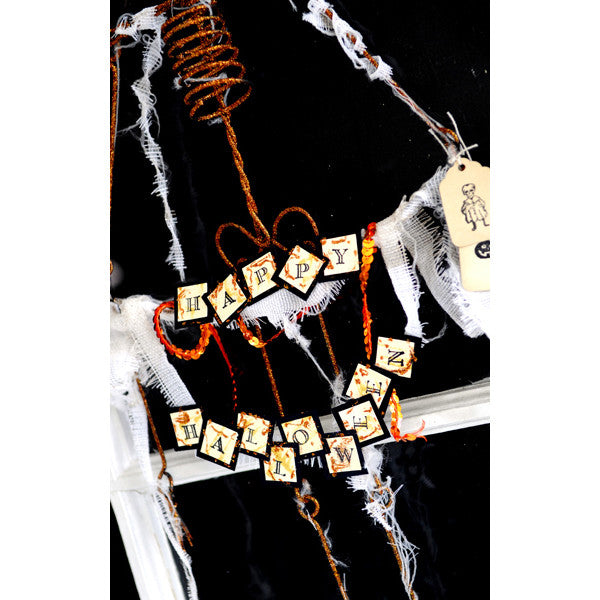
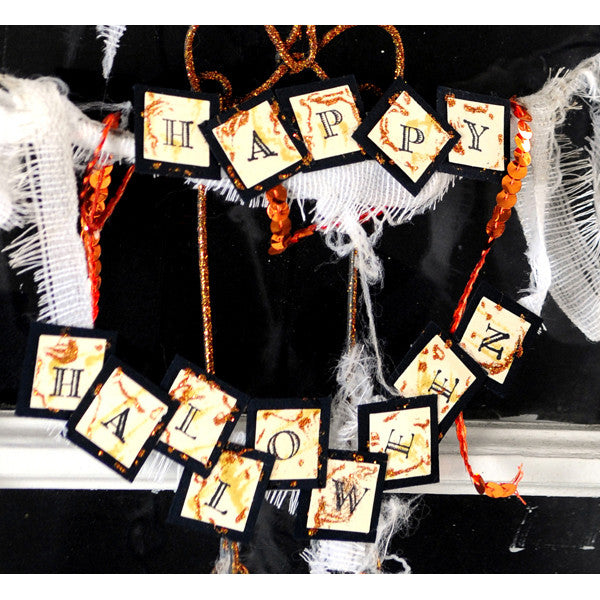
To create the Halloween sign begin with a 6 inch piece of baling wire that has been curled at each end - creating hooks to place through the skeletons joints. To this wire glue a piece of gauze the same length. With a 1 x 1 inch square punch create 14 squares from black cardstock. With crème cardstock and 15/16" x 15/16" square punch create 14 squares.
Using Black Soot Distressed Ink by Ranger create the words "Happy Halloween". With Scatter Straw Distressed Ink by Ranger smudge the edges of the cráme cardstock. Glue your créme and black squares together. For extra dimension randomly add orange glitter to each of the letters. Glue "Happy" together and then glue onto the strip of gauze and wire you attached to the skeleton. Do the same with "Halloween".
To one side of the sign you have created add a few tea dyed tags that have been stamped with various Halloween images. Add a strand of orange sequins to your banner for an extra touch!
Hang your Halloween treat for all to see, welcoming guests into your spooky den of fun!
Free Shipping on Subscriptions
Easy 60 Day Returns
Friendly Customer
Support


Trick or Treat and Bling its Halloween Project by Kristen Robinson
Frequently asked questions
Looking for a quick answer? Here are some of our customer’s most frequently asked questions to help you along the way.
Thanks for your interest in our magazines! We encourage you to visit our Calls & Challenges page to see what our editors are looking for.
Ready to begin? Here is where you can find our Submission Guidelines.
Our subscriptions ship directly from our printer in Wisconsin. For this reason, we need to be notified of your change of address at least two months before the next issue comes out, or it will be sent to the address we had on file and provided to our printer at the time it was due.
How to Notify Us About Your Change of Address
- Email the following to customerservice@stampington.com:
- The publication(s) you subscribe to
- Your name and new address
- Your old address
2. Call to inform us of your new mailing address:
- Toll-Free: 1-877-782-6737 or International: 1-949-380-7318
Mail Forwarded by the Post Office
If you forward mail to your new address through the Post Office, it won't apply to periodicals/your magazine subscription unfortunately. Also, since mail forwarding only lasts for a short time-frame, we request that you still notify us of your address change to prevent any service interruption to your subscription.
Stampington & Company cannot be held responsible for replacing "lost" issues from your subscription, if we did not receive your change of address request at least two months prior to your next issue's release date.
Subscription issues should arrive within the first week of the month your publication is released. Please add up to two weeks for international delivery.
If your magazine has not arrived by the 20th of the month, please contact our customer service department, so we can check to make sure nothing is amiss with your subscription, and see if you're eligible for a replacement copy. International subscribers can receive a digital version of the magazine as a replacement if one attempt has already been made to deliver the print edition to you.
Stampington & Company cannot be held responsible for postal delays or circumstances outside of our control, but we will make every effort to make it right.
We offer FREE shipping on all magazine subscriptions and instant download purchases to our customers. You can also take advantage of free U.S. shipping on select pre-orders of your favorite magazines (discounted International rates will apply). Browse our selection of Pre-Orders With Free U.S. Shipping here.
What are my shipping charges?
Shipping charges are calculated by weight, shipping destination, and speed. You will be able to choose the best delivery method for your needs at checkout.
To help keep your costs down, we offer a discounted rate of $5.95 to ship a single magazine to you (within the United States).
Need your order fast? We offer the following expedited shipping options:
- 3-day delivery
- 2-day delivery
*Please contact us if you have any questions or special instructions regarding your rush order.
What Carriers do You Use to Ship Items?


