Little One Project
Pages:
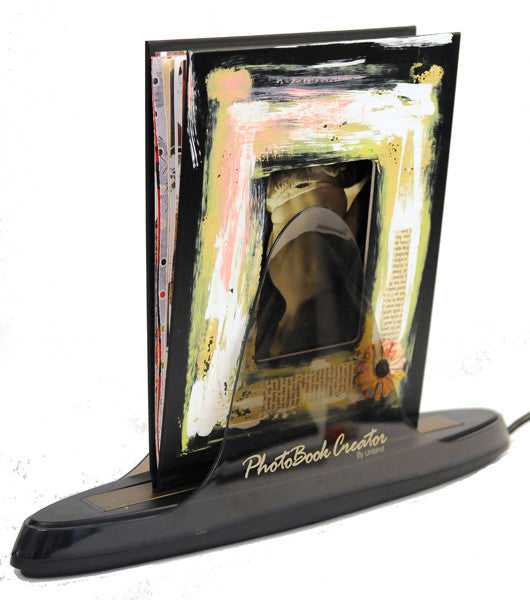
The inspiration for the theme of my scrapbook came from using "The Scrapbooker's Creativity Kit". This fun kit designed by Claudine Hellmuth includes a book and card decks with fun themes and colors to get you started and spark the creativity in you! I chose one color card and one theme and ended up with red + little one. Since I have a daughter it made it really easy to choose my subject! I see so many scrapbook layouts with baby themes that have lots of pastels and cute embellishments so I was really excited to have chosen the red color card because this pushed me to create something really different. I began with the 8½" x 11" black book cover, and Book Creator machine.
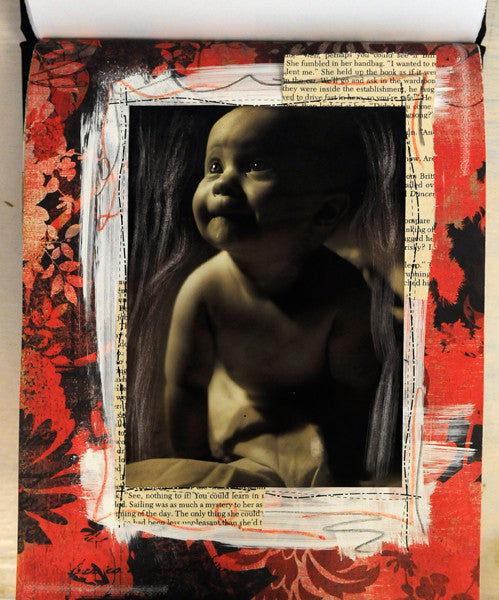
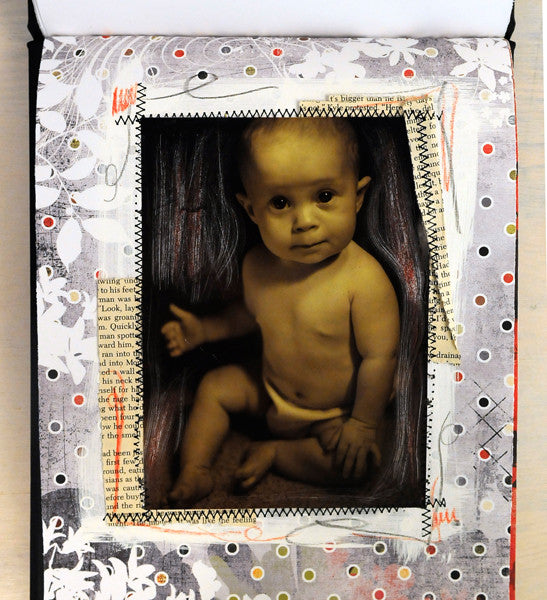
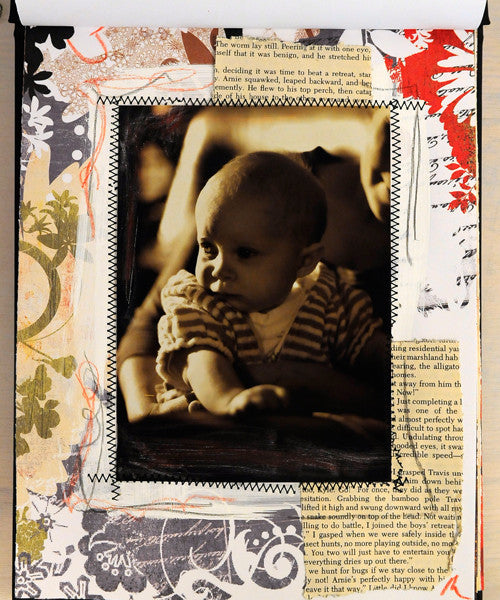
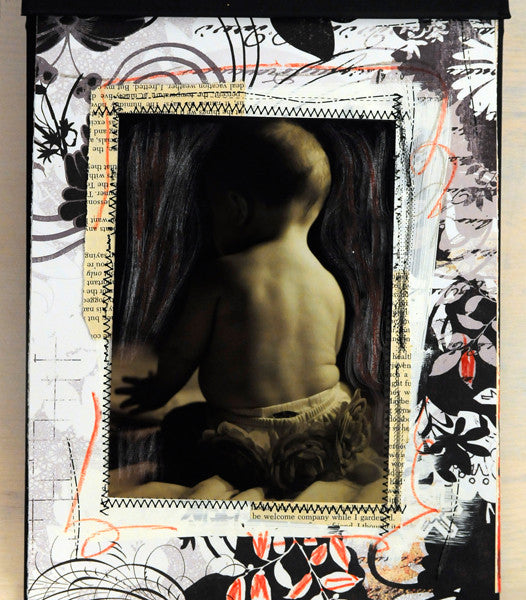
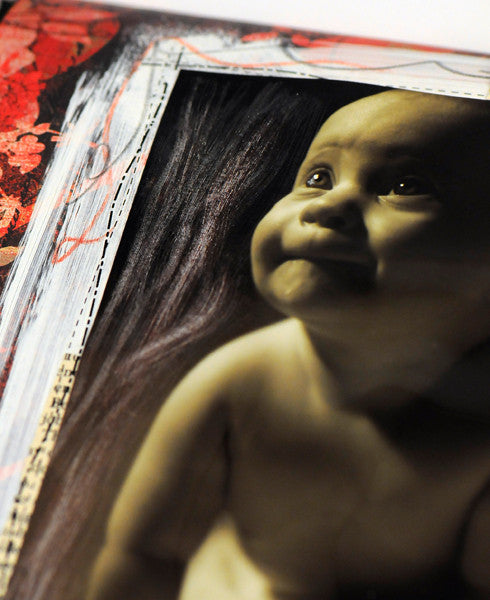
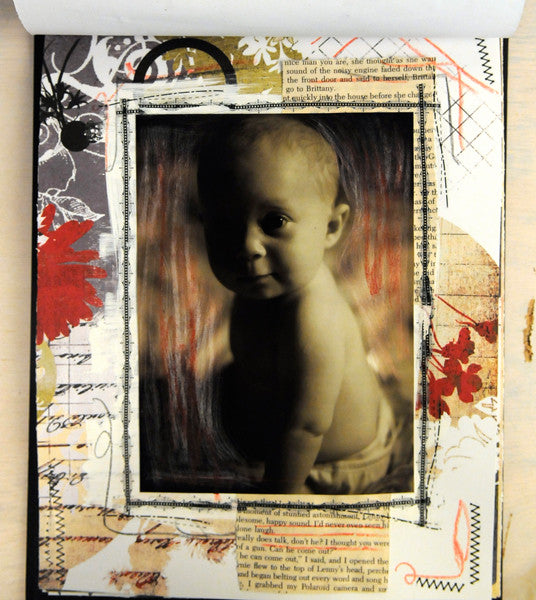
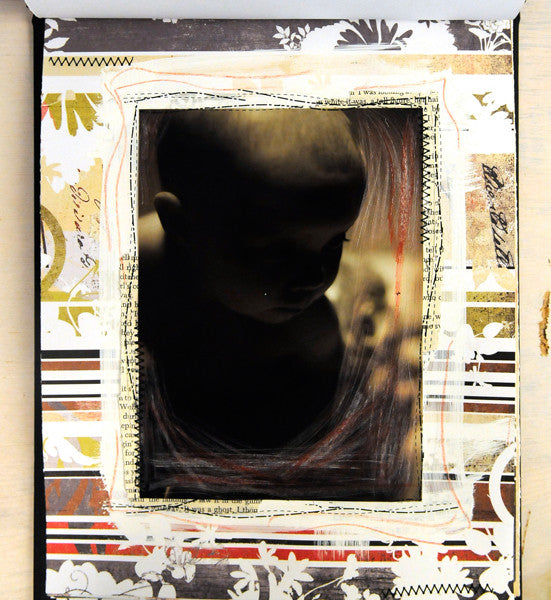
Each machine comes with one free book cover in the kit but you can also purchase them separately. I chose the Basic Grey Scarlet’s Letter collection because it has stunning patterns and the red color is consistent in the designs. Cut down all your background Basic Grey papers to 8"x10." Since I used just one picture per page, I chose 5"x7" photographs. Use white acrylic paint and on each page roughly paint a white square. This will be the frame for the pictures when you glue them on. Take some torn up pieces of vintage book paper and glue onto the frames in various areas, leaving a little to hang over the edge so you will see it when the photos are attached. Allow the paint and glue from the book papers to dry. While waiting, you can start decorating your pictures with the photo scratching tool.
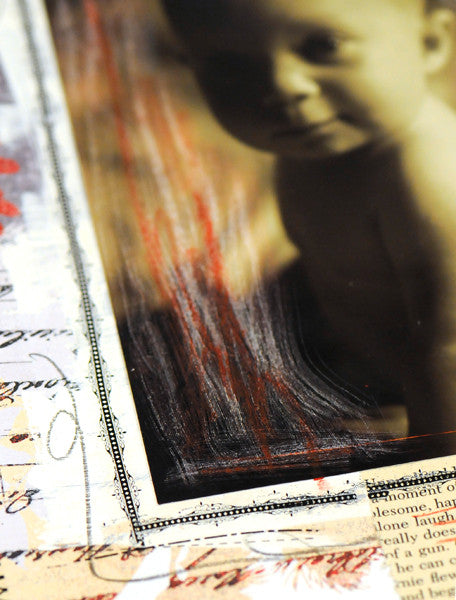
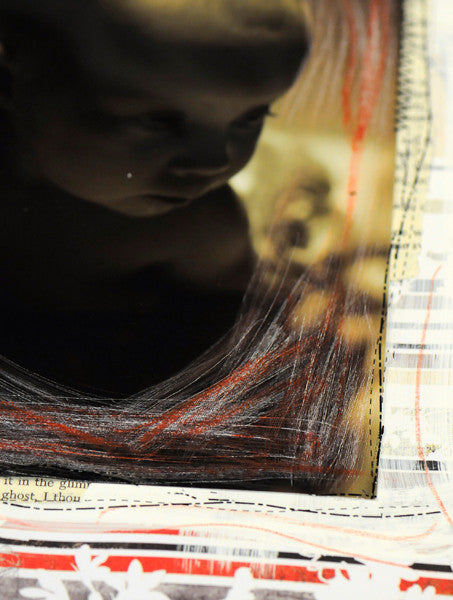
I chose to scratch out the really dark areas of the pictures so that the focus on the pictures would really stand out. After scratching the areas I took a red crayon and did some random doodles and coloring over the top of the scratching. Now you can start gluing the photos onto the layouts! You can choose to create a vertical or horizontal album, both will work fine. After all the pictures are attached to the layouts, take the Daisy D’s rub-on tape runners and randomly decorate the edges of the pictures to create some cool borders. Mix them up and try use two styles on one page! Next take a red and black crayon and doodle as desired. I mainly doodled near the corners of the pictures but the possibilities are endless.
Cover:
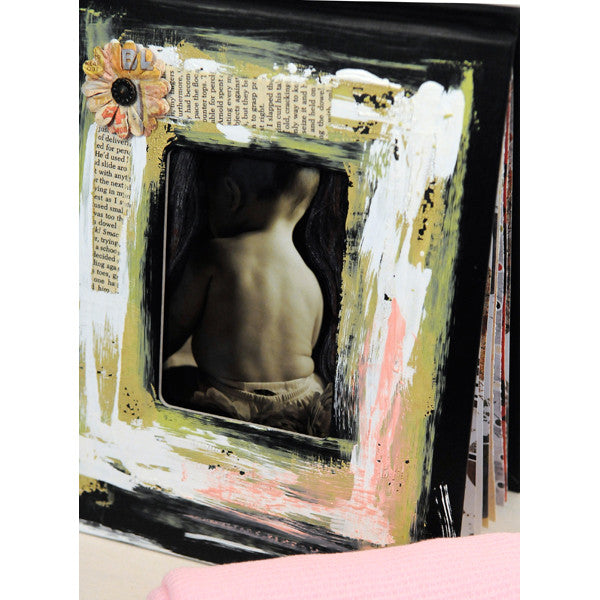
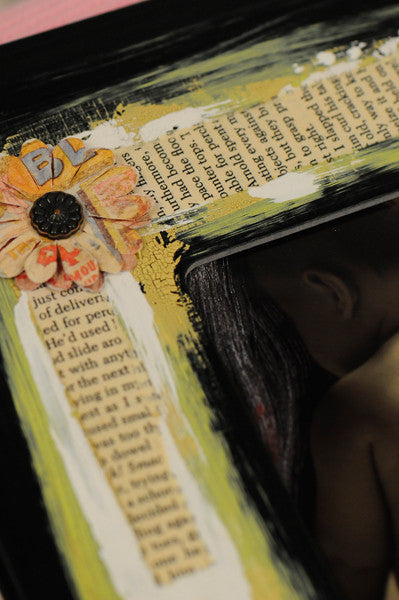
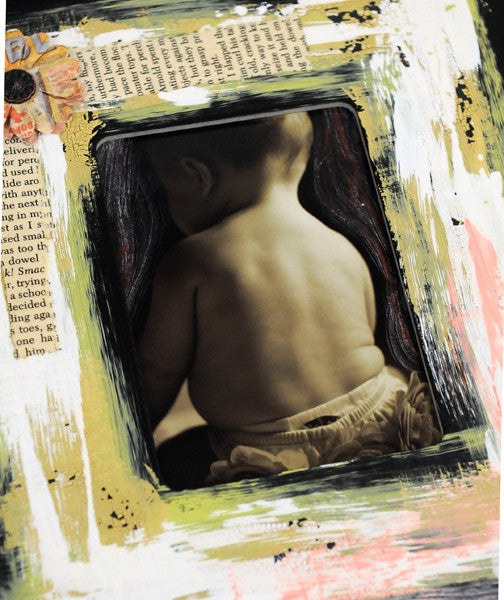
After the pages were all finished I chose from favorite to use as the first page because this is the one you will see through the window. I decided to alter the cover and tried to get creative using various paints. I began by painting around the window with the green paint then after the green had dried I painted roughly over the top of it with the crackle paint and then added some white paint, and finally I added just a little pink paint to the bottom right corner. I added two strips of the book paper to the top left corner. Once everything is completely dry, paint over the cover with a good quality sealing adhesive. For the final touch add a few Prima Artful Flowers to the top left corner.
Binding:
Make sure all your pages are in the order you want them. Insert them into the book cover. Turn the book creator machine on by simply plugging it in. Let the book stand in the machine for approximately two minutes, full instructions for required times are included with the machine. Once you take it out its bound and ready to show your friends and family!
Free Shipping on Subscriptions
Easy 60 Day Returns
Friendly Customer
Support


Frequently asked questions
Looking for a quick answer? Here are some of our customer’s most frequently asked questions to help you along the way.
Thanks for your interest in our magazines! We encourage you to visit our Calls & Challenges page to see what our editors are looking for.
Ready to begin? Here is where you can find our Submission Guidelines.
Our subscriptions ship directly from our printer in Wisconsin. For this reason, we need to be notified of your change of address at least two months before the next issue comes out, or it will be sent to the address we had on file and provided to our printer at the time it was due.
How to Notify Us About Your Change of Address
- Email the following to customerservice@stampington.com:
- The publication(s) you subscribe to
- Your name and new address
- Your old address
2. Call to inform us of your new mailing address:
- Toll-Free: 1-877-782-6737 or International: 1-949-380-7318
Mail Forwarded by the Post Office
If you forward mail to your new address through the Post Office, it won't apply to periodicals/your magazine subscription unfortunately. Also, since mail forwarding only lasts for a short time-frame, we request that you still notify us of your address change to prevent any service interruption to your subscription.
Stampington & Company cannot be held responsible for replacing "lost" issues from your subscription, if we did not receive your change of address request at least two months prior to your next issue's release date.
Subscription issues should arrive within the first week of the month your publication is released. Please add up to two weeks for international delivery.
If your magazine has not arrived by the 20th of the month, please contact our customer service department, so we can check to make sure nothing is amiss with your subscription, and see if you're eligible for a replacement copy. International subscribers can receive a digital version of the magazine as a replacement if one attempt has already been made to deliver the print edition to you.
Stampington & Company cannot be held responsible for postal delays or circumstances outside of our control, but we will make every effort to make it right.
We offer FREE shipping on all magazine subscriptions and instant download purchases to our customers. You can also take advantage of free U.S. shipping on select pre-orders of your favorite magazines (discounted International rates will apply). Browse our selection of Pre-Orders With Free U.S. Shipping here.
What are my shipping charges?
Shipping charges are calculated by weight, shipping destination, and speed. You will be able to choose the best delivery method for your needs at checkout.
To help keep your costs down, we offer a discounted rate of $5.95 to ship a single magazine to you (within the United States).
Need your order fast? We offer the following expedited shipping options:
- 3-day delivery
- 2-day delivery
*Please contact us if you have any questions or special instructions regarding your rush order.
What Carriers do You Use to Ship Items?


