

DIY Henna Project
Get ready for a girls' night project! This quick and easy henna recipe is chemical-free and all-natural, as well as providing a fun way to express yourself. Whether you are creating temporary tattoo designs or delicate mandalas, this new kit is a fun way to spend a Friday night.
DIY Henna Project Directions:
Sift 1/4 cup of henna powder to ensure that there are no clumps.
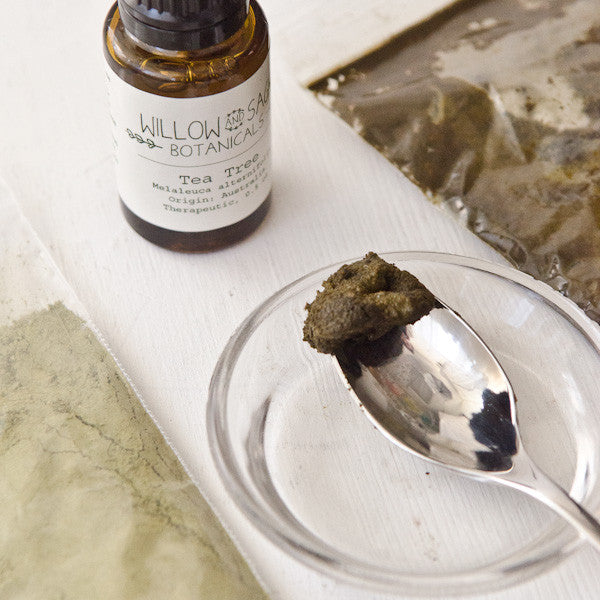
Add 1/4 cup of lemon juice to the henna powder, stirring until it is a smooth paste. You may need more or less lemon juice depending on consistency.
Add 1/2 tsp of sugar and 1 1/2 tsp of tea tree essential oil to the mixture.
Cover the mixture and allow it to rest for 24 hours at room temperature to allow the dye to be drawn out from the henna powder.
Make sure the skin is dry and not oily. Prep the surface with rubbing alcohol if the skin is oily or dirty. To prep the henna mixture, you'll want to add additional lemon juice or water while thoroughly mixing until the substance is a little thinner than frosting.
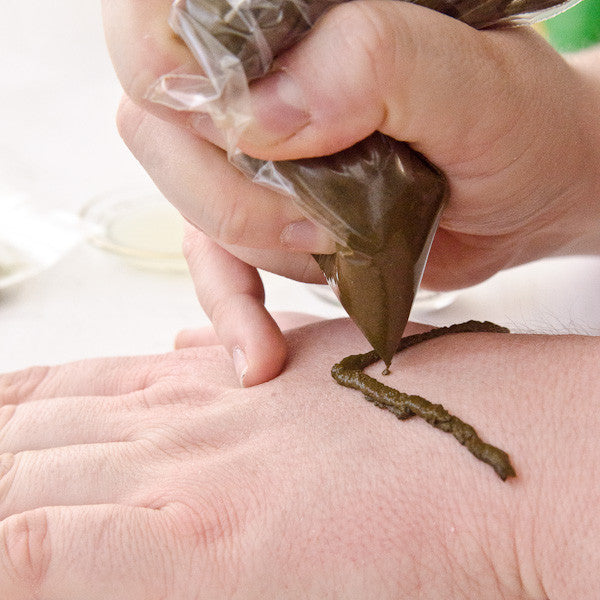
Apply henna with a cake decorating icing tip or a plastic baggie with the corner cut. If you are using the bag provided with the henna powder, add extra lemon juice to thin the mixture and do not put too much pressure on the side seams of the bag. An icing baggie is recommended.
Keep design covered and undisturbed until henna has begun to crack. This indicates that the dyes are absorbing into the skin.
Gently wash away henna flakes with a mild soap to reveal design. Note: dab at the design, but do not scrub. This will help the design last longer.
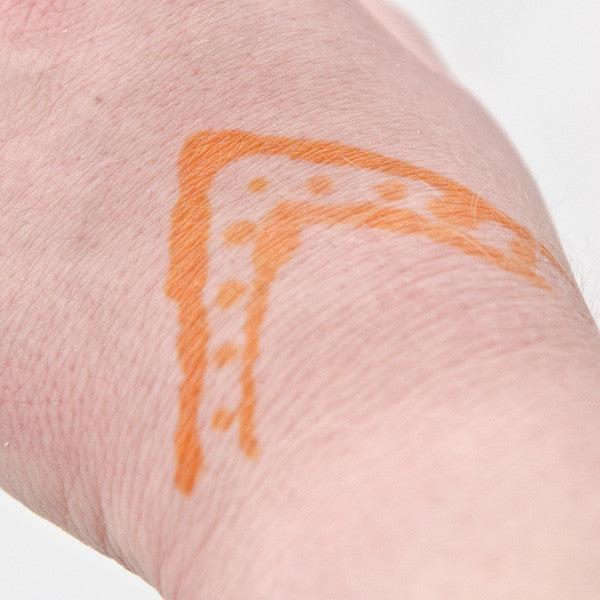
Note: Henna tattoos will vary based on skin type, tone, and texture. The image above shows a henna tattoo after letting the dye sit on the skin for 1 hour. The henna pattern will darken a bit after from an orange to a brown color.
The information provided on stampington.com is not intended to diagnose, prevent, or treat any medical condition. Content is based on personal research and experiences and is meant for entertainment purposes only. We are not licensed nutritionists or medical professionals. You should always consult with your doctor.
NOTE: Always test a small area of your skin first, to check for sensitivity. Please avoid contact with eyes and approach all oils with extreme caution if you have any skin allergies. Please seek professional advice prior to using essential oils while pregnant or nursing.
Free Shipping on Subscriptions
Easy 60 Day Returns
Friendly Customer
Support


Frequently asked questions
Looking for a quick answer? Here are some of our customer’s most frequently asked questions to help you along the way.
Thanks for your interest in our magazines! We encourage you to visit our Calls & Challenges page to see what our editors are looking for.
Ready to begin? Here is where you can find our Submission Guidelines.
Our subscriptions ship directly from our printer in Wisconsin. For this reason, we need to be notified of your change of address at least two months before the next issue comes out, or it will be sent to the address we had on file and provided to our printer at the time it was due.
How to Notify Us About Your Change of Address
- Email the following to customerservice@stampington.com:
- The publication(s) you subscribe to
- Your name and new address
- Your old address
2. Call to inform us of your new mailing address:
- Toll-Free: 1-877-782-6737 or International: 1-949-380-7318
Mail Forwarded by the Post Office
If you forward mail to your new address through the Post Office, it won't apply to periodicals/your magazine subscription unfortunately. Also, since mail forwarding only lasts for a short time-frame, we request that you still notify us of your address change to prevent any service interruption to your subscription.
Stampington & Company cannot be held responsible for replacing "lost" issues from your subscription, if we did not receive your change of address request at least two months prior to your next issue's release date.
Subscription issues should arrive within the first week of the month your publication is released. Please add up to two weeks for international delivery.
If your magazine has not arrived by the 20th of the month, please contact our customer service department, so we can check to make sure nothing is amiss with your subscription, and see if you're eligible for a replacement copy. International subscribers can receive a digital version of the magazine as a replacement if one attempt has already been made to deliver the print edition to you.
Stampington & Company cannot be held responsible for postal delays or circumstances outside of our control, but we will make every effort to make it right.
We offer FREE shipping on all magazine subscriptions and instant download purchases to our customers. You can also take advantage of free U.S. shipping on select pre-orders of your favorite magazines (discounted International rates will apply). Browse our selection of Pre-Orders With Free U.S. Shipping here.
What are my shipping charges?
Shipping charges are calculated by weight, shipping destination, and speed. You will be able to choose the best delivery method for your needs at checkout.
To help keep your costs down, we offer a discounted rate of $5.95 to ship a single magazine to you (within the United States).
Need your order fast? We offer the following expedited shipping options:
- 3-day delivery
- 2-day delivery
*Please contact us if you have any questions or special instructions regarding your rush order.
What Carriers do You Use to Ship Items?


