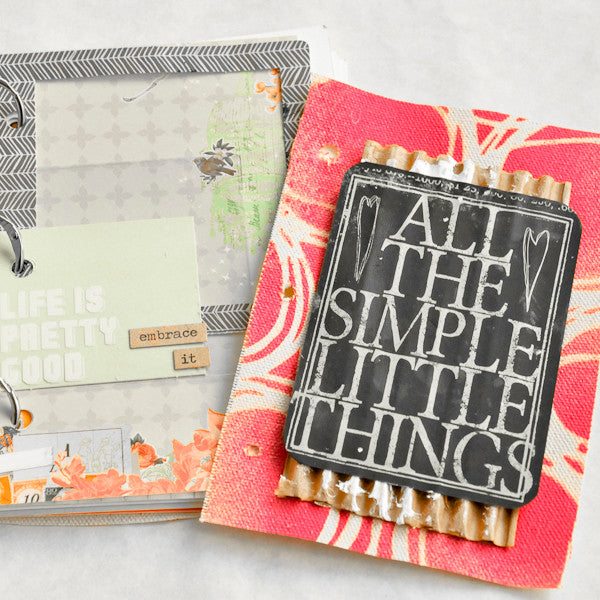
All the Simple Little Things An Art Journal Project
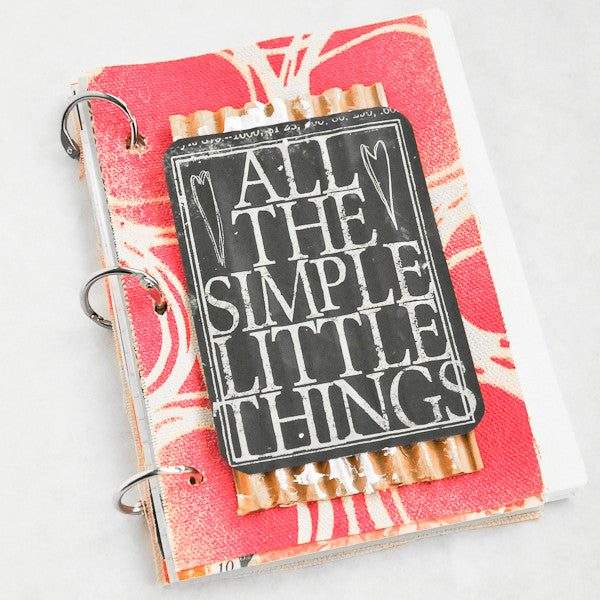
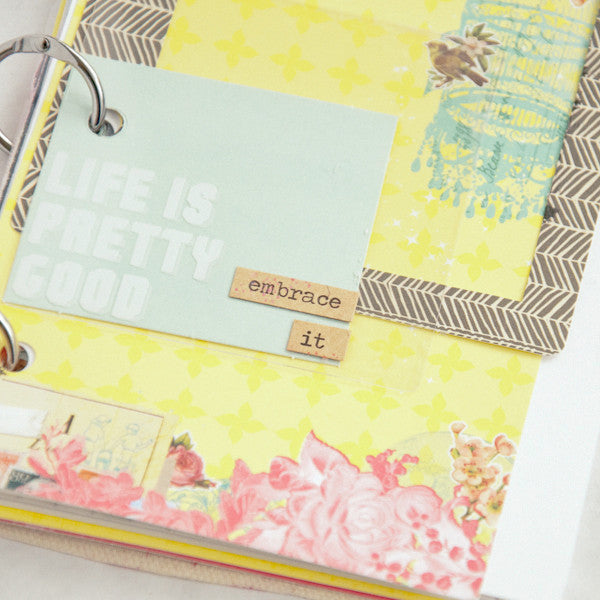
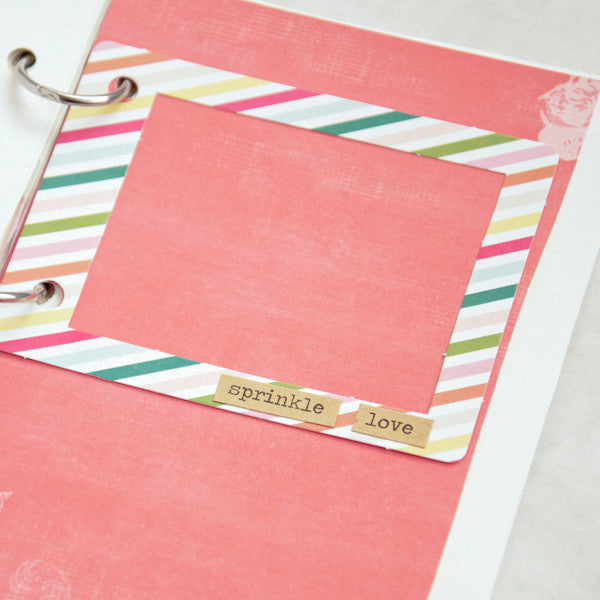
Nothing screams the New Year like a brand new journal. Instead of purchasing one, I decided to create my own mini-art journal with a few pieces of cardstock, watercolor paper, and embellishments. To start out, I wanted to keep the journal small so that I didn't feel too intimidated by it. I used the 7gypsies Binding Rings to hold everything together, and so that I can add more paper whenever I am ready.
All The Simple Little Things – An Art Journal Project Instructions:
- First, stencil pattern onto one full size canvas sheet from Prima Marketing Mixed Media Album Sheets with Distress Spray Stain. Mine measures approximately 4 by 6 inches.
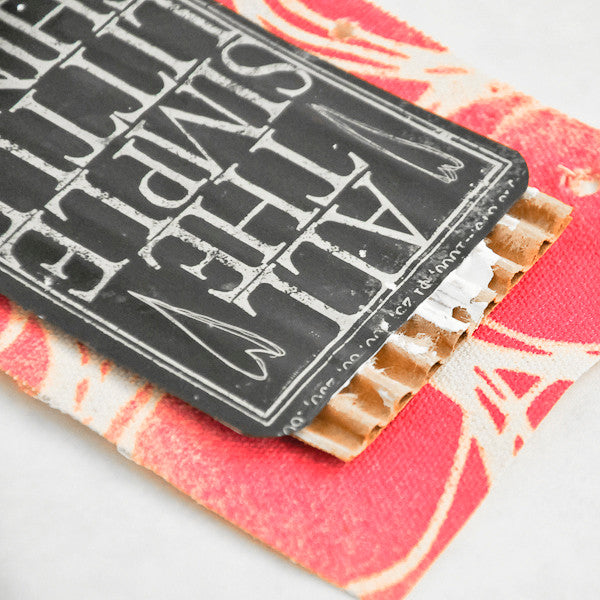
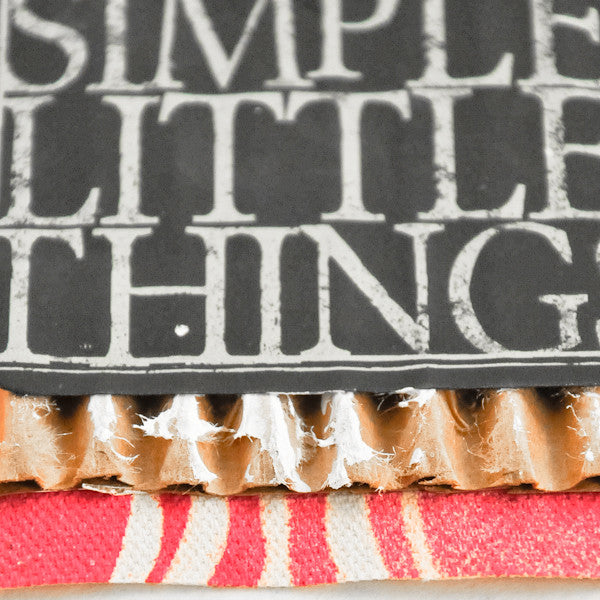
- Tear a piece of corrugated cardboard so that it's a bit smaller than the journal cover, and then coat with a light layer of gesso; let dry.
- Adhere a Chalk Journal Note Card to the cardboard with gel medium. Once dry, adhere all of the layers to the center of the canvas. Use clamps or binder clips to hold the cardboard in place until dry.
- Cut sheets of cardstock and watercolor paper to measure approximately 4 by 6 inches. If you are looking for a more muted/neutral look, use the paper from the Mixed Media Album Sheets, or you can use decorative cardstock to add more color. And remember, the pages don't have to be perfectly cut — this will add more character to your journal.
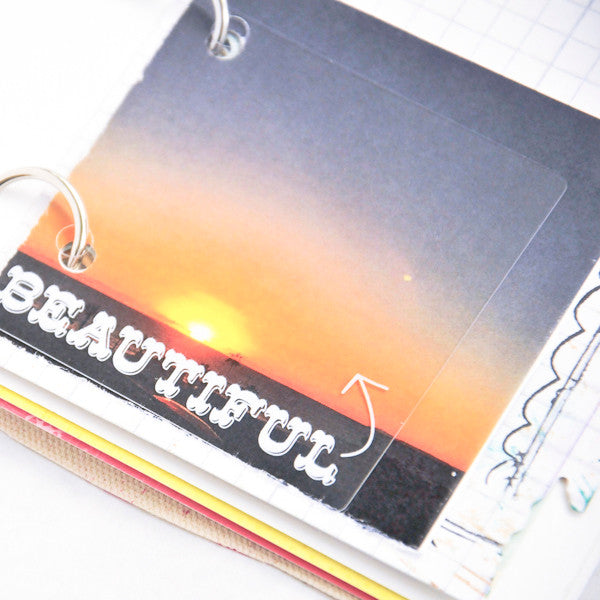
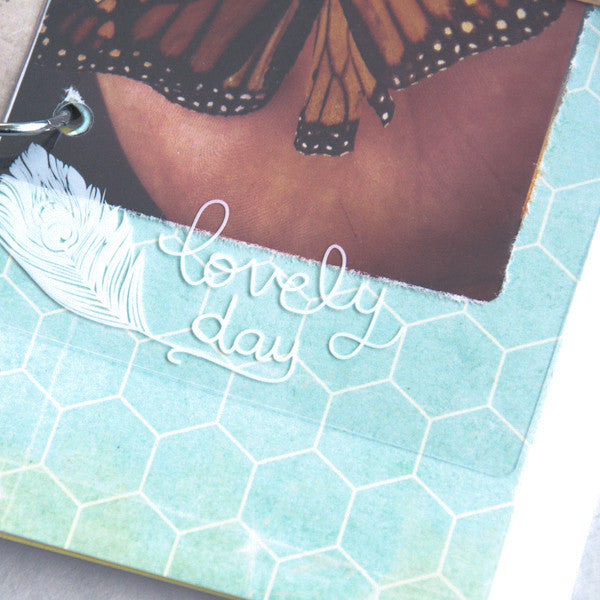
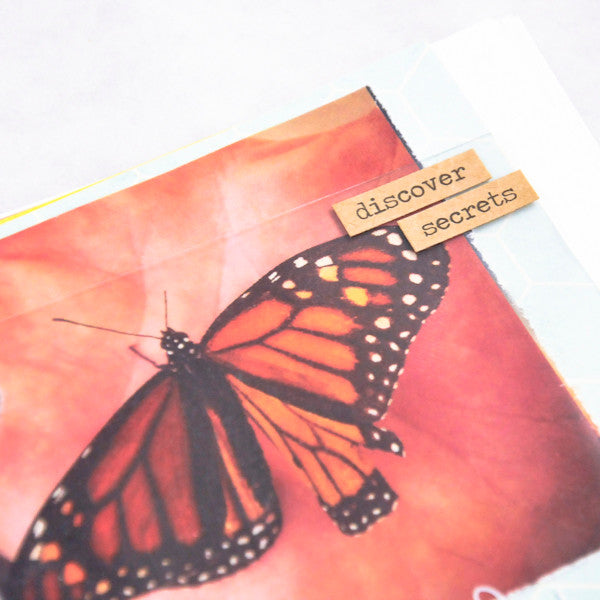
- Add even more layers and dimension with Prima Marketing's Insta-Scrap Transparencies and Frames. You can even include a few of Tim Holtz's Chitchat Stickers for prompts and inspiration. For a personal touch, print personal photos, cut them to size, and layer them behind the Insta-Scrap Transparencies.
- When you're done altering your pages, layer them together. Remember to alternate between transparencies, photos, frames, cardstock, and watercolor paper.
- Cut a template to size and then punch three holes using a hole-punch. Again, remember the holes don't need to be perfect. Punch holes onto all the layers of your journal, including the front and back covers.
- Finally, use binding rings to bind the journal pages.
Free Shipping on Subscriptions
Easy 60 Day Returns
Friendly Customer
Support


All the Simple Little Things An Art Journal Project
Frequently asked questions
Looking for a quick answer? Here are some of our customer’s most frequently asked questions to help you along the way.
Thanks for your interest in our magazines! We encourage you to visit our Calls & Challenges page to see what our editors are looking for.
Ready to begin? Here is where you can find our Submission Guidelines.
Our subscriptions ship directly from our printer in Wisconsin. For this reason, we need to be notified of your change of address at least two months before the next issue comes out, or it will be sent to the address we had on file and provided to our printer at the time it was due.
How to Notify Us About Your Change of Address
- Email the following to customerservice@stampington.com:
- The publication(s) you subscribe to
- Your name and new address
- Your old address
2. Call to inform us of your new mailing address:
- Toll-Free: 1-877-782-6737 or International: 1-949-380-7318
Mail Forwarded by the Post Office
If you forward mail to your new address through the Post Office, it won't apply to periodicals/your magazine subscription unfortunately. Also, since mail forwarding only lasts for a short time-frame, we request that you still notify us of your address change to prevent any service interruption to your subscription.
Stampington & Company cannot be held responsible for replacing "lost" issues from your subscription, if we did not receive your change of address request at least two months prior to your next issue's release date.
Subscription issues should arrive within the first week of the month your publication is released. Please add up to two weeks for international delivery.
If your magazine has not arrived by the 20th of the month, please contact our customer service department, so we can check to make sure nothing is amiss with your subscription, and see if you're eligible for a replacement copy. International subscribers can receive a digital version of the magazine as a replacement if one attempt has already been made to deliver the print edition to you.
Stampington & Company cannot be held responsible for postal delays or circumstances outside of our control, but we will make every effort to make it right.
We offer FREE shipping on all magazine subscriptions and instant download purchases to our customers. You can also take advantage of free U.S. shipping on select pre-orders of your favorite magazines (discounted International rates will apply). Browse our selection of Pre-Orders With Free U.S. Shipping here.
What are my shipping charges?
Shipping charges are calculated by weight, shipping destination, and speed. You will be able to choose the best delivery method for your needs at checkout.
To help keep your costs down, we offer a discounted rate of $5.95 to ship a single magazine to you (within the United States).
Need your order fast? We offer the following expedited shipping options:
- 3-day delivery
- 2-day delivery
*Please contact us if you have any questions or special instructions regarding your rush order.
What Carriers do You Use to Ship Items?


