

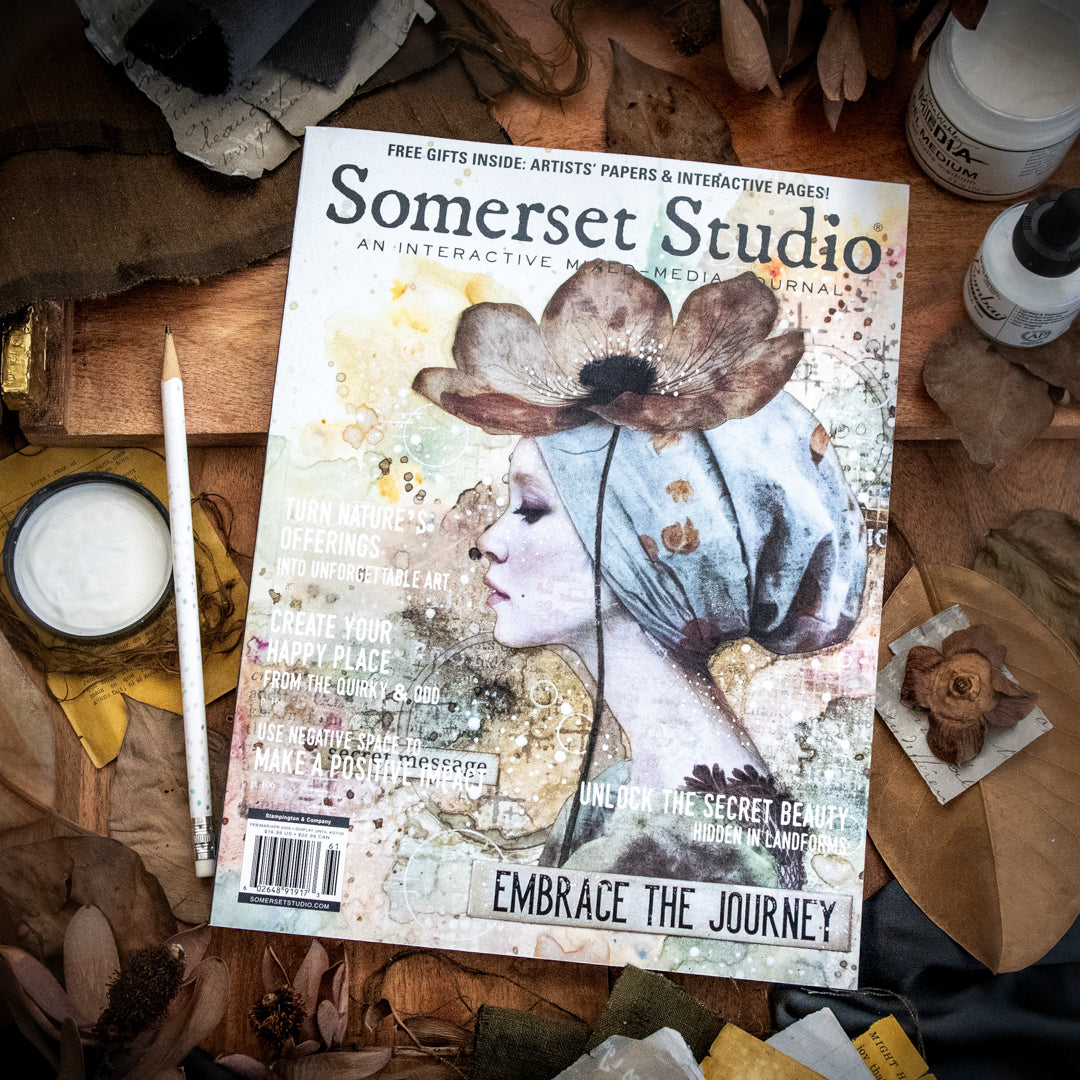


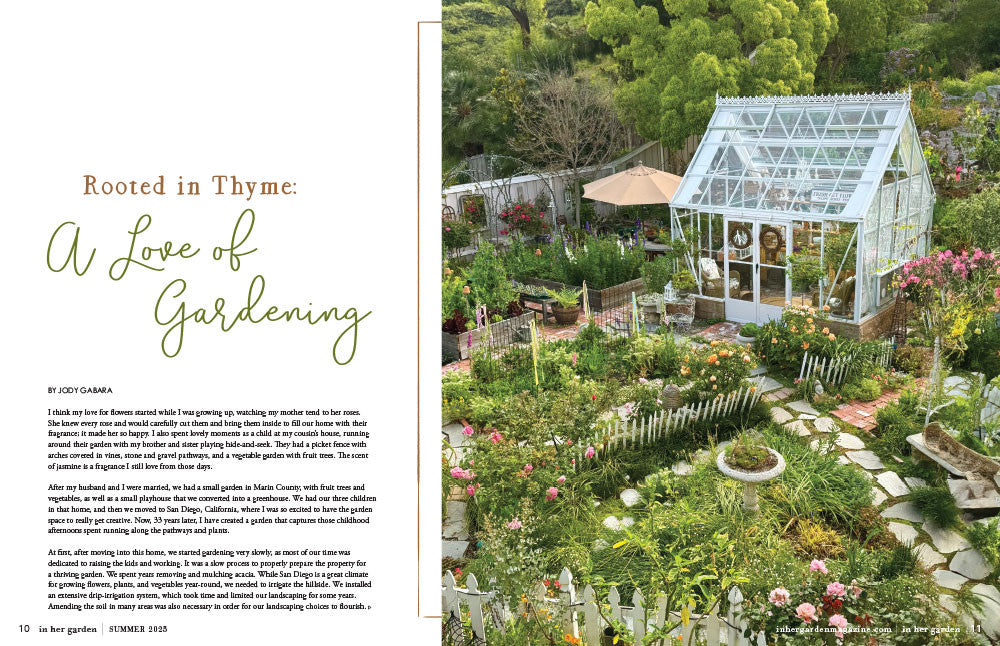
6 Pumpkin-Themed DIY Craft Projects to Inspire Your Creativity This Autumn
Autumn has officially arrived and we could not be more thrilled! Whether it be a centerpiece for the table, mantle decor, or a thoughtful autumnal gift, there are countless exciting ways to get your creative juices flowing this season! Today we're sharing 6 of our favorite pumpkin-themed DIY craft projects that are perfect for kicking off the fall festivities. See below for these adorable projects and accompanying tutorials - and be sure to tag your projects with #somersetmade on Instagram so we can take a peek!
6 Pumpkin-Themed DIY Craft Projects
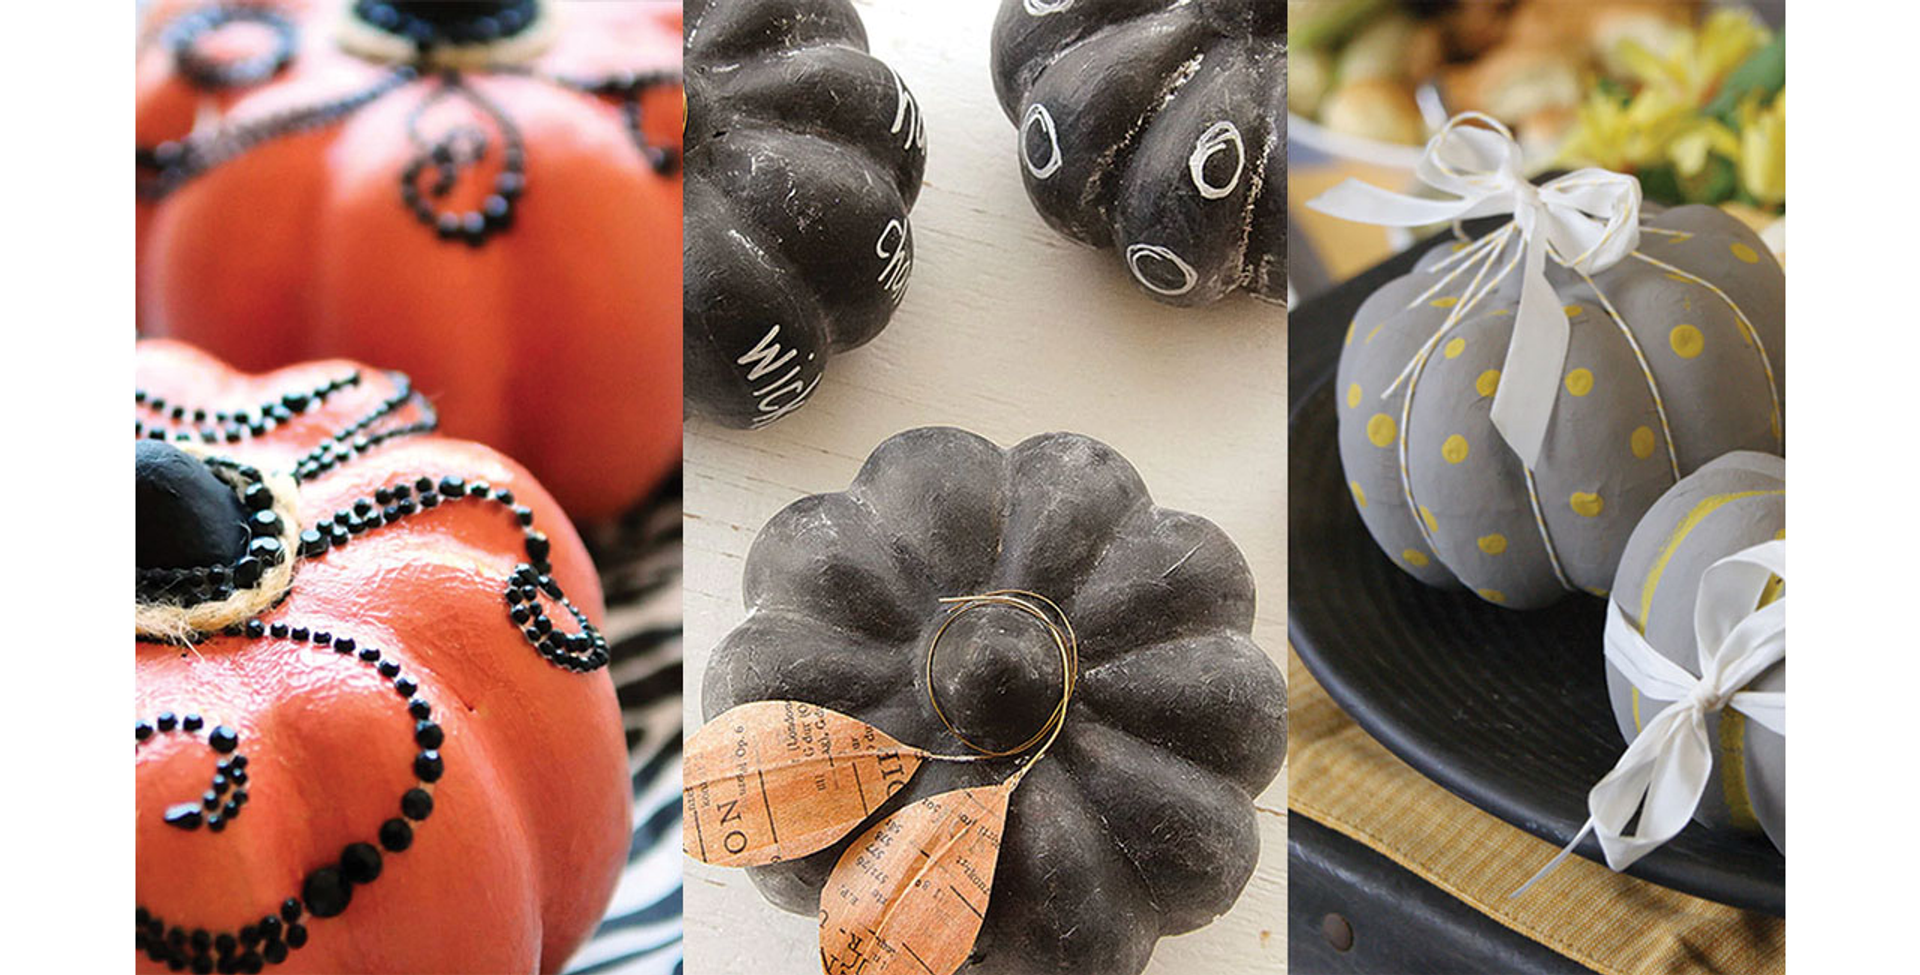
1. Chalkboard Pumpkins

Instructions:
Simply paint paper mache pumpkins with two coats of chalkboard paint and allow to dry. Using real chalk, prime the surface by rubbing chalk onto the surface and then wipe off the excess chalk dust.
Using the chalkboard markers, write on the pumpkins. The markers are great because the writing won’t rub off nearly as easily as regular chalk!
To add an extra fun touch, create leaves using washi tape and wire. Just layer the tape onto the wire (overlapping the pieces and layering) and then cut down to a leaf shape. Create multiple leaves and then attach them by wrapping the wires around the top of the pumpkins.
2. Glitz and Gourds

Instructions:
Begin by mixing Altered Orange acrylic paint with Sable Brown acrylic paint to create a pumpkin color. Paint two paper mache pumpkins with the pumpkin color and paint the stem of the pumpkin with Charcoal Black acrylic paint. Allow the pumpkins to dry.
Once the paint has dried, paint over each pumpkin with Clear Rock Candy distress crackle paint and allow to dry. Glue black rhinestones to the pumpkins in a swirl shape. Oftentimes, you can find rhinestones already set in various shapes at your local craft store! For the finishing touch, add a few glue dots around the base of the stem and then wrap a piece of Hemp Twine around it.
3. Perfectly Painted Pumpkins

Instructions:
Begin by painting paper mache pumpkins with grey acrylic paint, and allow to dry. Then, paint decorative designs onto the pumpkins as desired. For the polka dot design, we used a round blending brush to stamp the circles. Once the circles are dry, take a lengthy piece of yellow baker’s twine and wrap it all the way around the pumpkin in the grooves, and secure it on top with a knot. Tie a piece of white ribbon through the top in a bow.
4. The Glamorous Pumpkin

Instructions:
Start by spray painting a small pumpkin wire form with gold paint and allow it to dry. Tear a few one inch strips of muslin and then spray some strips lightly with Frayed Burlap Distress Spray Stain and allow them to dry. Alternate each wire piece by embellishing with a mix of tissue paper and wrapping the dyed or un-dyed fabric.
When adhering the strips of muslin, first run your finger over one side of the strip to make it frayed. Wrap rustic wire around each spoke with the un-dyed muslin.
Cut out two leaf shapes from the tissue paper. Color one with a gold gelatos stick, then blend the color with a make up sponge. Attach to the stem of the pumpkin with a thin, twisted strip of the tissue.
Create a base for your faux votive candle with a cardstock circle covered in mélange tissue paper. Blend gold gelatos into the tissue paper. Adhere to the inside of the pumpkin.
To create the votive cover, create a circle with a long strip of tissue paper, glue together with gel medium, and coat the outside with a thick coat of gel medium to give it some extra support. Roll the top of the piece in vintage gold or silver glass glitter while the gel medium is still wet.
Use an electric votive candle to create a warm glow that picks up the shimmer of the gold accents.
5. Fall Washi Pumpkin

Instructions:
One section of pumpkin at a time, tear strips of washi tape and layer them until the area was covered. After the washi is on, paint a light coat of collage pauge over the pumpkin to seal it.
For a finishing touch, tie some black floss or twine around the pumpkin. Place it on a shelf or use as a table centerpiece for fun fall décor!
6. Black and White Decoupage Pumpkins

Instructions:
Paint entire paper mache pumpkin with white paint and let dry.
Apply a heavy coating of gel medium to the pumpkin, then place large sheet of tissue wrap over whole pumpkin. Smooth out all creases and trim away excess tissue. Wrap with rubber bands to keep tissue in place. Let dry.
Alternate method: You can also cut the melange tissue into strips and adhere these one at a time.
Cover stem of pumpkin with black paint.
Tie black ribbon around pumpkin and adhere with some glue.
Looking for even more seasonal inspiration?
We think you might also love …
 A Somerset Holiday puts a rustic-chic spin on the holidays by offering fun and easy ideas for handmade gifts and decorations.  |
 Bring the scents and flavors of autumn into your homemade bath and body creations with  |
 Our autumn edition of Prims is filled with Halloween and Christmas inspired dolls to get you even more excited for the holidays.  |
 Discover hundreds of ideas for DIY holiday |
Read more
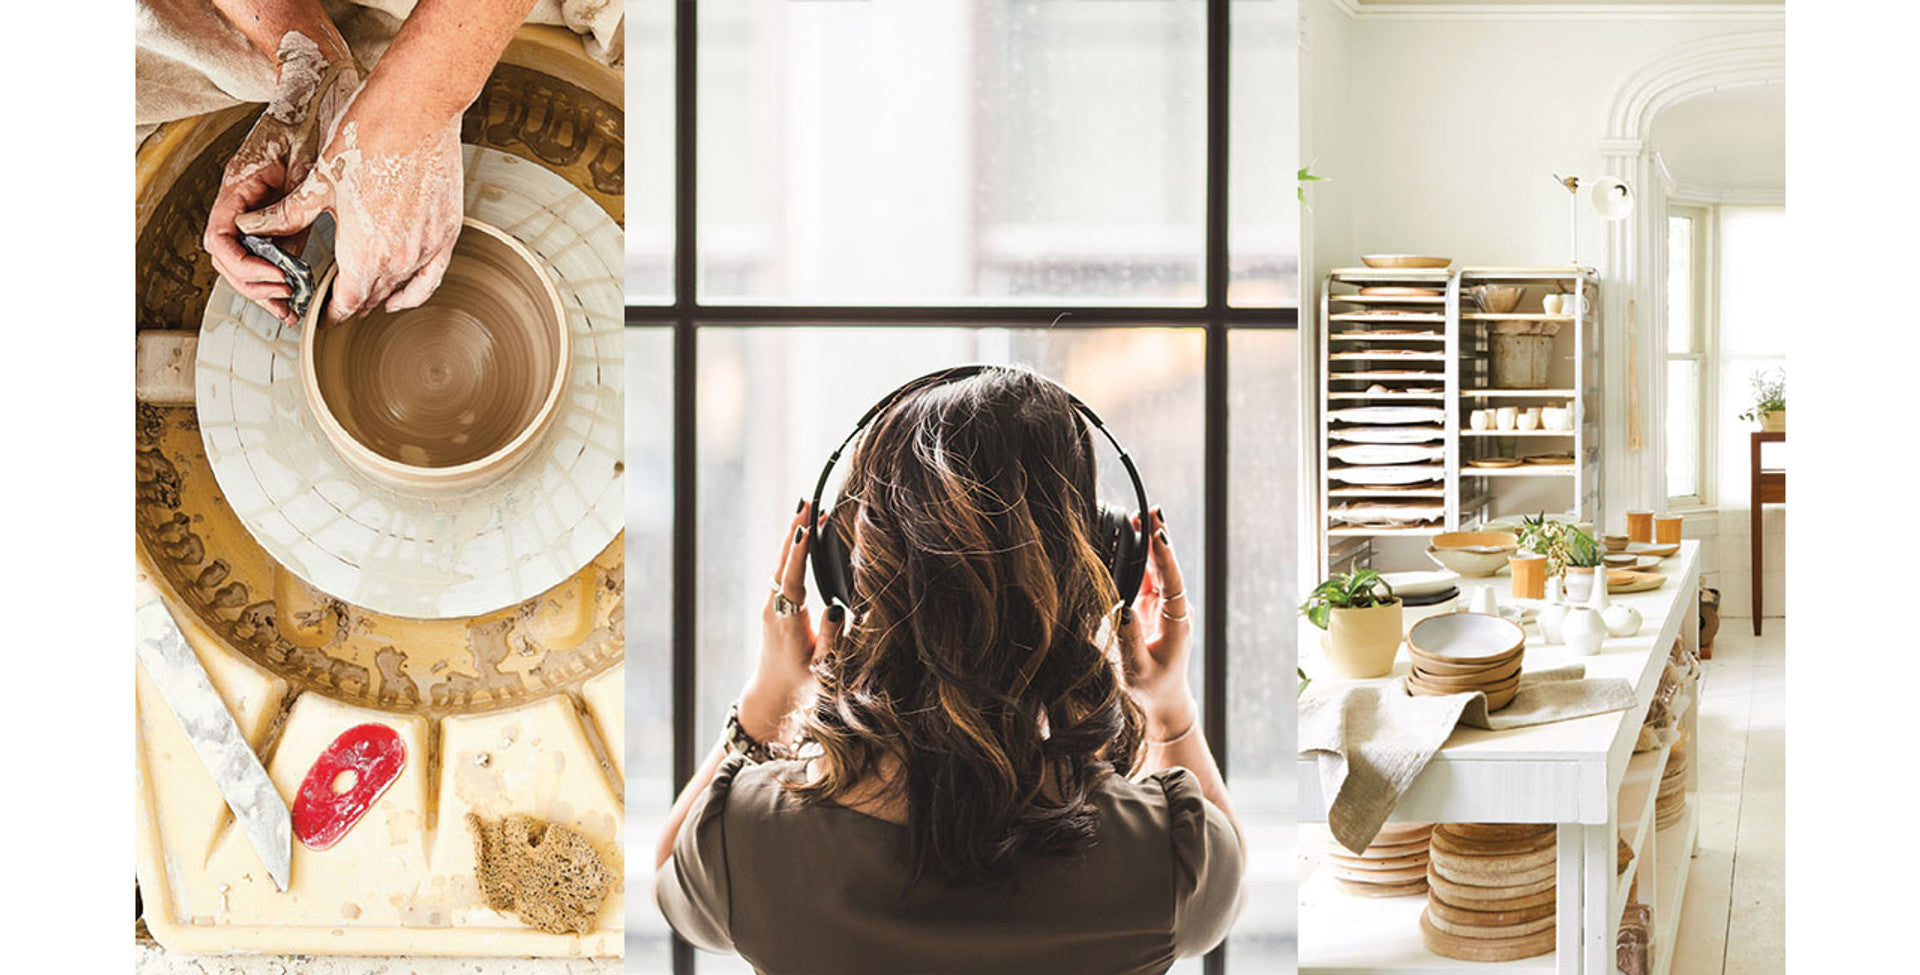
Podcasts offer an enjoyable way to receive inspiration, motivation, and entertainment while working in the studio. Below are a variety of podcasts beloved by some of the artists who have graced the pages of In Her Studio. Give ...
Gelatos are one of my favorite mixed-media tools to work with. This creamy smooth product blends easily with or without water and can be used on all sorts of canvases and substrates. There are also a lot of techniques that can...

Leave a comment
All comments are moderated before being published.
This site is protected by hCaptcha and the hCaptcha Privacy Policy and Terms of Service apply.