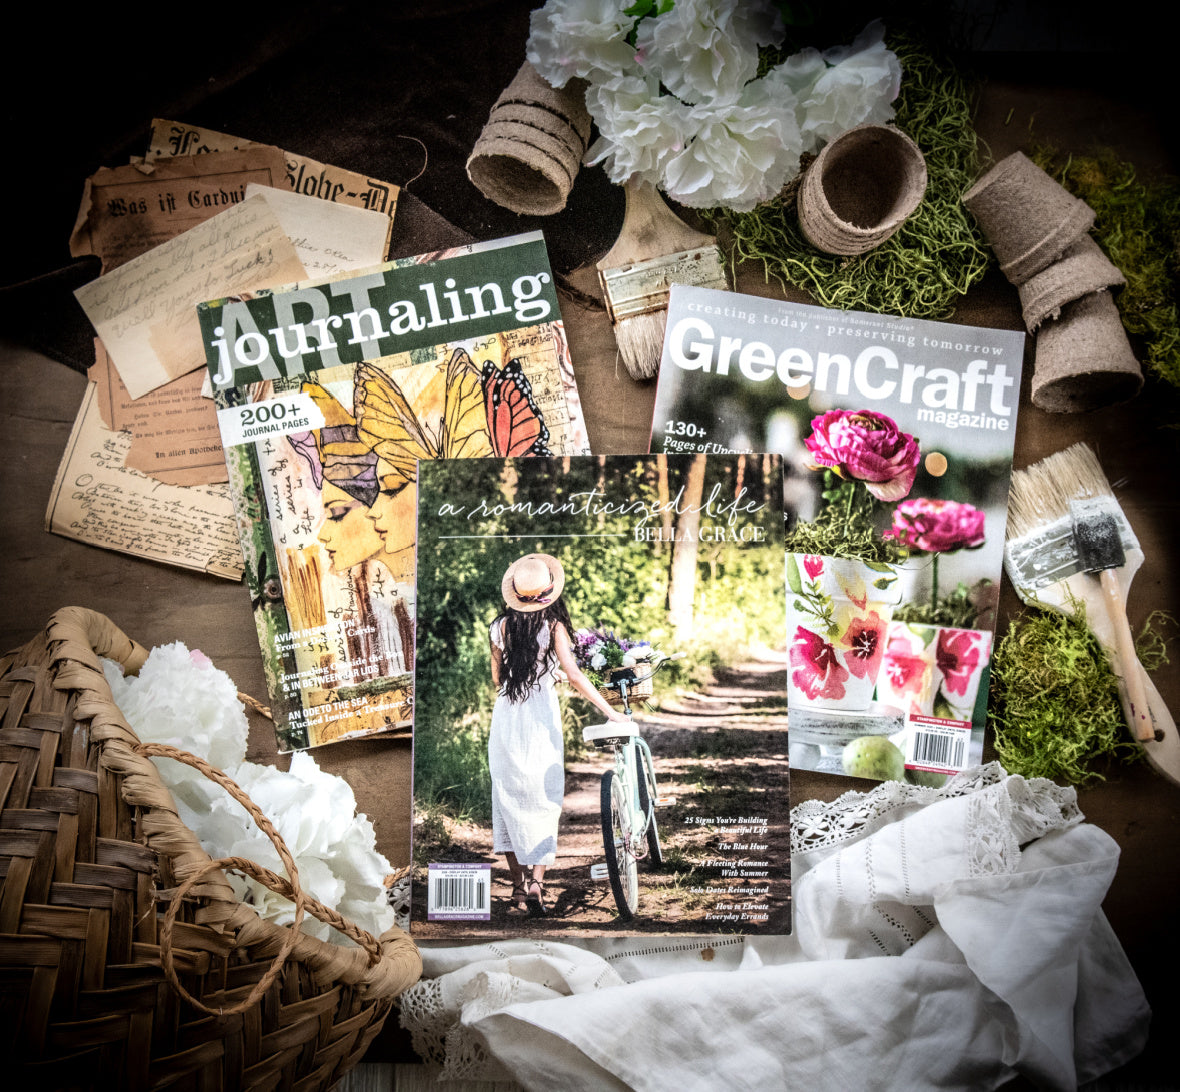
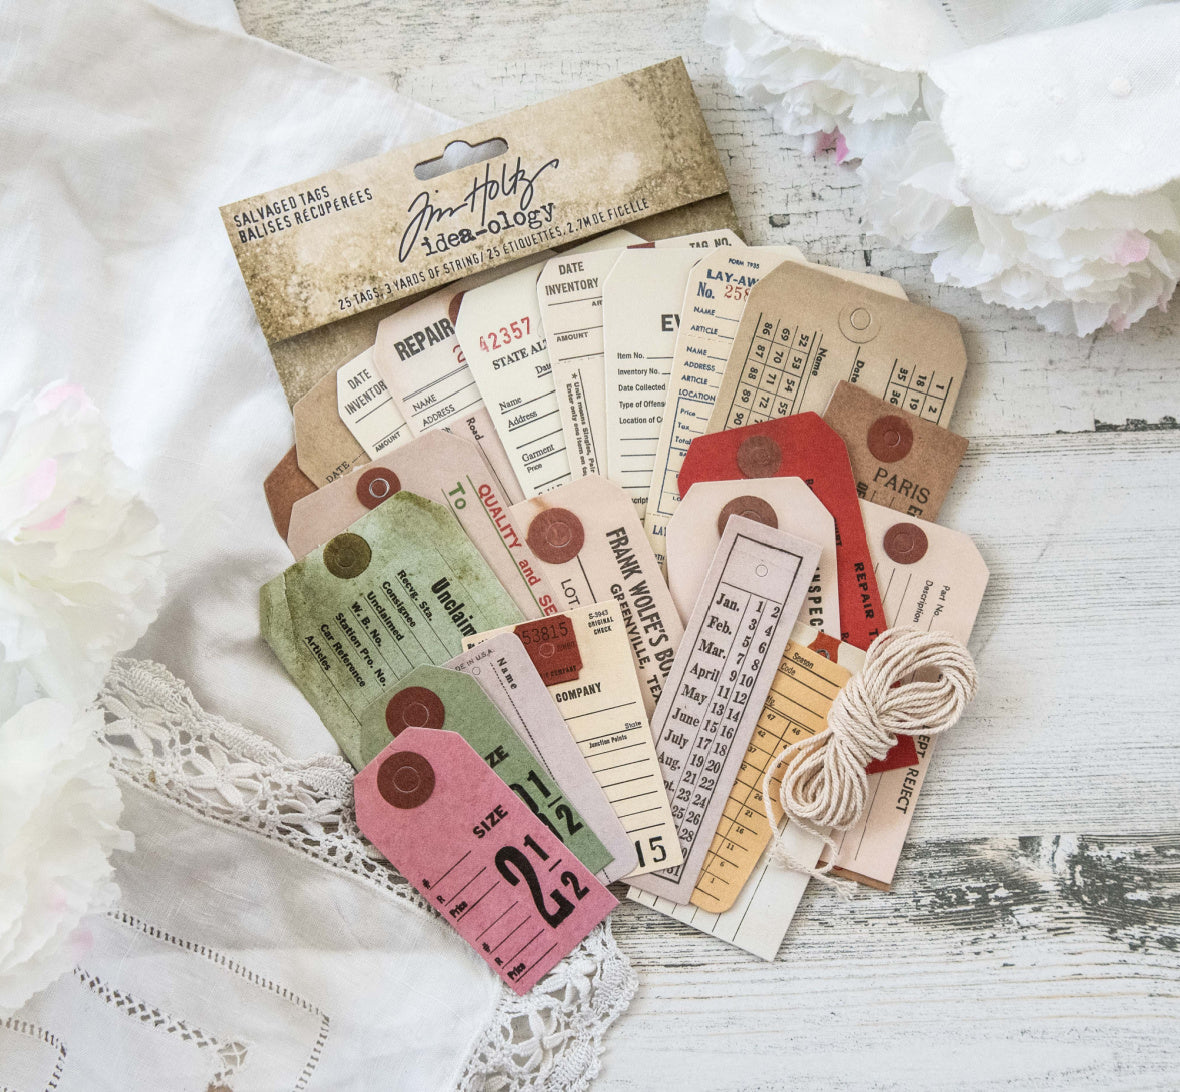
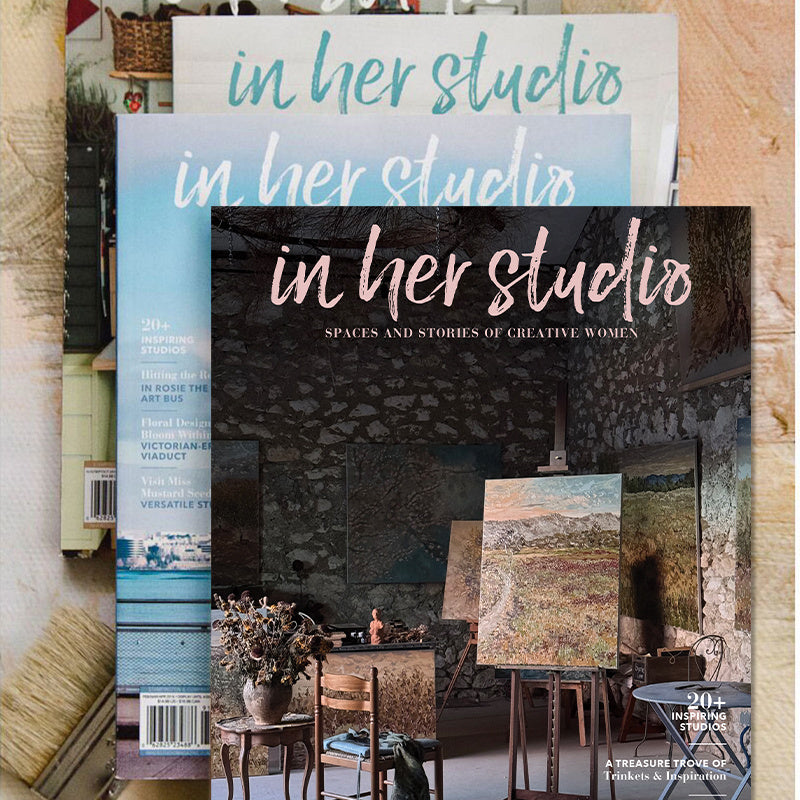
Quick view Baby Blue Bella Cone: Project by Kristen Robinson Begin with two pieces of Sweet Bella Paper Vintage Poster (Blue side) and Vintage Book cut down to 10" x 10 being sure to save the scraps and glue together. Once the pages are glued (and dry), roll the square into a cone shape. Prior to gluing the cone... Add to Wishlist
Quick view Sweet and Simple Cone for Vanessa: Project by Kristen Robinson Begin with two pieces of Sweet Bella Paper I used Vintage Poster and Vintage Orange. Cut down to approximately 6" x 6". Glue the pieces together and save scraps. Once the pages are glued (and dry), roll the square into a cone shape. Using a paper... Add to Wishlist
Quick view Paper Bella Cones and Joy Project by Kristen Robinson Cones are one of my favorite things to create as they are so versatile and fantastic to use in for so many occasions. Sweet Bella's line of two sided paper and embellishments come together to create delightful cones and a joyful summer sign perfect for... Add to Wishlist
Quick view Master of Disguise Halloween Invitations or Greeting Cards Project Here are some quick and card ideas for this Halloween! Stamp characters from the Unusual Suspects acrylic stampsusing black ink and then color in using your favorite pencils. Cut out the character and then carefully cut out the face of the character... Add to Wishlist
Quick view Noel Star Person Project by Marylinn Kelly Using the "They Could Be Magic" stamp- the letters for N O E L may be stamped, drawn with a stencil, created from die cuts...many choices. These were from a stencil, colored with a bright green pencil. The star person, stamped and cut out, was first... Add to Wishlist
Quick view No-Sew Stuffed Ornaments Project by Christen Olivarez Paint one-half of Sticky-Back Canvaswith Dash of Red and the other half with Landscape Green paint. Let dry. In the meantime, stamp circle and square from Swirls and sentiment from Greetings Collection with Jet Black StazOn ink on vintage text. Use Tim... Add to Wishlist
Quick view Noel Project by Christen Olivarez Cut a burgundy piece of cardstock to measure 5½" x 8½". Brush the glue from the Christine Adolph Earth Foil Kit onto Scratch Alphabet Lrg. and stamp onto the bottom of the cardstock. Burnish foil onto the stamped image and peel away... Add to Wishlist
Quick view The Earth book: Project by Audrey Hernandez Start by measuring size of cover and use paper from the Cottage Garden packand a piece with a window and the tree paper. Randomly add blue acrylic paint to the center. Add three flowers randomly. Then add a printed word transparency to the center. Add... Add to Wishlist
Quick view Bundle of Joy Project Paint pregnant wire formwith blue acrylic paint and allow to dry. Use a light blue ribbon to wrap around the torso area. To keep the ribbon secure, weave it at the side/shoulders and then secure at the back with glue dots. Wrap thin ivory satin ribbon... Add to Wishlist
Quick view Eco Chic Bride Project Make an "Eco Chic" bridal centerpiece for a wedding shower or the reception! I used old newspaper and recycled tissue paper to create the skirt. I simply gathered it and the stapled each layer onto the hoop. Paint the legs/stand and torso with white... Add to Wishlist
Quick view Trick or Treat and Bling its Halloween Project by Kristen Robinson Orange glitter and a bit of bling bring all that’s fun to Halloween. A dash of glitter plays amongst shredded mummy threads on this amazing wire form skeleton, creating the perfect Halloween greeting. Begin by spraying the front of your wire form... Add to Wishlist
Quick view Mini Clipboard Ornaments Project by Audrey Hernandez Start with plain mini wooden clipboards. Use music paper that has been inked all over with the Snow cap Dabber. Cover each mini clipboard with the paper. Then stamp the berry print from the Christmas Found Elements with red ink onto the mini-clipboard... Add to Wishlist
Quick view Love Gives Our Heart Wings Project by Kristen Robinson With watercolor paints and watercolor paper begin painting a pink background shading areas with either grey and white paint (or colored pencils). While your background is drying stamp, with black inkthe city image, dress and sailing love notes onto a... Add to Wishlist
Quick view Baskets of Beauty and Joy Project by Kristen Robinson Beauty and endearing sentiments should be shared throughout the year with those we hold dear. A bit of sparkle, a collection of words and lovely prints come together in a lovely fashion when used with the romantic ATC kit from Tuscan Rose. Enchanting... Add to Wishlist
Quick view Alice in Wonderland Mini-Journal Project by Sarah Meehan Using the packing tape transfer technique, create tape embellishments from the Alice in Wonderland Collage Sheets. Affix Tim Holtz Journaling Tickets to papers from the Jenny Bowlin Vintage Black Kit. Adhere the tape transfer images onto the pages... Add to Wishlist
Quick view Altered Spring Journal Project by Kristen Robinson Spring is the season for all things new, charming and full of beauty and bliss to arrive. An altered spring journal filled with pages that have been adorned with sweet clip art, envelopes for gathering remembrances as well as blank pages and tags to... Add to Wishlist
Quick view Red Hot Cards Project Begin with plain white cards from the stationery pack. Cut out 3 pieces of the red paper in the Lynne Perrella collectionthat are 4½"x 3½ "and glue to the front of the cards. Glue to the center of the white cards, assorted cards from the... Add to Wishlist
Quick view Sunflower Décor Project Don’t throw away old bottles because they have so much potential! This particular bottle is an old wine bottle but there are so many shapes and sizes of bottles that we go through and so many can be re-used. Start by using the paper with the... Add to Wishlist
Quick view Rustic Recipe Book Project This is a great way to creatively organize your favorite recipe clippings from magazines! I used the Cover All Curved Spine 6" x 6"and painted it with red acrylic paint. Once the paint has dried roughly paint over the red with the Antique Linen Crackle... Add to Wishlist
Quick view Mad Hatter Tag Invitations Project Choose your favorite 7gypsies tags and using gaffer tape bind two tags together to create a small card, repeat this for as many invites as you will require. Add some brown scrapper’s floss to the hole on the inside tag. Use the unmounted Mad Hatter... Add to Wishlist
Quick view Easter Favor Box Project This quick and easy Easter favor box features the "Birds of a Feather" stampsand the ATC matchbox by 7gypsies! Begin by covering the inside (drawer) part of the box with the polka dot patterned paper from the Porcelain paper collection. Cover the outside... Add to Wishlist
Quick view Celebrate Your Independence Project Create this quick and easy project to add some patriotic touches to your home for July 4th! Start with the silver dog tags. Cut out images from our military ATC padso that they fit inside the dog tag frame. Glue the image onto the frame with adhesive... Add to Wishlist
Quick view Letters Project Start with a wooden box. Measure the top and sides of the box for the dimensions you will need for the paper. Use the blue papers from the Lynne Perrella collection. For the top of the box I chose to use the solid blue and for the sides I used the... Add to Wishlist
Quick view Greencraft Storage Tin Project Using an empty tin I had from a set of Cavallini vintage labels, I simply cut down a piece of brown paper to fit the lid and inked the edges with brown ink. Glue that piece onto the lid. Add a rectangular piece of vintage paper and cut out the leaf image... Add to Wishlist
Quick view Creative Ephemera Storage Project The 7gypsies ATC & Photo Display can be used to display photos, memorabilia, ATCs, art supplies, and much more. For inspiration I used the holder for displaying some ephemera and art supplies. In addition to using the gator clips you can also try... Add to Wishlist
Quick view A Night at the Opera Project Begin with the 8"x8" Memorabilia Frame by Provocraft. Take the top of the box and use it as a template to cut out the paper from the Melody kit. Once you have cut out the Melody paper you can glue it to the top of the frame. Paint the outside edges with... Add to Wishlist
Quick view From my kitchen to yours Project The inspiration for this project came from the poultry-themed collage sheetsby Tweety Jill. These can be simple favors to give to friends or family at a get together. I altered the paper bags then created file cards to put in the bag, each with a fun... Add to Wishlist
Quick view Party Girl Inspiration Project This is a great way to use up some old jars, vintage text and old fabric. You can create your own decorative jars and fill them with anything you want. Use them as ribbon, bead, or embellishment storage jars or try filling them with candy for an artistic... Add to Wishlist
Quick view Collage Journal Project by Traci Bautista For instructions on how to create your own Collage Journal, just scroll down and you can watch our FREE How-To Video featuring Traci Bautista and the Collage Pauge Instant Decoupage. Traci is a mixed-media artist and the designer of "Collage Pauge... Add to Wishlist
Quick view Pumpkin Woman Collage Project by Barbara Smith To create the paper doll, use black inkand stamp pumpkin head image and bodice image from the Bird & Bee Paperie No. 3 stamp, and shoes from the Queen of Tarts No. 3 set on cream paper and color with pencils. Stamp skirt image from the French Laundry... Add to Wishlist