


Guest Artist Matt Farci + Colorful Faux Flowers DIY
I’m so excited to welcome Matt Farci, the remarkably talented color enthusiast and incredible crafter, to our blog Somerset Place! Recently published in one of our most aesthetically appealing publications Artful Blogging, Matt’s crocheting techniques are unbelievably gorgeous in style and simple in creation. Today he shares with us a bright fabricated flower project, created specially for Stampington. Please join me in a warm welcome, and indulge in Matt’s easy faux flower tutorial to add a pop of color to your living space without the expense or time it takes to care for freshly picked flora.

***
Hi Somerset Place readers! How are you all? I’ve been working on a rather jolly little project and thought I’d come on by and share it with you.
Let me explain how this project started…..
I have a not so secret love for flowers!!! I ADORE THEM!! There is nothing that makes me happier than coming home from work and seeing a beautifully bright jug of fresh flowers shining magic across my apartment.
Having a bunch of fresh flowers is a bit of a treat for me; it lifts my mood and adds a special touch to my home. Having a constant supply of fresh flowers is not only rather lovely, but, lets face it, can be rather expensive! So I decided to work on a quick project and make me some inexpensive crafty flowers for those times when the budget is a little tight, but I still want my fix of color about the apartment.
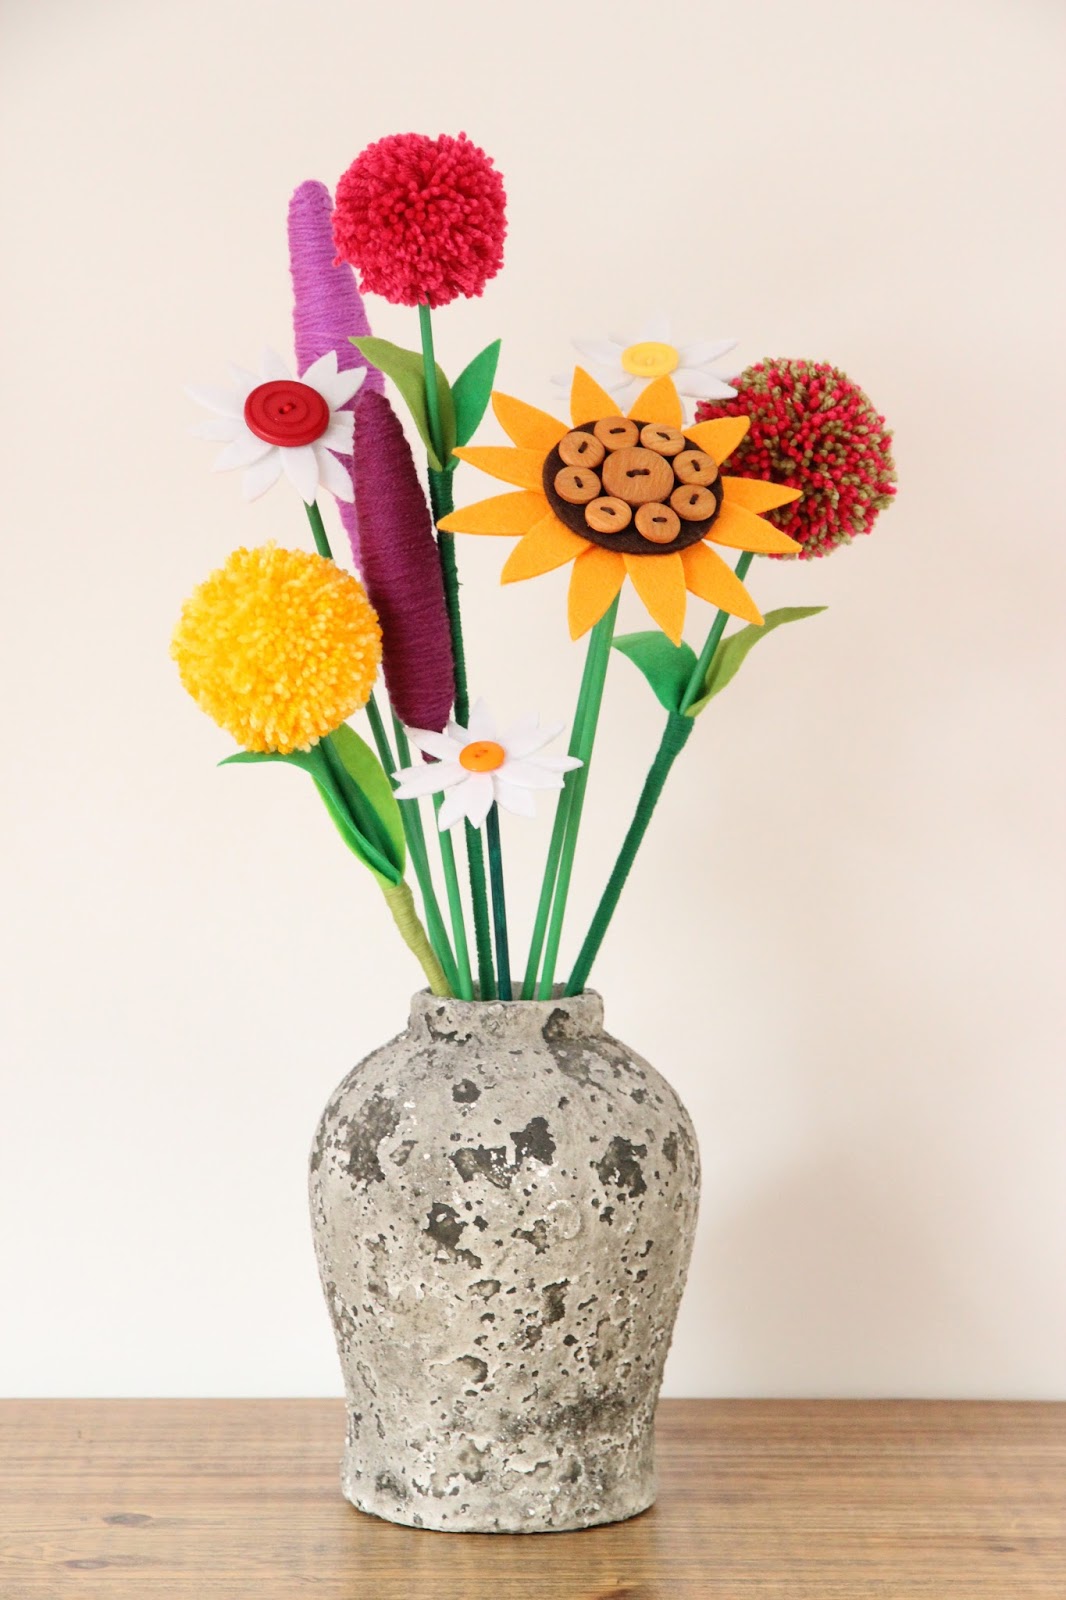
Here’s what I came up with, a bright bouquet of crafty flowers to brighten up any home!
It was a really simple project and would be perfect for a spare afternoon or evening.
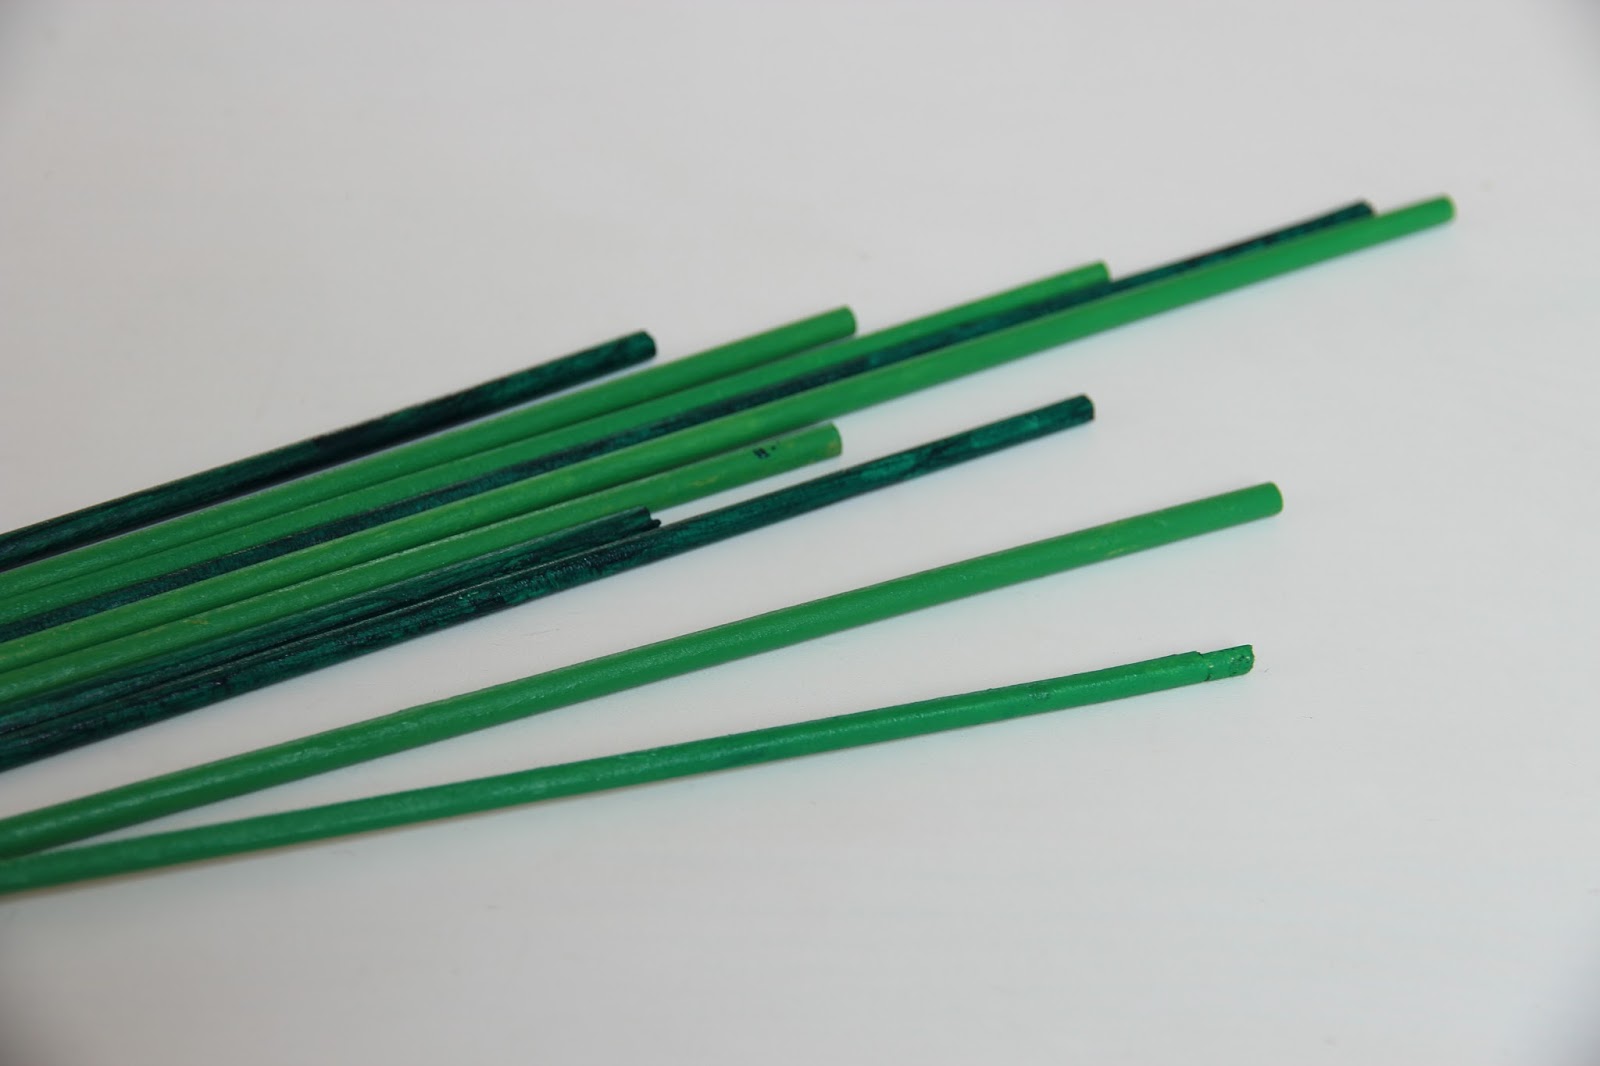
I started this project with a collection of various lengths of dowel:

With a raid of my crafting box I found my supply of acrylic paint. I painted each of the dowel sticks a luscious shade of green. These are going to be the stems to our crafty flowers.

I left my green stems to dry and got to work cutting various shaped leaves out of felt.

Once I had my collection of leaves all cut out and ready, I began to glue them to my green stems. First I made sure the paint was totally dry and then added a dollop of glue.

I positioned my leaves onto each stem and made sure that the leaves were firmly attached and let the glue dry.

I then added some green yarn to the stems to cover up the join of the leaves to the dowel stems. I did this by simply adding another lashing of glue to the stem and winding the yarn around and around until I was satisfied with the join.

Finally as a finishing touch I decided to add a colorful flower! This time around I created a selection of bright pompoms to act as flowers using my trusty pompom maker:


A final blob of glue to the top of the stem and I was ready to place the pompom in its final resting place as a beautiful blooming FLOWER!

Isn’t that pretty?!
As for the other flowers in my bouquet, they were also just as simple.
The reeds consisted simply of a piece of dowel painted green and then some left over pieces of yarn wrapped around and around untill the shape of the reed was created. How simple is that!!!

My final flowers were a selection of sunflowers and daisies. These were made by using cut outs of felt and a selection of buttons.

I started these flowers in the same way as the previous two, a piece of dowel painted green.
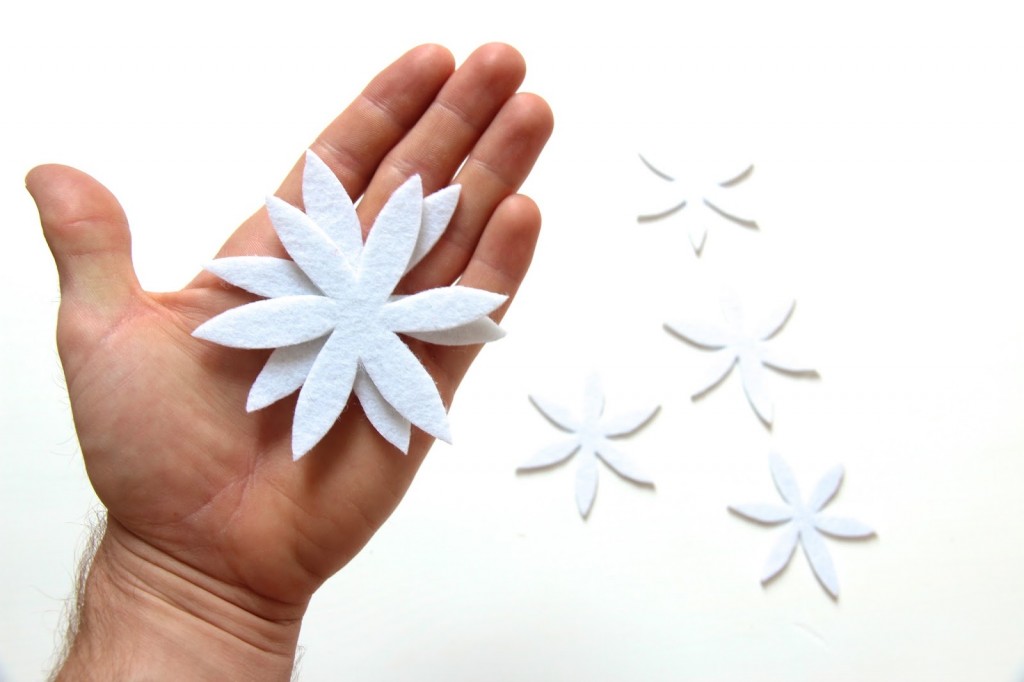
I then went on to make the flowers by drawing a petal design onto some felt with the help of my compass.

Next, I carefully cut out the petal design with a pair of sharp scissors.
Then I selected some of my favorite bright colored buttons and sewed them onto the top of the felt flowers to contrast with the white.

Last but not least I adhered a big gob of glue from my glue gun to the underside of the flower and then attached to one of the stems. SO SIMPLE!!

Bright and cheery flowers that keep the happiness shining through my home!

What an easy way to add color to a blank wall without the need for a watering can or flower food! I’m rather happy with the end result and hope these vibrant faux flowers inspire you to create some of your own crafty versions.
~ Matt xxx

- “Real” job: Professional dancer in the Disney musical, Tarzan
- Dwellings: A Bristol, England native and relatively new Hamburg, Germany resident
- Website: accordingtomatt.blogspot.com
Posted: Monday, August 19th, 2013 @ 9:52 am
Categories: Artful Living, How-To Project Tutorials.
Tags: art, Artful Blogging, colorful, colors, crafting, crafty, crochet, decor, DIY, flowers, home, How-To, scissors, Stampington.
Subscribe to the comments feed if you like.
Both comments and pings are currently closed.
Thank you Matt, for sharing your gorgeous blooms~
What a colorful feast for the eyes! I love what you shared and look forward to recreating what you and Mother Nature have inspired! :D
Very cheery, love them! Love Matt’s website, too; his enthusiasm and pure joy in living is so refreshing. I want to move to Germany and hang out with him! And I am DYING over the beautiful flower blanket he is creating; I so, so want one! I’ve been a knitter for a few years, but now I’m encouraged to give crochet a whirl!
What a neat idea for using up some of the paint, felt and buttons I have lying around in my stash! They look so cheery! Thanks Matt! :)
These are so cute and would make the sweetest gift for any friend! I’m going to have to go check out Matt’s website!
love those pom pom flowers!