Filters


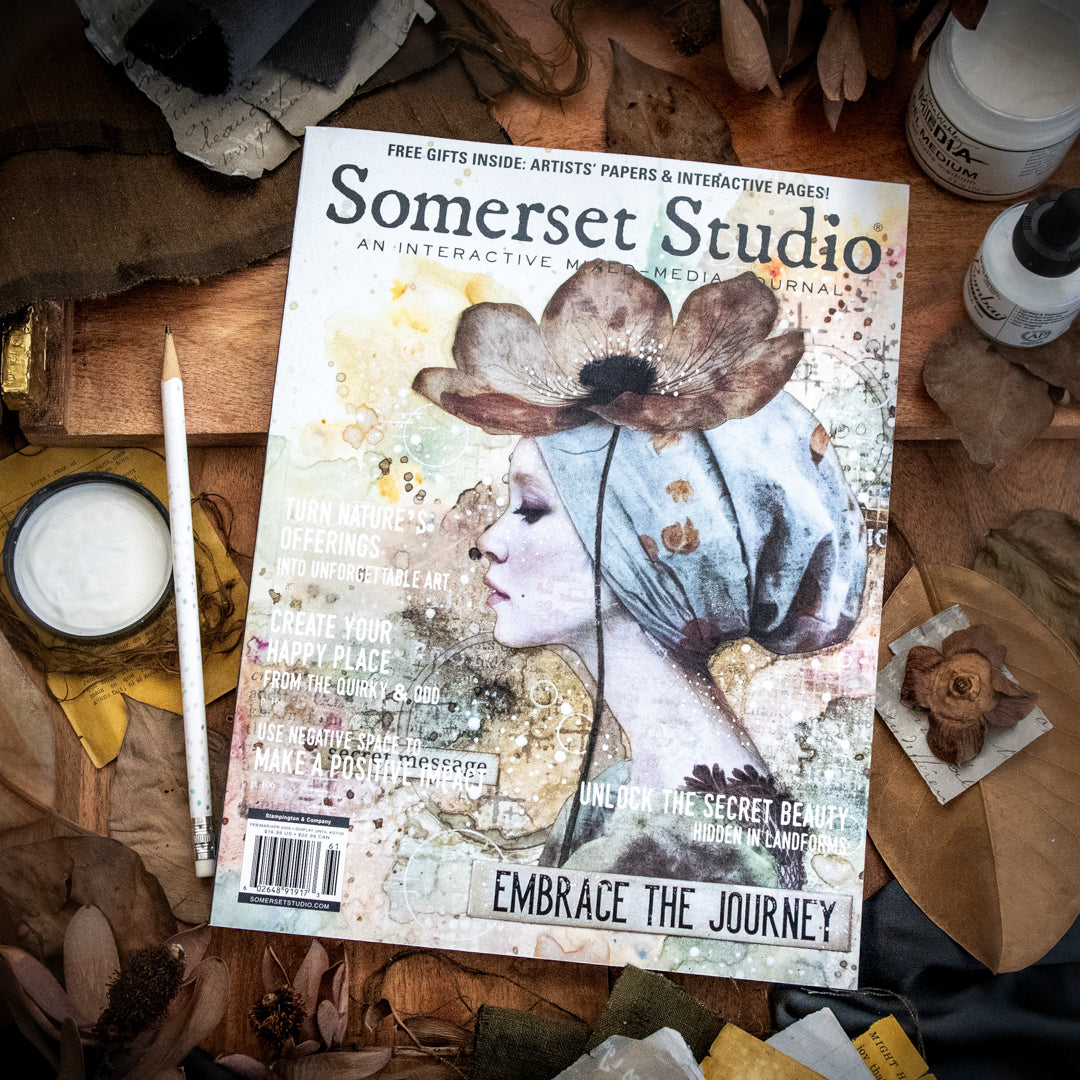
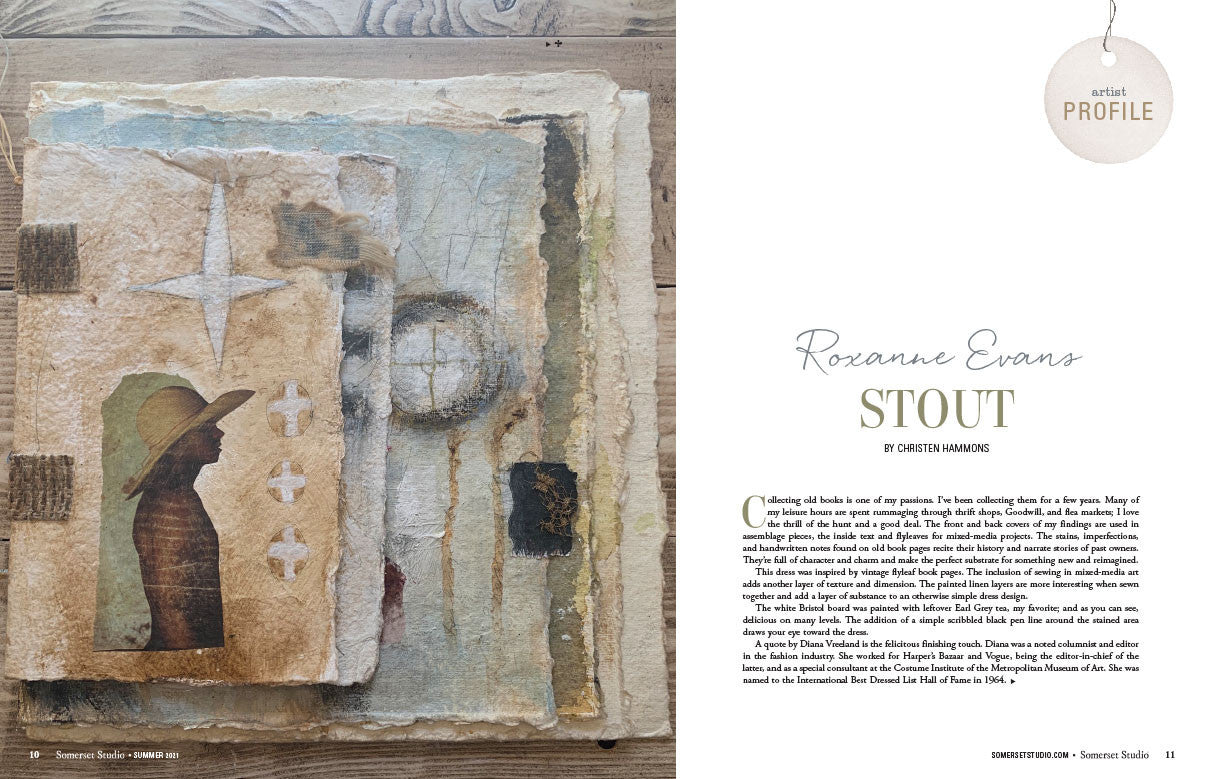
The Best in Mixed-Media
Somerset Studio shares tips and on-trend projects to help artists keep those creative juices flowing. Subscribe today to get up to $20 off.
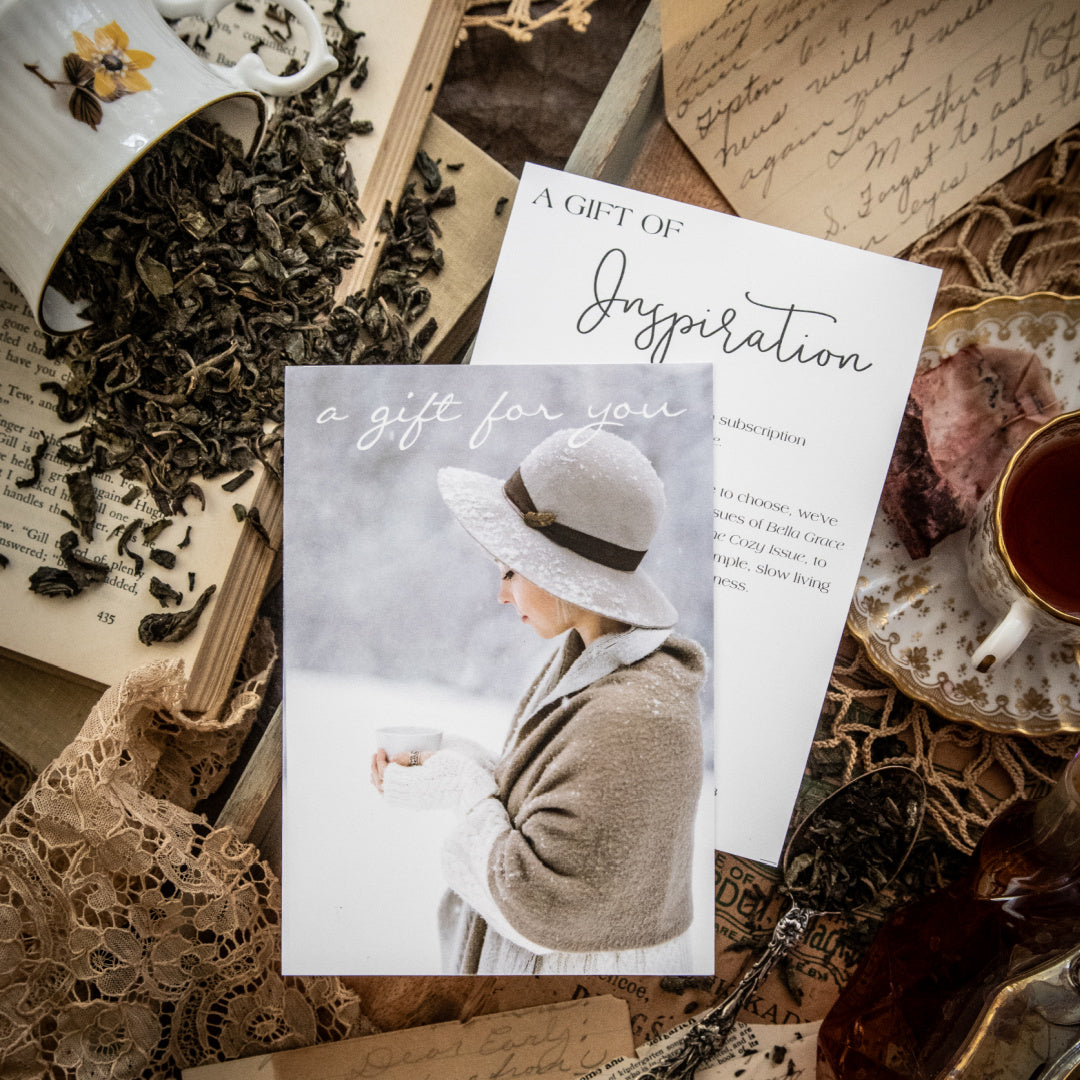
For Everyone Who Inspires You
Treat them to entire YEAR of inspiration. All gift subscriptions include a beautiful gift announcement that we send on your behalf.
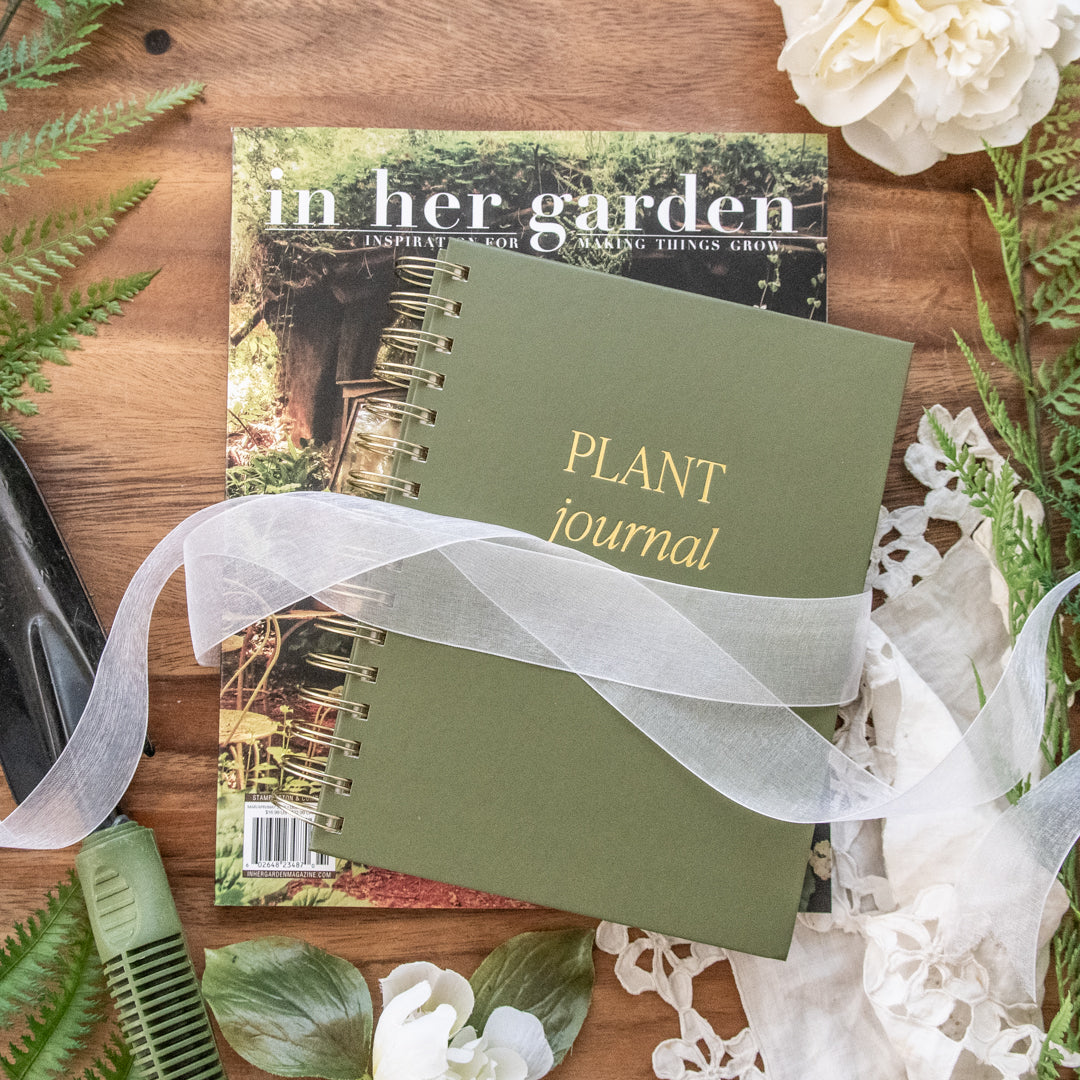
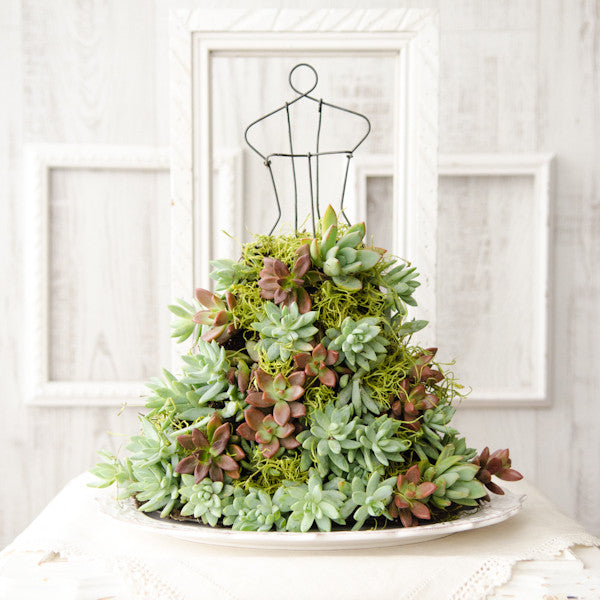
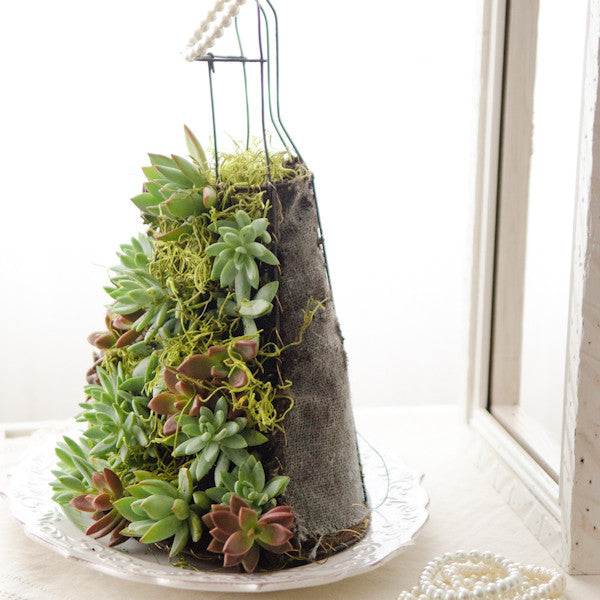
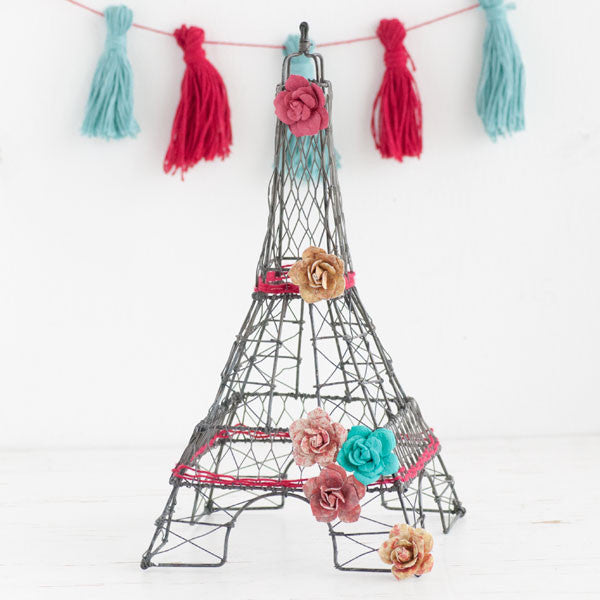
Gardening Collection
From nature-adorned mugs, floral journals, and colorful totes to essential oils, loose herbs, and more, there is something delightful for all to enjoy inside this carefully curated collection.

The Bella Grace Collection
We’ve paired our most popular issues with some of our favorite journals and cozy finds to help you embrace even more everyday magic.

Best Sellers
We've hand-picked some of our customer's favorite magazines and everyday essentials to help you get to know us better.
Trending Products


Filters

Gain access into our very BEST sales, and get inspiration delivered straight to your inbox.

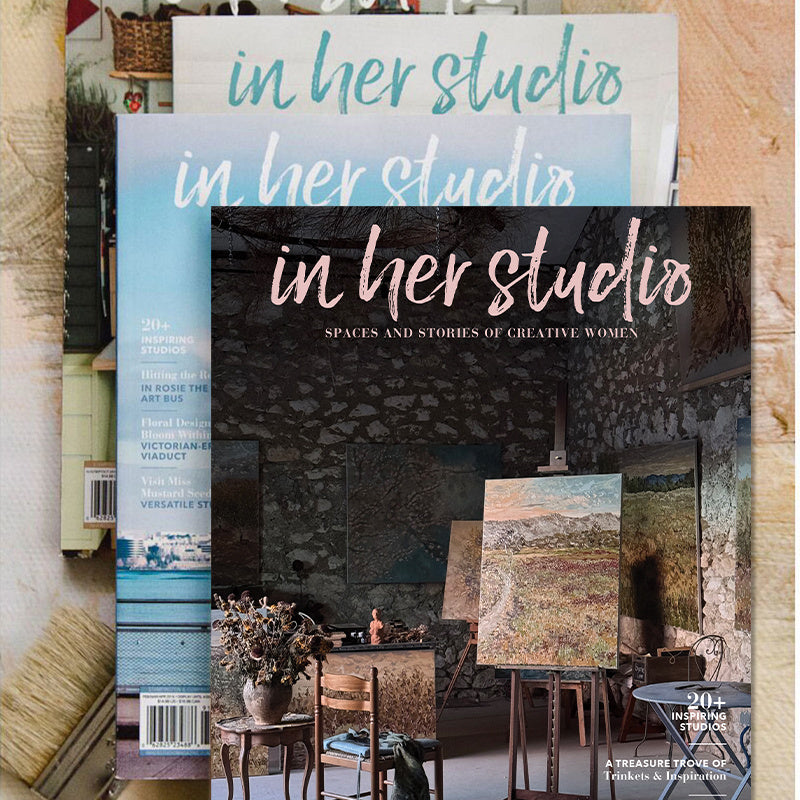
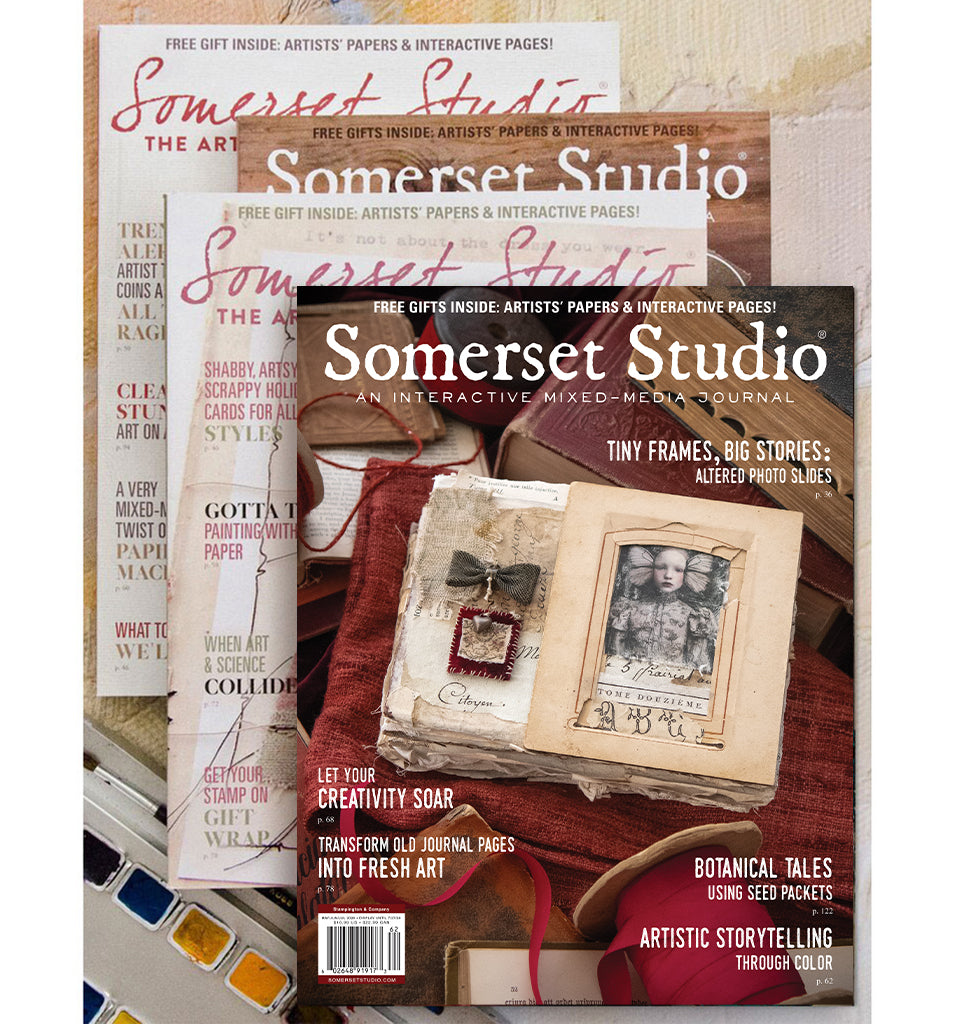
Premium Bookazines
less advertising, more content: sometimes bigger is better